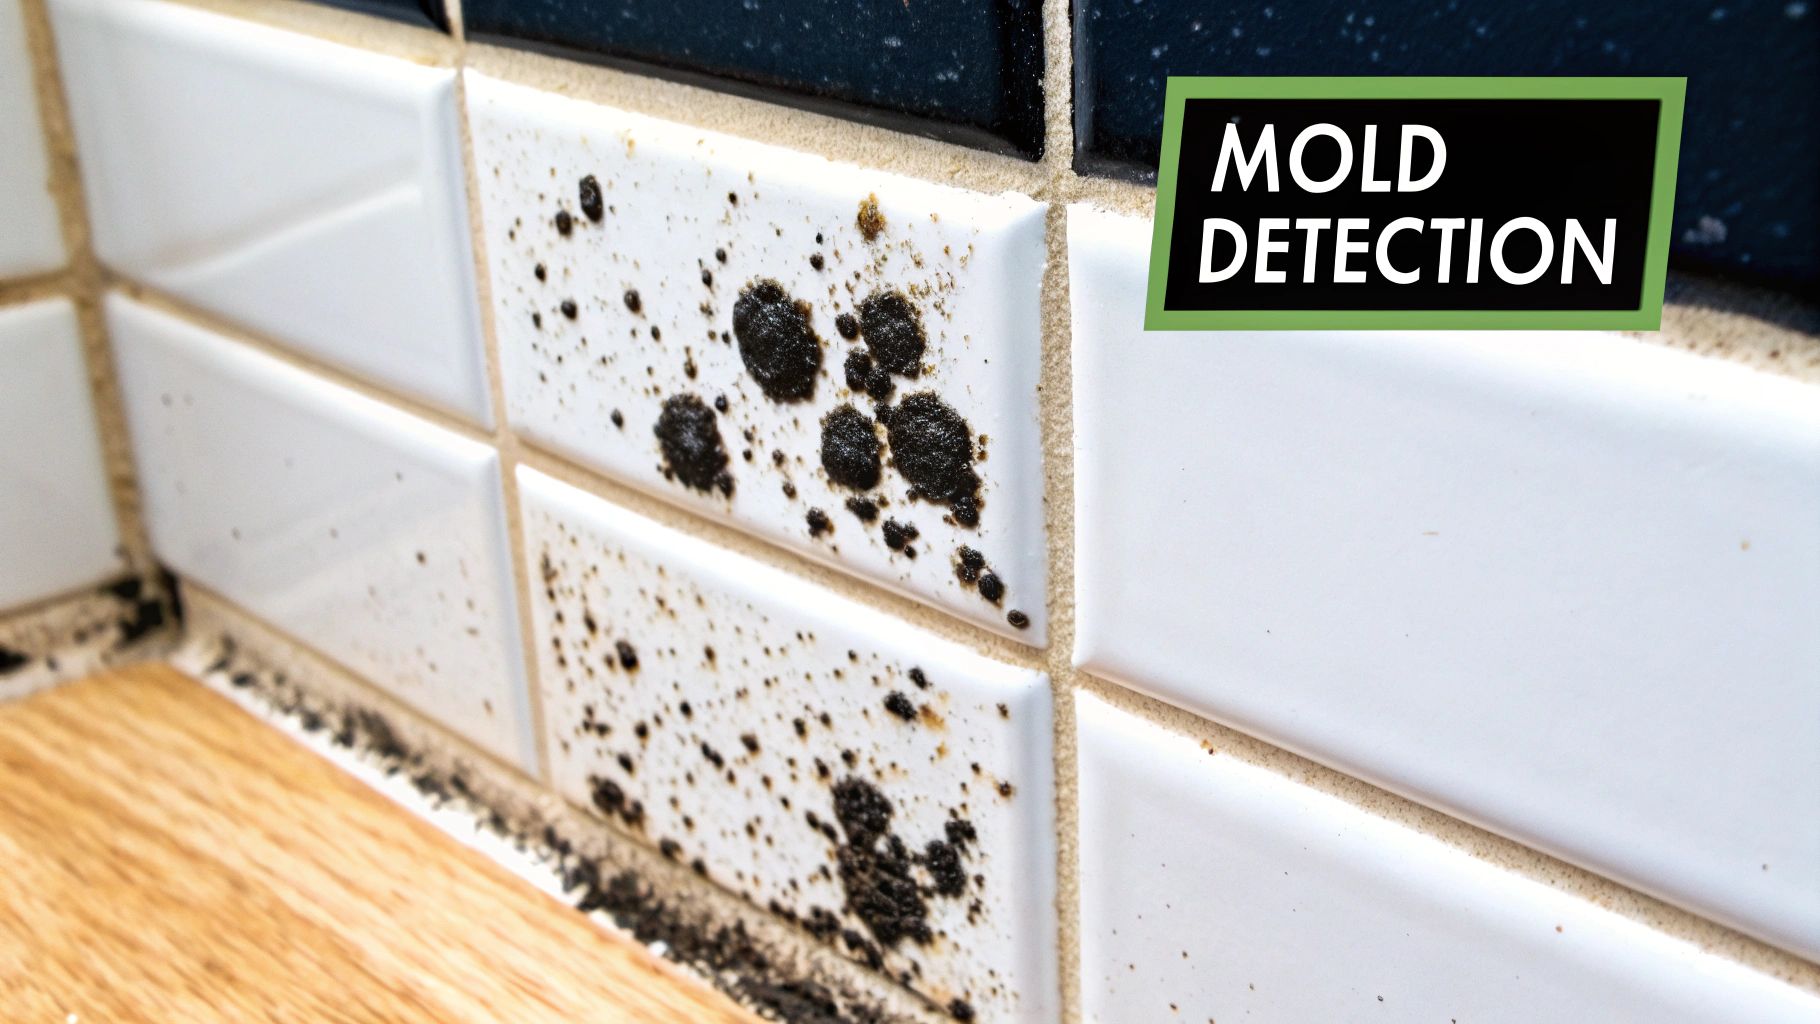
To get rid of black mold in your shower for good, you have to stop thinking like a cleaner and start thinking like a detective. The real culprit isn't the black stuff itself—it's the environment that lets it grow. You need to tackle the root causes, which almost always come down to two things: too much moisture and not enough ventilation.
Why Black Mold Keeps Appearing in Your Shower

It’s a frustrating cycle, isn't it? You spend an afternoon scrubbing those ugly black spots off your grout and caulk, and for a few weeks, everything looks great. Then, slowly but surely, they creep back in. This happens because your shower is basically a five-star resort for mold, offering everything it needs to thrive: moisture, warmth, and a constant food source.
Every time you run the hot water, you’re creating a warm, steamy paradise. Without an exhaust fan running or a window cracked open, that moisture has nowhere to go. It settles on every surface, from the tile walls to the shower curtain, creating the damp conditions mold spores need to take root and multiply.
The Perfect Breeding Ground
Your bathroom isn’t just damp; it’s also a buffet for mold. Soap scum, dead skin cells, and body oils combine to create a biofilm on your shower surfaces, and mold absolutely loves to feast on it. Combine this with the constant humidity, and you’ve essentially rolled out the welcome mat for Stachybotrys chartarum—the scientific name for black mold.
If you’re dealing with this, you’re not alone. It’s an incredibly common problem. In fact, roughly 70% of homes worldwide have some type of mold, and bathrooms are one of the most common hotspots. You can read more about this widespread issue from these mold specialists.
Key Takeaway: Black mold isn't a sign that your home is dirty; it's a sign that you have a moisture problem. The only way to win this battle is to control the humidity and get rid of its food source.
Spotting the Root Cause
While daily habits are a big part of the equation, sometimes the problem is more than skin deep. If the dampness never seems to go away no matter what you do, you might be looking at a bigger issue.
Persistent moisture can point to structural problems. If you think you might have underlying leaks or serious condensation issues inside your walls, it might be time to look into professional damp proofing services. Before you can figure out how to get black mold out of your shower permanently, you have to find and fix where the moisture is coming from. Otherwise, you’re just treating the symptom, not the cause.
Gathering Your Mold-Fighting Toolkit

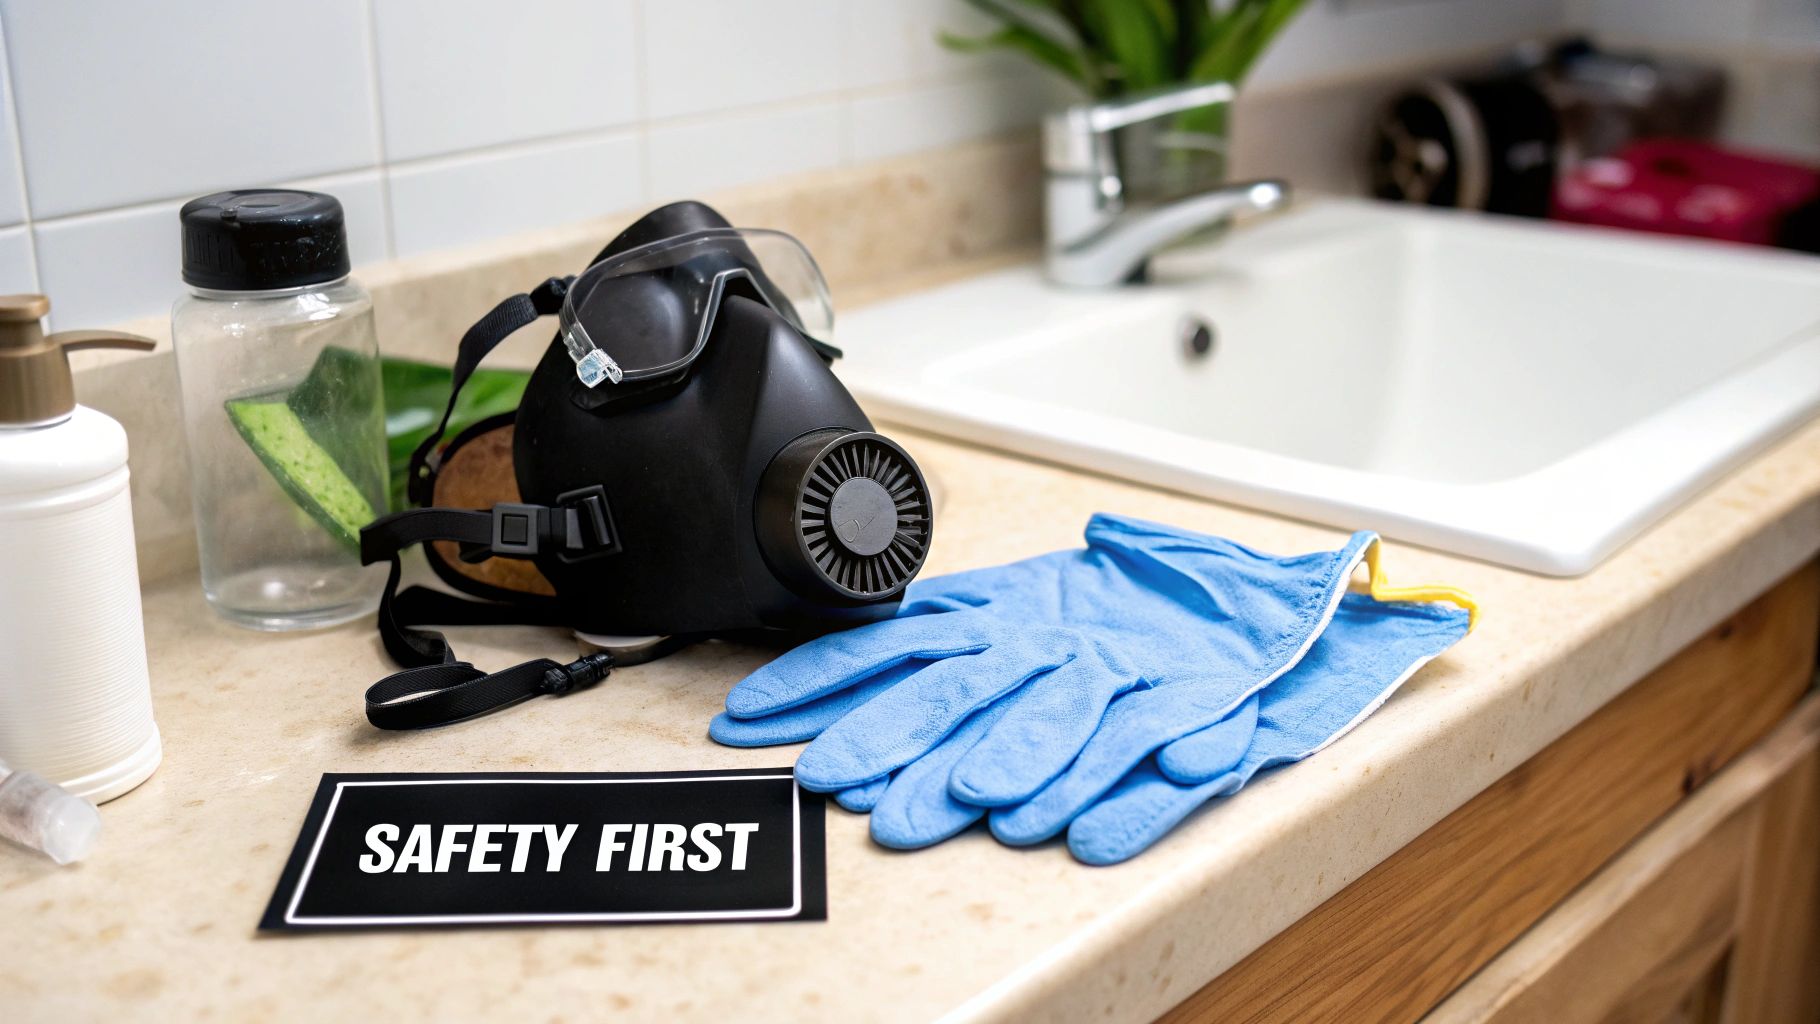
Before you even think about scrubbing, you need to gear up. Walking into a mold cleanup unprepared is a recipe for frustration and, more importantly, a health risk. This isn't just about grabbing a sponge; it's about protecting yourself from mold spores and harsh fumes.
Your first priority is personal safety. The moment you start disturbing mold, its spores can go airborne, and cleaning solutions often release potent fumes. Don't even think about skipping these essentials.
- N95 or P100 Respirator Mask: This is non-negotiable. It's designed to filter out the tiny mold spores you absolutely do not want to be inhaling.
- Waterproof Gloves: Grab a sturdy pair that won’t tear easily. You need a reliable barrier between your skin and the mold and the cleaners.
- Safety Goggles: Protect your eyes from accidental splashes of cleaning solution and any airborne gunk you kick up.
Choosing Your Cleaning Solution
Once your safety gear is on, it’s time to choose your weapon. When it comes to getting black mold out of tricky spots like shower grout and caulk, not all cleaners are created equal.
For years, bleach was the go-to, but we now know it often just whitens the surface stain without actually killing the mold's roots deep inside porous materials. A much better and safer option is undiluted white vinegar. Its natural acidity is incredibly effective at killing mold right down to its core.
You'll also want a good stiff-bristled brush for getting into those grout lines and a sponge for larger tile areas.
Pro Tip: For a powerful, chemical-free approach, a high-quality steam cleaner can be a game-changer. The high-temperature steam kills mold and sanitizes surfaces without any harsh fumes. If you want to learn more, our review of the Dupray Hill Injection Steam Cleaner breaks down exactly how it gets the job done.
Tackling Mold: The Complete Removal Process
Alright, time to roll up your sleeves. Getting rid of mold for good isn't about scrubbing until your arms ache; it's about being methodical. You need a smart approach that kills the mold at its source and stops it from coming right back. Let’s walk through the steps to finally get that black mold out of your shower.
First things first: prep the area like you're going into battle. Ventilation is your best friend here, so crack open a window and flick on the bathroom exhaust fan. This helps get rid of fumes and keeps mold spores from hanging around in the air. Next, pull everything out of your shower—shampoo, soap, razors, you name it. A clear workspace gives you direct access to every nook and cranny.
Let Your Solution Do the Heavy Lifting
Now that your shower is clear, it's time to bring in your cleaner. Whether you're using vinegar or a store-bought mold killer, the goal is saturation. Grab a spray bottle and give all the visible mold a generous coating. Don't be shy—really soak those porous grout lines and the edges of the silicone caulk where mold loves to set up camp.
Here's the part where almost everyone messes up: they start scrubbing right away. Don't do it! You have to let the solution sit and work its magic. This "dwell time" is the secret sauce to killing mold deep down instead of just wiping the ugly stains off the surface.
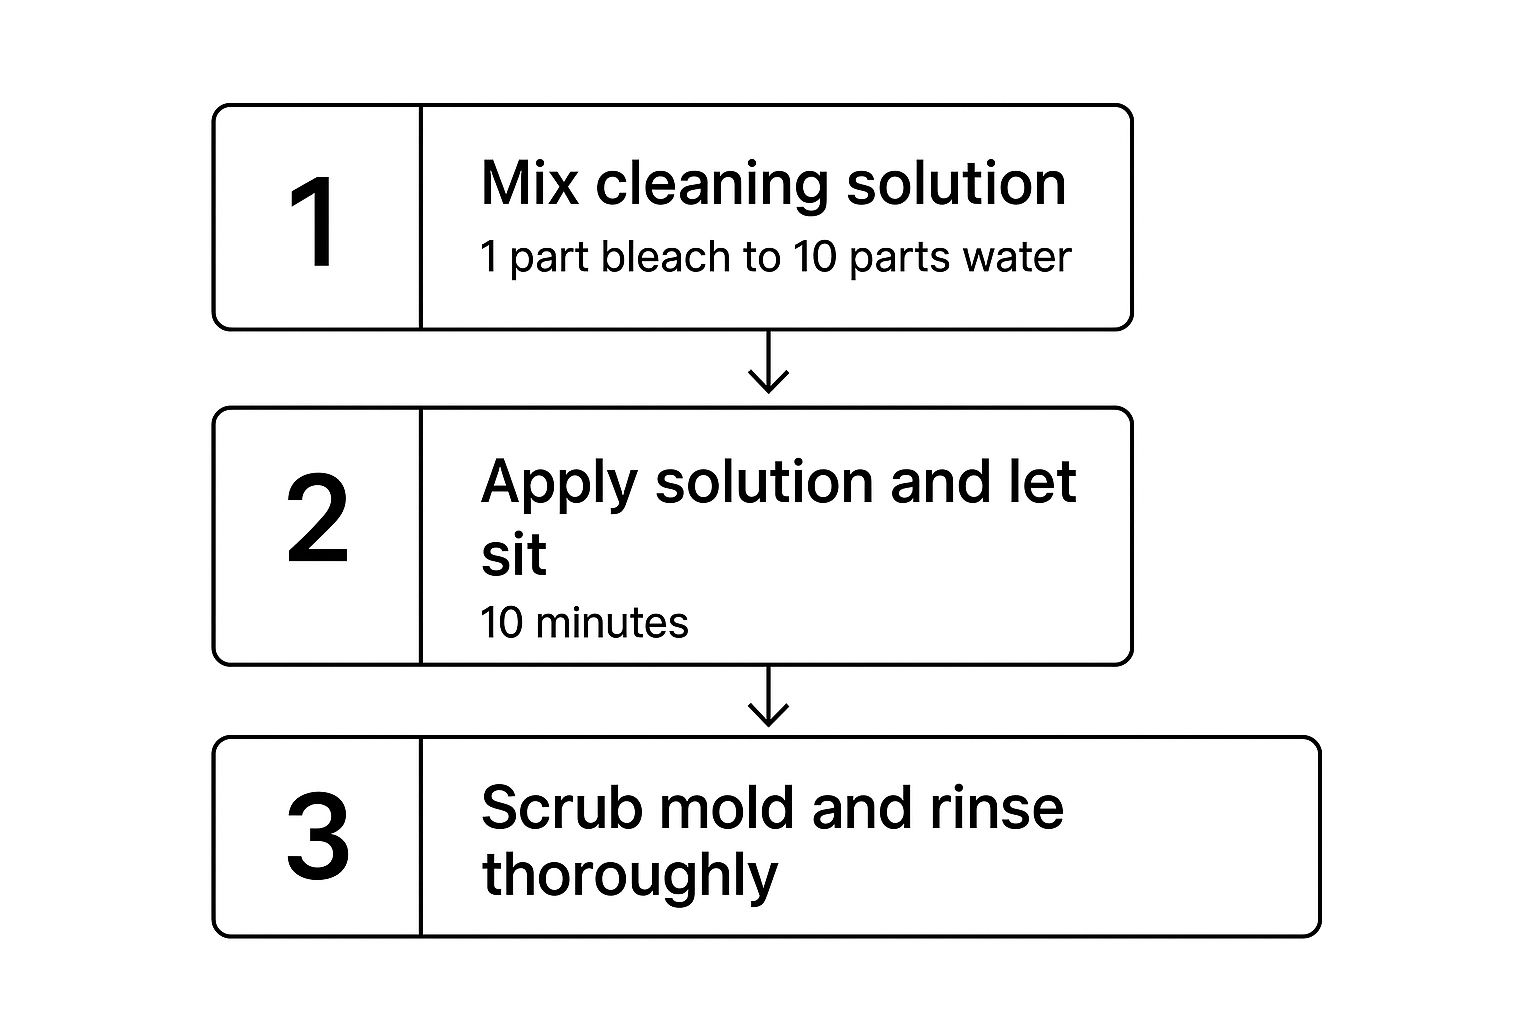
Letting your cleaning solution sit for at least 10-15 minutes is the most crucial step. This pause gives the active ingredients time to seep into porous surfaces like grout and actually kill the mold colony hiding underneath. If you rush this, you're pretty much guaranteeing the mold will be back in a week.
This simple infographic shows the basic flow using a bleach solution, but the principle applies to most cleaners.

As you can see, the process has multiple stages. Letting the solution sit is just as important as the scrubbing that comes next.
The Final Steps: Scrub, Rinse, and Dry
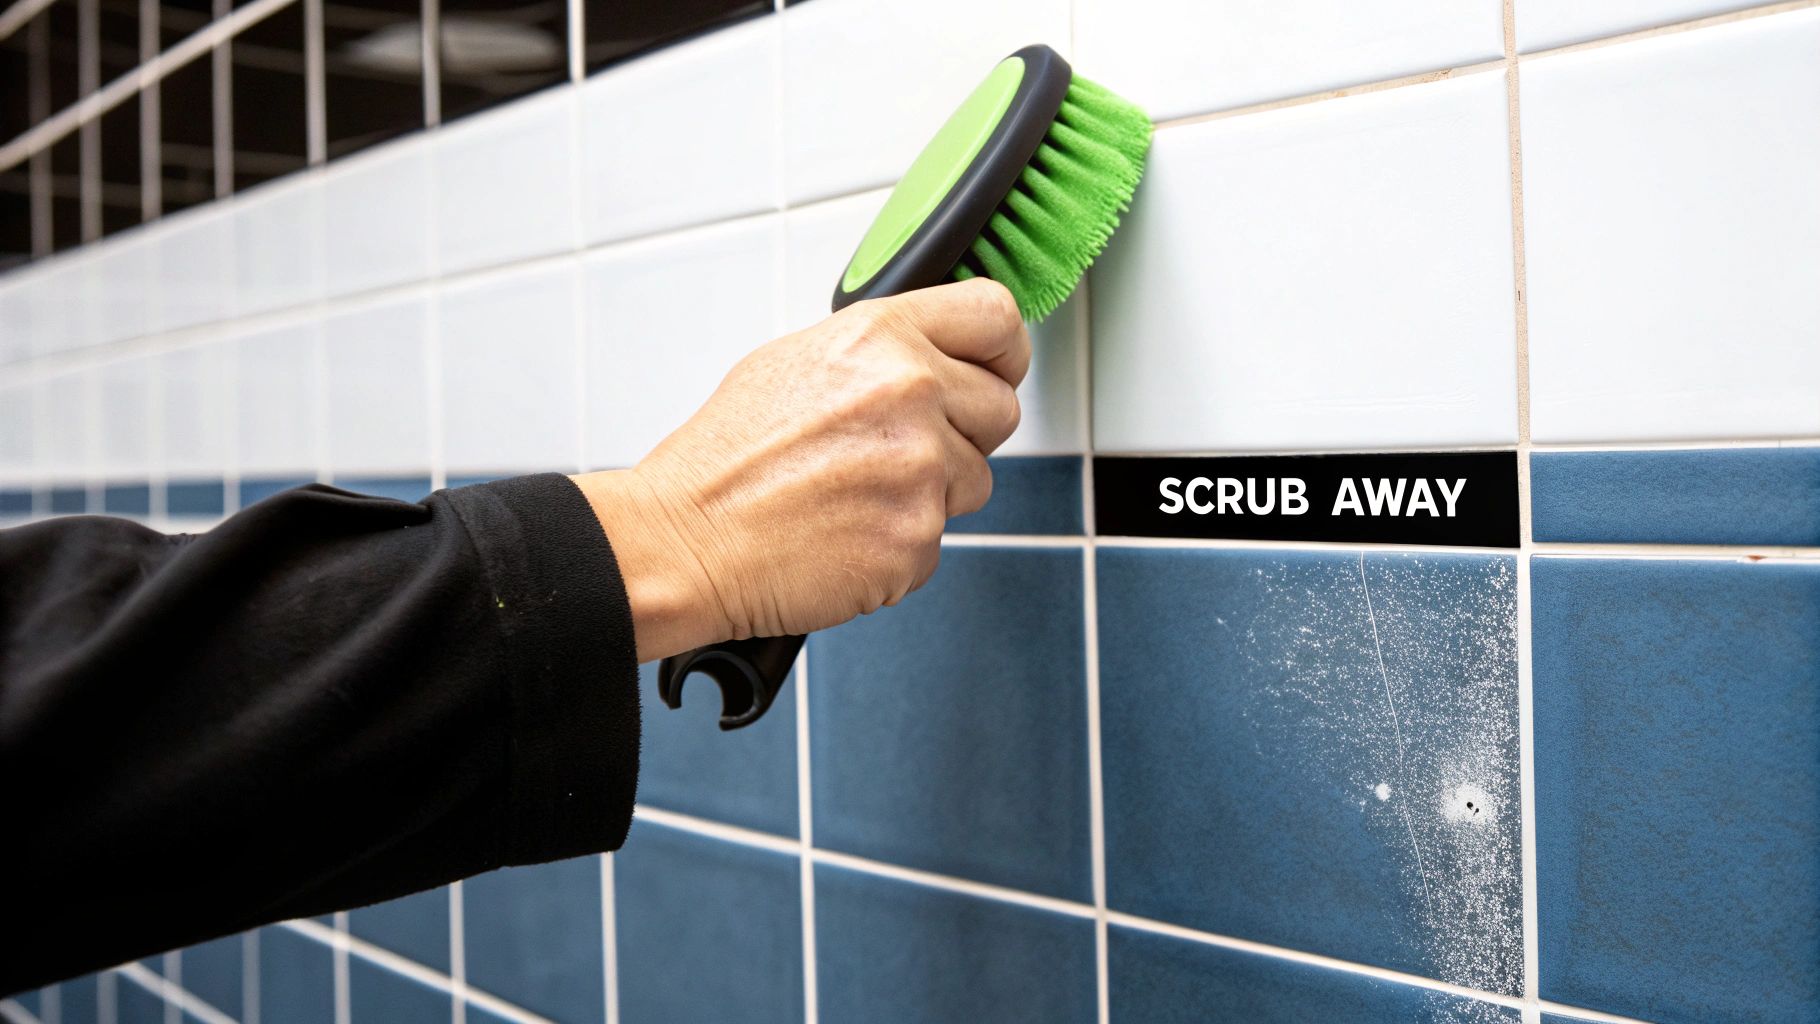
Once your timer goes off, grab a stiff-bristled brush and get to work. Use firm, circular motions to loosen the mold and lift it off the surface. An old toothbrush is a great tool for getting into those tight corners and deep grout lines. If you're looking for more ways to handle tough spots, check out our other bathroom cleaning tips.
After you've scrubbed every last spot, give the whole shower a thorough rinse with hot water. This washes away the dead mold spores and the cleaning solution residue. It’s more than just a cleanup—you’re removing the organic gunk that mold loves to eat.
Finally—and this is non-negotiable—you have to dry the shower completely. Use a squeegee, a microfiber towel, or even point a fan at it to get rid of every single drop of moisture. A damp shower is basically a welcome mat for mold, and we don't want to invite it back.
Dealing With Stubborn Mold Stains and Damage

So you’ve scrubbed with vinegar and put in some serious elbow grease, but those ugly black stains are still clinging to your grout and caulk. It's a common frustration, especially with porous materials that have been under attack for a while.
What you're seeing is the aftermath. The mold itself might be dead, but it's left behind a deep-set stain, almost like a tattoo on your shower.
Don't give up just yet. For those stubborn grout stains, try making a thick paste with baking soda and a little water. Apply this directly to the stained lines, let it sit for about 15-20 minutes, and then go at it with a stiff brush before rinsing. The mild abrasive action can often lift the last bits of discoloration without damaging the grout.
When to Clean and When to Replace
There comes a point where no amount of scrubbing will bring your shower back to its former glory. If mold has worked its way deep into the silicone caulk or completely penetrated the grout, you're fighting a losing battle. The only real, long-term solution is to replace it.
You’ll know it’s time to call it quits when:
- The caulk is peeling, cracked, or feels soft. This is a sure sign that moisture has gotten underneath, creating a perfect hidden breeding ground.
- The grout is crumbling or pitted. Compromised grout acts like a sponge for mold and moisture.
- Stains just won't budge after multiple deep cleans. This means the discoloration runs too deep to be removed from the surface.
A huge part of knowing how to get black mold out of a shower is recognizing when cleaning just isn't enough. Replacing old, compromised caulk and grout isn't just for looks; it’s a crucial step to eliminate the mold's home and stop it from coming right back.
Cutting out and replacing a bead of silicone caulk is a pretty straightforward DIY project. Just grab a utility knife, carefully slice along the top and bottom edges, and then pull the old strip out.
Once it's gone, clean the area thoroughly with rubbing alcohol and let it dry completely. Then, apply a fresh bead of 100% silicone, mold-resistant caulk. This gives you a waterproof seal that actively fights future growth—a clean slate and lasting peace of mind.
How to Keep Your Shower Permanently Mold-Free
Getting rid of black mold is only half the battle. The real victory is making sure it never comes back. The key is to transform your shower from a mold paradise into an environment where those stubborn spores just can't get a foothold. It all starts with a simple, one-minute routine after every single shower.
It's all about moisture control. Once you turn off the water, grab a squeegee and give the tiles and glass a quick wipe-down. After that, leave the shower door or curtain open and let your exhaust fan run for at least 20-30 minutes. This tiny habit pulls all that humid air right out of the room, starving mold of the dampness it desperately needs to grow.
Create a Mold-Proof Environment
Beyond daily habits, you need to think about long-term prevention. Dampness and visible mold in our homes are directly linked to some nasty respiratory health risks. In fact, studies from organizations like the WHO show why effective mold prevention is a public health priority, as it can significantly reduce the chances of respiratory infections. You can dig into the specifics about these health risks and prevention strategies on who.int.
Here are a few more proactive steps I always recommend:
- Weekly Maintenance: Give your shower a light spray-down once a week with undiluted white vinegar and just let it air dry. No scrubbing required.
- Smart Upgrades: If you're planning a bathroom refresh, choosing the right finish is crucial. Consider using the best paint for bathroom walls to fight humidity and mildew on the surrounding surfaces to give yourself an extra layer of defense.
- Wash Your Linens: Don't forget to regularly wash your shower curtain and bath mats. They're notorious for harboring sneaky mold spores.
The most powerful tool you have against black mold is controlling humidity. If you can keep your bathroom dry and well-ventilated, you've already won most of the fight.
These simple adjustments make a massive difference over time. For an even deeper dive, you can find more strategies in our complete guide on how to prevent bathroom mold. A few minutes of prevention each week will save you hours of scrubbing later on.
Your Shower Mold Questions, Answered
When you're staring down ugly black mold in your shower, a lot of questions pop up. Let's tackle the most common ones I hear so you can get to work with confidence.
Is It Safe to Clean Black Mold Myself?
For most small outbreaks (think less than 10 square feet), you can absolutely handle it yourself. But this isn't a job for just soap and water. You must gear up properly. An N95 mask, waterproof gloves, and goggles are non-negotiable. Those tiny spores get airborne fast, and you don't want to be breathing them in.
However, if the mold is covering a huge area, the musty smell is overwhelming, or you have asthma or other respiratory issues, don't risk it. That's the time to call in a professional.
Does Vinegar Really Kill Black Mold?
Yes, it absolutely does, and it's my go-to recommendation. Undiluted white vinegar is a powerhouse because its acidity kills mold right down to the root. This is critical for porous surfaces like grout, which is where mold loves to hide and grow back from.
Bleach might look like it's working because it whitens the surface, but it often leaves the underlying roots intact. Before you know it, the mold is back. For a real fix, spray straight vinegar on the mold, let it sit for at least an hour, and then give it a good scrub before rinsing.
Patience is your best tool here. Letting the vinegar soak gives it time to work its way into the grout and kill the mold’s entire root system. It’s the difference between a temporary fix and a lasting solution.
How Do I Know the Mold Is Truly Gone?
Once the area is scrubbed, rinsed, and completely dry, it should look clean. No dark spots, no lingering stains. The musty, damp smell should also be totally gone.
But the real test is time. If you see mold creeping back into the exact same spot within a few weeks, it's a clear sign the problem is deeper than the surface. This usually means the mold has gotten deep into the caulk or grout, and those materials will have to be completely removed and replaced to stop the cycle for good.
If that stubborn mold feels like a battle you'd rather not fight alone, Custom Maids is here to help. Our deep cleaning pros can get your bathroom sparkling again and give you total peace of mind. Check out our professional cleaning options to learn more.

