
Before you even think about grabbing a sponge, let's talk prep work. A truly deep clean is more than just a quick scrub-down; it's about setting the stage so your efforts actually pay off. The secret is to declutter the space, give it a hot water pre-rinse to loosen grime, and make sure you’ve got good airflow before you bring in any cleaners. Nailing this prep makes the actual cleaning so much easier.
Setting the Stage for a Spotless Tub
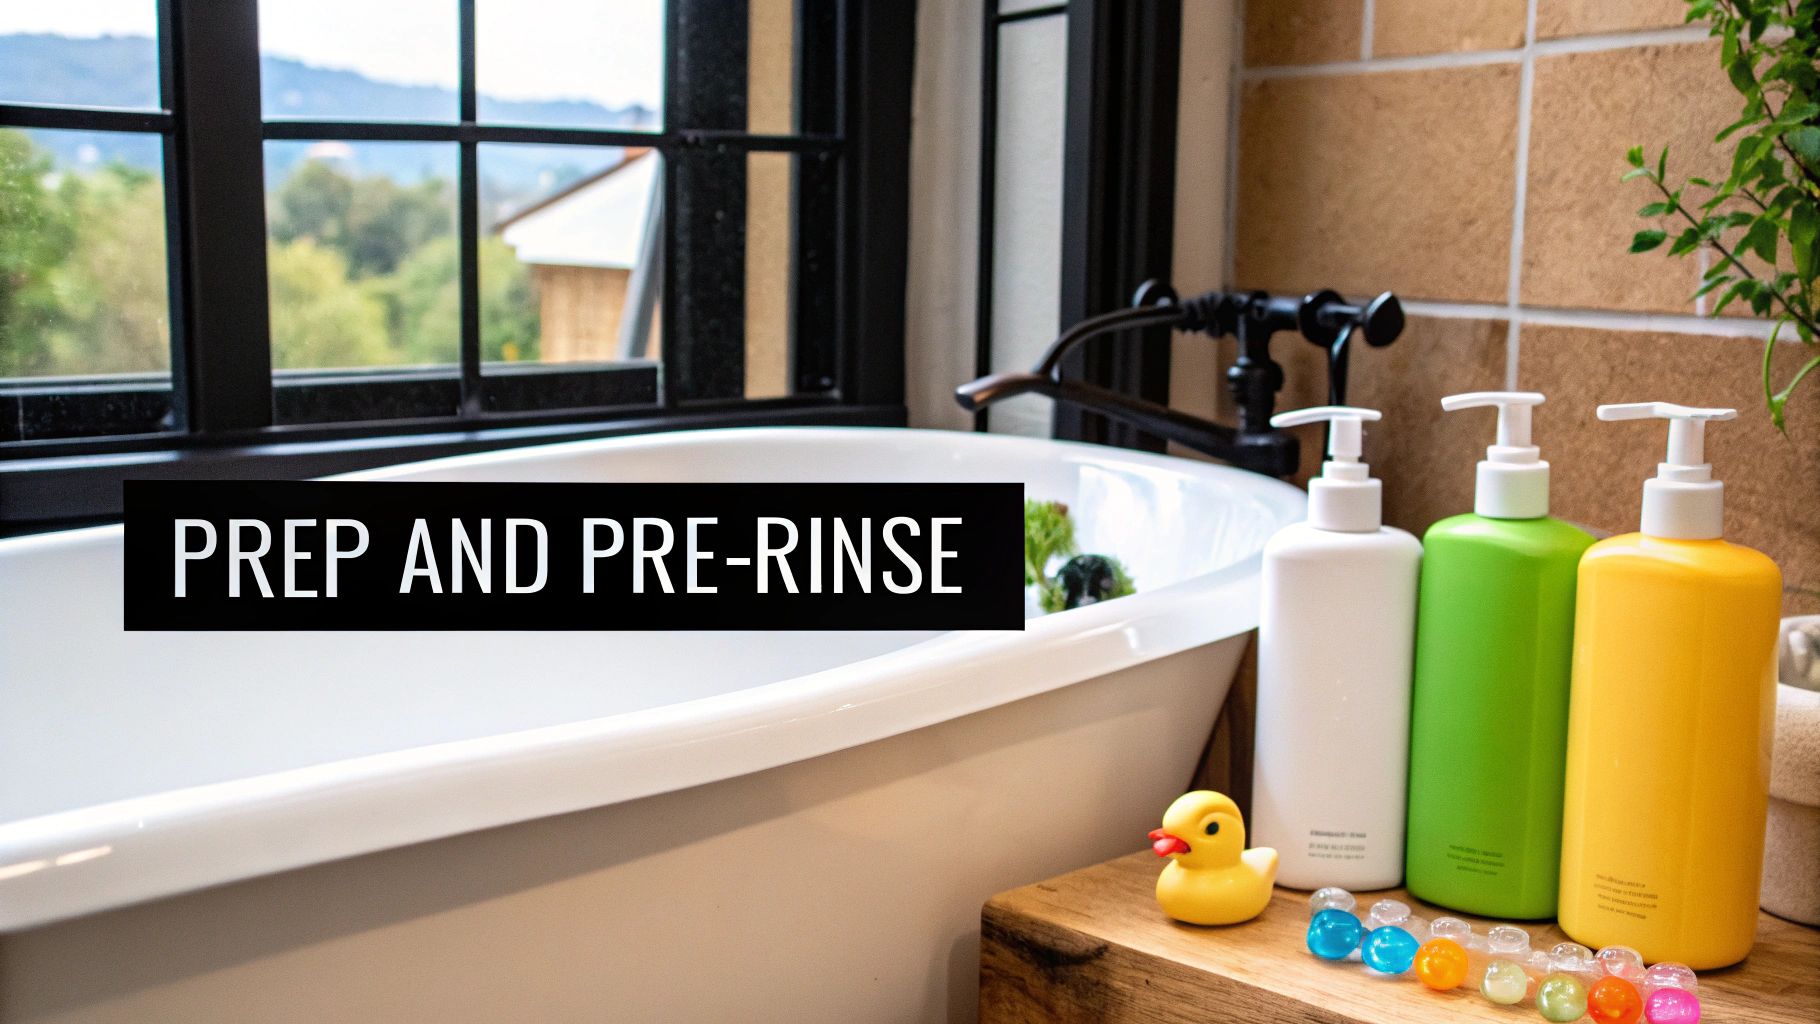
Taking a few minutes to prepare the area is probably the most critical part of the whole process. Think of it like creating a blank canvas. If you jump straight to scrubbing, you're just pushing clutter and loose gunk around instead of actually getting rid of it.
Clear Away the Clutter
First things first, get everything out of the tub and off the ledges. I'm talking about everything:
- Shampoo and conditioner bottles
- Bars of soap and body wash
- Razors and shaving cream cans
- The kids' bath toys and any loofahs hanging around
Toss them all into a bin or just set them on a towel outside the bathroom. This gives you a totally clear surface to work with, so you can get into every single corner without missing a spot. A cluttered tub is impossible to clean thoroughly.
The Power of a Pre-Rinse
Next up, give the entire tub a quick blast with hot water. Grab your showerhead and spray down the walls, the floor of the tub, and all the fixtures. This simple move does two key things: it washes away any loose hair and debris, and the heat starts to break down stubborn soap scum and body oils. That means less elbow grease for you later.
Professional cleaners never skip this step. It helps cleaning products work their way into the buildup more effectively, which translates to less time spent scrubbing. It's a classic case of working smarter, not harder.
Ensure Proper Ventilation
Last but not least, let's talk safety. Crack open a window or flip on the bathroom's exhaust fan to get some air moving. A lot of cleaning products—even the natural ones—can kick up some pretty strong fumes in a small, closed-off room. Good ventilation protects you from breathing that stuff in and helps any smells clear out faster.
This prep is especially crucial if your tub gets a lot of use. Did you know that in places like the UK, the average person takes four baths a week? Every single soak leaves behind a film of oils and soap residue, which is why this initial prep work is so vital for keeping your tub hygienic. You can learn more about how global bathing habits impact home cleaning routines.
Choosing The Right Cleaning Tools And Solutions
The secret to a sparkling bathtub isn't brute force—it’s about having the right gear. Using the correct tools and cleaners for your tub's material will not only save you time and elbow grease but also prevent irreversible damage. It’s a lot like cooking; the right ingredients and utensils make all the difference.
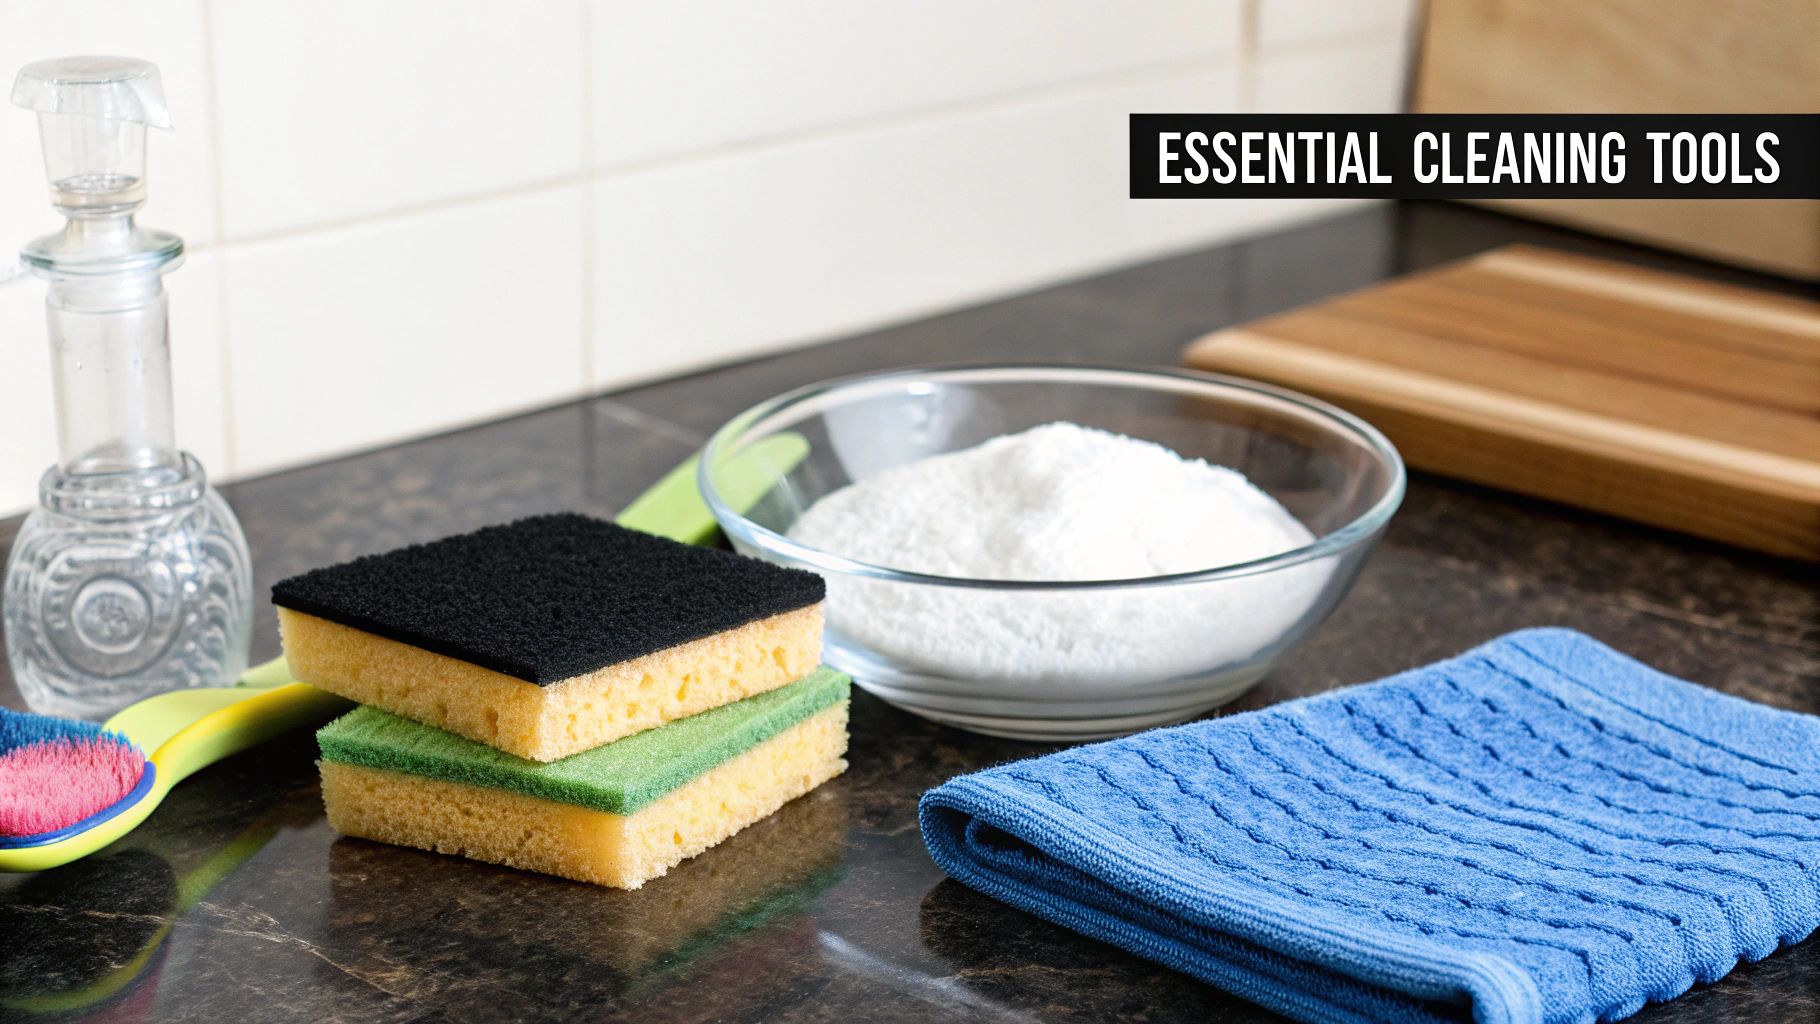
Assembling Your Bathtub Cleaning Arsenal
Before you even think about scrubbing, get all your supplies in one place. Trust me, there’s nothing worse than getting halfway through a job only to realize you need to hunt down a brush. A little prep goes a long way. To make sure you're fully stocked, our basic cleaning supplies checklist is a great place to start.
Here are the essentials I always keep in my bathtub cleaning kit:
- Non-abrasive scrub pads: These are your best friends for lifting grime without scratching delicate surfaces like acrylic or fiberglass.
- A good scrub brush: An old toothbrush or a dedicated grout brush is perfect for getting into tight corners, around the drain, and along pesky caulk lines where mildew loves to hide.
- Microfiber cloths: You’ll need a few of these—one for wiping down surfaces and a dry one for a final, streak-free polish.
- Rubber gloves: Non-negotiable. They protect your hands from hot water and cleaning solutions.
- A spray bottle: This is incredibly handy, especially if you’re mixing up your own DIY cleaner.
Natural Solutions vs. Commercial Cleaners
When it comes to the cleaning agent itself, you’ve got two main choices: DIY solutions from your pantry or commercial products from the store. Each has its place, and the best option really depends on your tub’s material and the kind of mess you're dealing with.
A common myth is that homemade cleaners aren't powerful enough. In my experience, a simple paste of baking soda and vinegar can cut through tough soap scum just as effectively as many store-bought options, especially on porcelain tubs.
So, when should you go DIY, and when should you grab a commercial cleaner? Here’s a quick comparison to help you decide.
DIY vs Commercial Bathtub Cleaners
| Solution Type | Best For | Pros | Cons |
|---|---|---|---|
| DIY Vinegar/Baking Soda | General soap scum, hard water stains | Affordable, non-toxic, gentle on most surfaces | May require more scrubbing, less effective on mold |
| Commercial Cleaner | Heavy-duty grime, rust stains, mold & mildew | Fast-acting, formulated for specific stains | Can contain harsh chemicals, may damage certain finishes |
For instance, if you have a modern acrylic tub, a harsh commercial cleaner could dull its finish over time. In that scenario, a gentler approach with a baking soda paste is a much safer bet.
On the other hand, a stubborn rust stain on an old cast-iron tub might need the targeted power of an oxalic acid-based commercial cleaner to really lift it. The key is to match the solution to both the problem and the surface. That's the real trick to a successful deep clean.
The Deep Cleaning Method That Actually Works
Alright, you've got your tools and the tub is prepped. Now for the main event. This is where a little patience and the right technique will completely transform that grimy tub into a sparkling oasis. It’s not about scrubbing harder; it’s about working smarter.
Apply Your Cleaner and Let It Dwell
The single biggest mistake I see people make is spraying and immediately wiping. Your cleaner—whether it's a store-bought spray or a homemade paste—needs time to do its job. This “dwell time” lets the active ingredients get to work breaking down soap scum, hard water stains, and grime. It does most of the heavy lifting for you.
Generously coat the entire tub surface with your cleaner. I always start from the top rim and work my way down to make sure I don't miss a spot. If you're using a paste, grab a sponge and spread it in a thin, even layer. Now for the most important part: walk away. Let it sit for at least 15-20 minutes. Don't rush this; it makes all the difference.
Giving your cleaner adequate time to sit is the secret weapon of professional maids. It dramatically reduces the amount of physical scrubbing required, saving both time and energy while delivering a much better result.
This process is so effective that it's the foundation of a booming industry. In fact, the market for professional bathroom cleaning is expected to hit $40.94 billion by 2031, largely because pros understand these simple but powerful techniques. You can learn more about the growth of professional cleaning services and the methods they use.
The infographic below breaks down the core steps of this super-effective cleaning process.
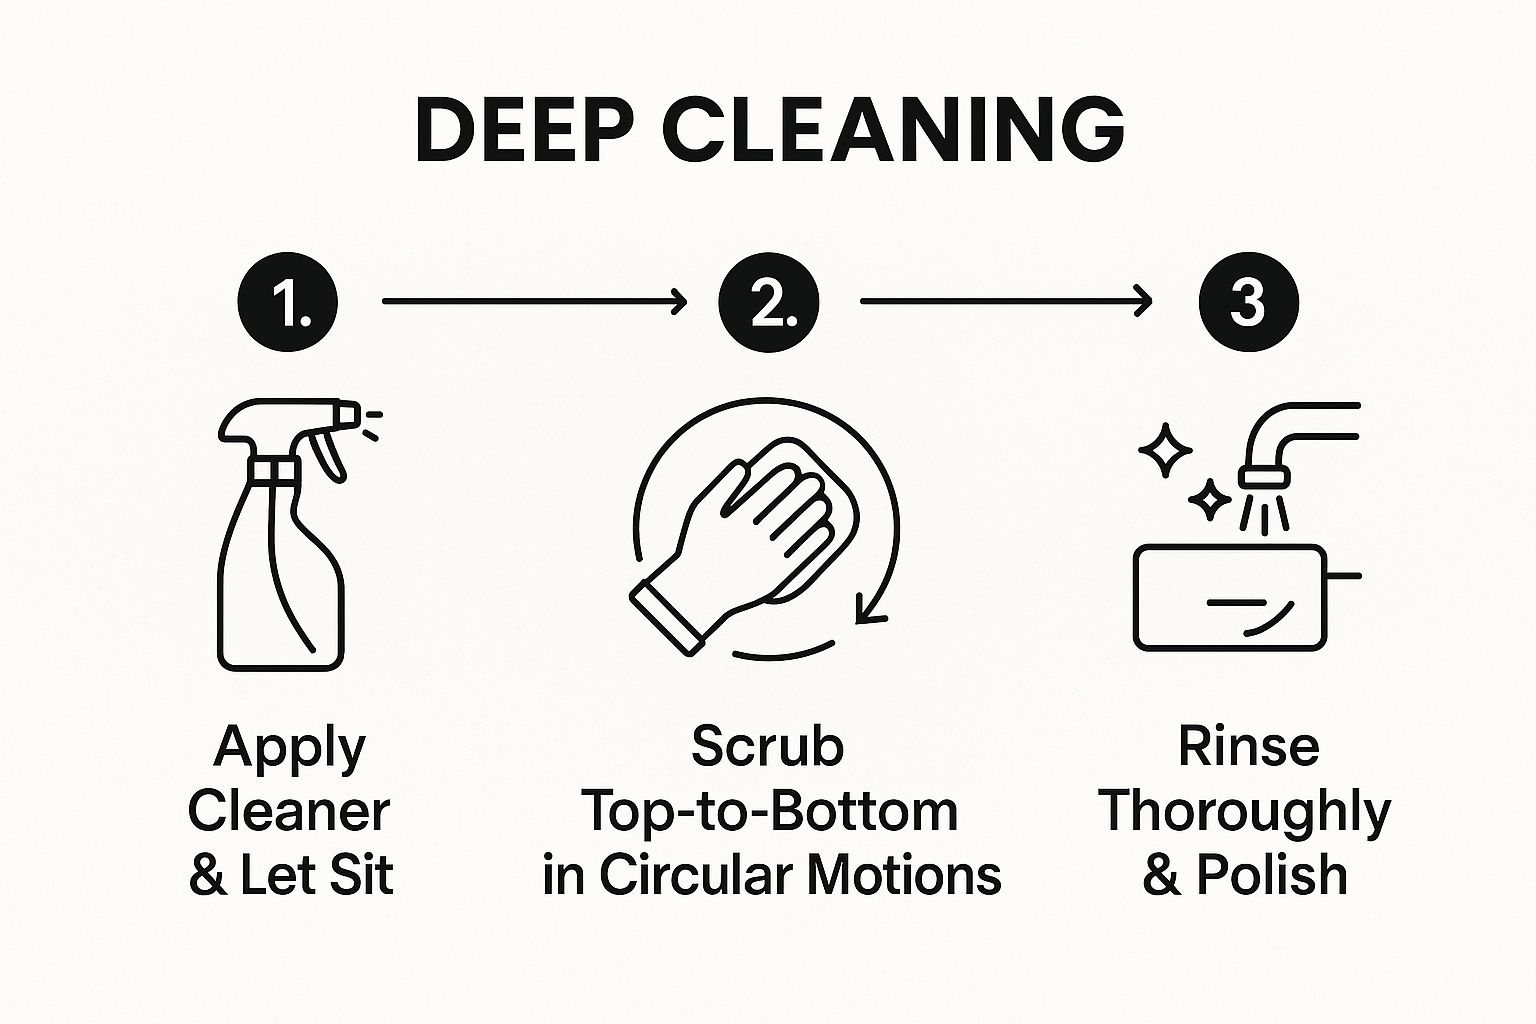
This visual guide reinforces the simple, three-part system that delivers professional results: apply and wait, scrub methodically, and rinse completely.
Master the Top-Down Scrubbing Technique
Once your cleaner has had time to work its magic, it's time to scrub. The most efficient way to tackle this is by working from the top down. Start with the tub surround or tiled walls, then move to the tub's inner walls, and finish with the floor. This way, any dislodged gunk falls onto an area you haven't cleaned yet, so you're not doing the same work twice.
Using a non-abrasive scrub pad or brush, work in small, circular motions. I find this lifts stubborn grime much better than just wiping back and forth. Apply firm, steady pressure, but let the cleaner and the scrubbing tool do the real work—no need to wear yourself out. For more complex jobs, our guide on essential deep cleaning checklists for professional maids can help you stay organized.
Don't Forget the Details
A truly deep clean means hitting the spots most people miss. These are the areas where gunk and mildew love to hide.
- The Drain: Use an old toothbrush or a small grout brush to get right around the drain. If the stopper comes out, remove it and give it a good clean separately.
- The Overflow Plate: That little metal plate near the top of the tub collects a surprising amount of soap scum and can even harbor mold. If you can, unscrew it and clean both the front and back thoroughly.
- Faucet and Fixtures: Grab your detail brush and get into all the little crevices around the faucet handles and spout. These spots often have mineral buildup that a quick wipe-down just can't handle.
A Thorough Rinse Is Non-Negotiable
Finally, it’s time to rinse, and this step is just as important as the cleaning itself. Use your showerhead to rinse every single inch of the tub, again working from top to bottom. Any leftover cleaning residue can become a sticky magnet for new dirt, which undoes all your hard work.
Keep rinsing until the water runs completely clear and you don’t see any more suds. Once that's done, you're ready for the final touches that will make your tub truly shine.
How to Conquer Stubborn Stains and Grime
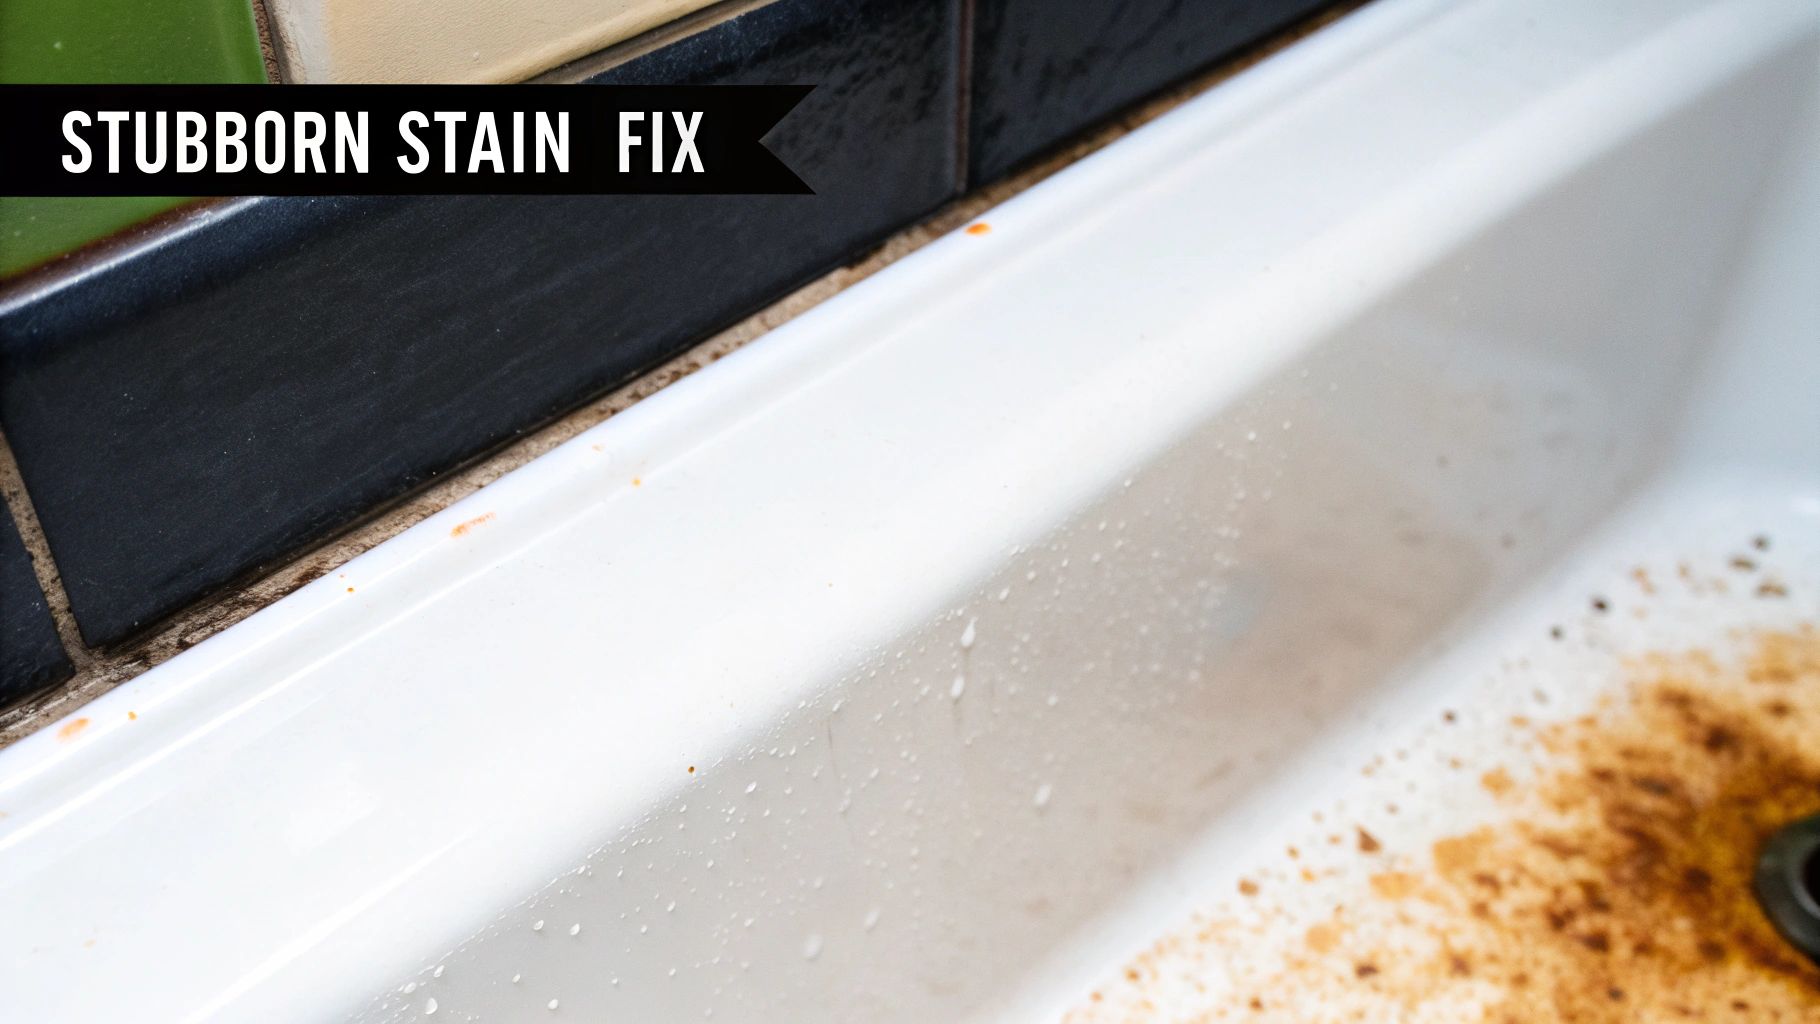
Sometimes, even after a good scrub-down, you’re left with those frustratingly stubborn spots. We've all been there—the rust rings, chalky hard water deposits, and that dreaded mildew creeping into the grout lines. These are the problem areas that a general cleaner just won't touch.
Don't get discouraged. This is where you move beyond a general clean and start troubleshooting like a pro. Most of these tough stains can be beaten with a little know-how and the right approach, without damaging your tub's surface.
Targeting Specific Bathtub Stains
Different stains need different tactics. A universal cleaner often fails because it's not formulated to dissolve specific mineral or metal deposits. Think of it like using the right key for the right lock.
Here’s my breakdown of how to tackle the most common culprits:
- Rust Stains: Often left by a shaving cream can or metal bath toy, these orange rings are a classic frustration. My go-to is a simple paste made from lemon juice and salt. The acid in the lemon juice dissolves the rust, and the salt gives you just enough gentle abrasion.
- Hard Water Stains: These chalky, white deposits are mineral buildup. The most effective weapon here is acid. Soak paper towels in white vinegar, lay them directly over the stains, and let them sit for at least an hour—or even overnight for really tough cases.
- Soap Scum: This milky, filmy buildup is a mix of soap residue, body oils, and minerals. A thick paste of baking soda and a few drops of dish soap works wonders. The baking soda is a mild abrasive, while the soap cuts right through the grease.
Remember, patience is key. Letting these targeted solutions sit is far more effective than trying to scrub them away with brute force. This "dwell time" does most of the heavy lifting for you.
Eliminating Mold and Mildew
Finding dark spots in your grout or caulk lines is disheartening but super common in damp bathrooms. For this, you need something that will both clean and disinfect. A solution of equal parts water and hydrogen peroxide in a spray bottle is a fantastic, less harsh alternative to bleach.
Spray it directly on the mildew, let it bubble for about 10 minutes, then get in there with a stiff grout brush or an old toothbrush. For a more detailed breakdown, you can explore our full guide on how to get rid of stains in your bathtub.
Cleaning Textured Tub Bottoms
Those non-slip surfaces are great for safety but notorious for trapping dirt. The tiny grooves become magnets for grime, leaving the area looking perpetually dingy no matter what you do.
The best way I’ve found to restore them is with a good scrub brush and a baking soda paste. The paste gets into the texture without being too abrasive, and the brush bristles can reach into grooves a sponge can’t. Work in small, circular motions to lift the embedded dirt, then rinse it all away.
Maintaining That Shine and Preventing Buildup
You’ve put in all that hard work to get your bathtub looking brand new, but don't close up shop just yet. The final, and arguably most important, step is setting yourself up for an easier time next month. A few simple habits can dramatically extend the life of your clean bathtub and stop that rapid buildup of soap scum and grime in its tracks.
The quickest trick in the book? Dry your tub after the final rinse. Grab a clean, dry microfiber cloth and give the entire surface a quick wipe-down, including the faucet and fixtures. This simple step prevents those annoying water spots that form when moisture evaporates and leaves mineral deposits behind. It takes less than a minute but makes a huge difference in keeping that brilliant finish.
Create a Simple Maintenance Routine
Consistency is your absolute best defense against buildup. You don’t need to spend hours scrubbing every week; a few smart, quick tasks will keep everything under control and make your next deep clean way less of a chore. Think of it as preventative care for your bathroom.
Here are a few habits I've seen work wonders for my clients:
- Daily Shower Spray: Keep a bottle of daily shower cleaner right in the shower. A quick spritz after the last person is done helps dissolve soap scum and oils before they have a chance to harden.
- Quick Wipe-Down: After a bath, use a squeegee or a small towel to wipe down the tub walls. This removes most of the water and residue that eventually turns into that grimy film.
- Weekly Refresh: Once a week, give the tub a quick spray with an all-purpose cleaner and wipe it down. This five-minute task stops grime from ever really setting in.
Adopting a simple maintenance schedule is the single most effective way to protect your hard work. It transforms what could be a daunting monthly deep clean into a quick and manageable touch-up.
Why Frequent Cleaning Matters
Staying on top of your tub isn't just about looks—it's also about hygiene, especially if you love a good soak. A recent Japanese study found that people who bathe four or more times a week report higher levels of happiness and better sleep.
That’s great news, but more frequent use also means more exposure to body oils and bacteria, making regular cleaning essential for a healthy home. You can learn more about the connection between bathing and well-being and see why this upkeep is so important. By staying on top of it, you ensure your relaxing soak remains a truly clean and healthy one.
Got Questions About Cleaning Your Bathtub?
Even when you have a solid game plan, a few questions always seem to pop up right when you’re about to start scrubbing. Getting the right answers can be the difference between a so-so job and a tub that truly sparkles. Let’s clear up some of the most common ones I hear from clients all the time.
Knowing the right frequency and products for your specific tub isn't just about cleaning—it's about smart maintenance. You want to clean effectively without accidentally causing damage down the road.
How Often Should I Really Deep Clean My Bathtub?
For most families, a good deep clean once a month is the sweet spot. This schedule is usually enough to keep heavy soap scum and grime from really setting in.
But that’s not a hard-and-fast rule. If your tub sees action from multiple people every day, you’ll probably find that a deep clean every two weeks keeps things looking much better.
The real secret? Pair your monthly deep clean with a quick weekly wipe-down. That little five-minute refresh makes the big clean feel way less like a major chore. If you start seeing visible grime, that’s your signal to clean, no matter what the calendar says.
Is It Safe to Use Bleach on an Acrylic Tub?
I’d steer clear of using straight bleach or any harsh abrasive cleaners on acrylic tubs. It’s a fast track to stripping the glossy finish right off, leaving the surface dull, porous, and even more likely to stain in the future. You can cause permanent damage really quickly.
If you absolutely feel the need to disinfect, a heavily diluted solution is your only safe bet.
- Mix just a few tablespoons of bleach into a full gallon of water.
- Apply it and let it sit for no more than two minutes. Seriously, set a timer.
- Rinse the entire tub immediately and thoroughly with clean water.
For regular cleaning, you are much, much better off sticking with gentler solutions. A simple vinegar and water spray, a baking soda paste, or a store-bought cleaner specifically marked as safe for acrylic will do the job without the risk.
Using the wrong cleaner is one of the biggest mistakes I see homeowners make. Always match your cleaning solution to your tub’s material to keep it looking great for years. An acrylic tub needs a gentle touch that a tougher porcelain tub might not.
What's the Best Way to Get Rid of Hard Water Stains?
Those chalky, stubborn hard water stains are just mineral deposits, and their natural enemy is acid. Your best friend here is plain old white vinegar.
For really tough spots, soak a few paper towels in undiluted vinegar and lay them directly over the stained areas, making sure they stick.
Let them sit for at least an hour—or even overnight if you’re dealing with some serious buildup. This gives the vinegar time to work its magic and dissolve the minerals. Afterward, just remove the towels, give the area a good scrub with a non-scratch brush, and rinse everything away.
Feeling overwhelmed just thinking about scrubbing grout and tackling tough stains? The team at Custom Maids has been delivering professional, sparkling-clean results to homes across Mid-Michigan since 1982. Let us handle the deep cleaning so you can enjoy a spotless home without lifting a finger. Learn more about our customized cleaning services and get a free consultation today.