
Cleaning your bathroom walls isn't just about aesthetics; it's about tackling the unique challenges this high-moisture environment throws at you. The key is using the right cleaner and method for your specific wall finish. A targeted approach is the only way to get rid of mildew, soap scum, and water stains without causing damage. Let's jump into the essentials so you can handle those stubborn spots like a pro.
Understanding Bathroom Wall Challenges
Bathrooms are a battleground against grime. The constant humidity is a breeding ground for mold and mildew, while soap residue builds up in layers if you're not careful. On top of that, mineral deposits from water can leave behind stubborn stains over time.
It's no surprise the household cleaners market is booming. Valued at USD 33.8 billion in 2021, it's projected to hit USD 47.07 billion by 2028. This 4.9% annual growth is driven by a greater awareness of hygiene to prevent common household illnesses, as detailed in this household cleaners market growth report.
Before you even think about scrubbing, get the room ready. Clear away any fixtures, lay down some drop cloths to protect your floors, and give the walls a quick once-over with a dry microfiber cloth. This initial dusting clears away loose particles and lets your cleaner get straight to the deep-seated grime.
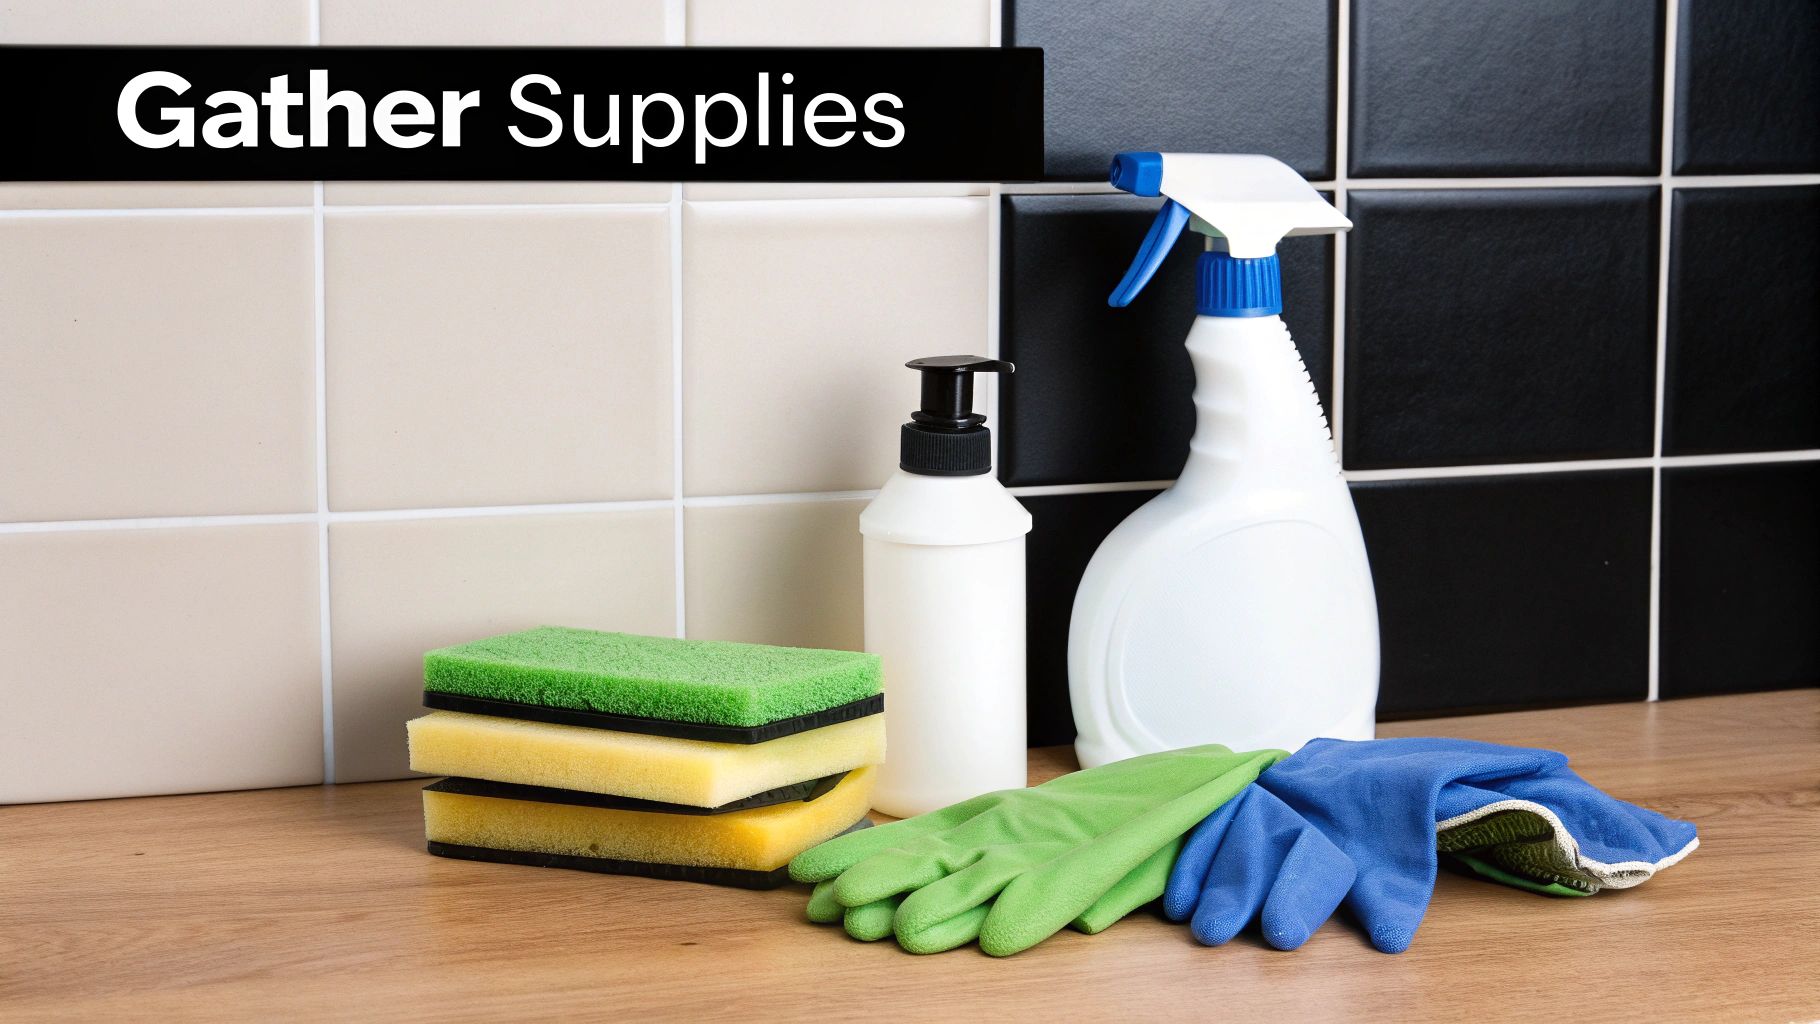
Your Bathroom Wall Cleaning Toolkit
Gather these essentials before you start. This is the gear that pros rely on for an efficient and effective clean.
| Item Category | Specific Items |
|---|---|
| Scrubbing Tools | Non-scratch sponge, soft-bristled brush, microfiber cloths |
| Cleaner Options | DIY vinegar mix, commercial mildew remover, gentle all-purpose cleaner |
| Protection Gear | Rubber gloves, safety goggles, optional mask |
With your tools ready, you're set up for success and can work through the cleaning process without any interruptions.
Key Takeaway: Regular cleaning is your best defense. It prevents stains from setting in, which saves you a ton of time and effort down the road.
Always, always work in a well-ventilated area. Run the exhaust fan and crack a window if you can. This simple step helps reduce humidity, speeds up drying time, and makes it harder for mildew to come back.
When you start scrubbing, use gentle, circular motions, especially on painted surfaces, to protect the finish. As soon as you're done with a section, rinse it with a clean, damp cloth to wipe away any residue.
And the golden rule? Always test your cleaning solution on a small, inconspicuous spot first.
Now that you're prepped, let's figure out the right cleaning solution for your specific wall finish.
Finding the Right Cleaning Solution
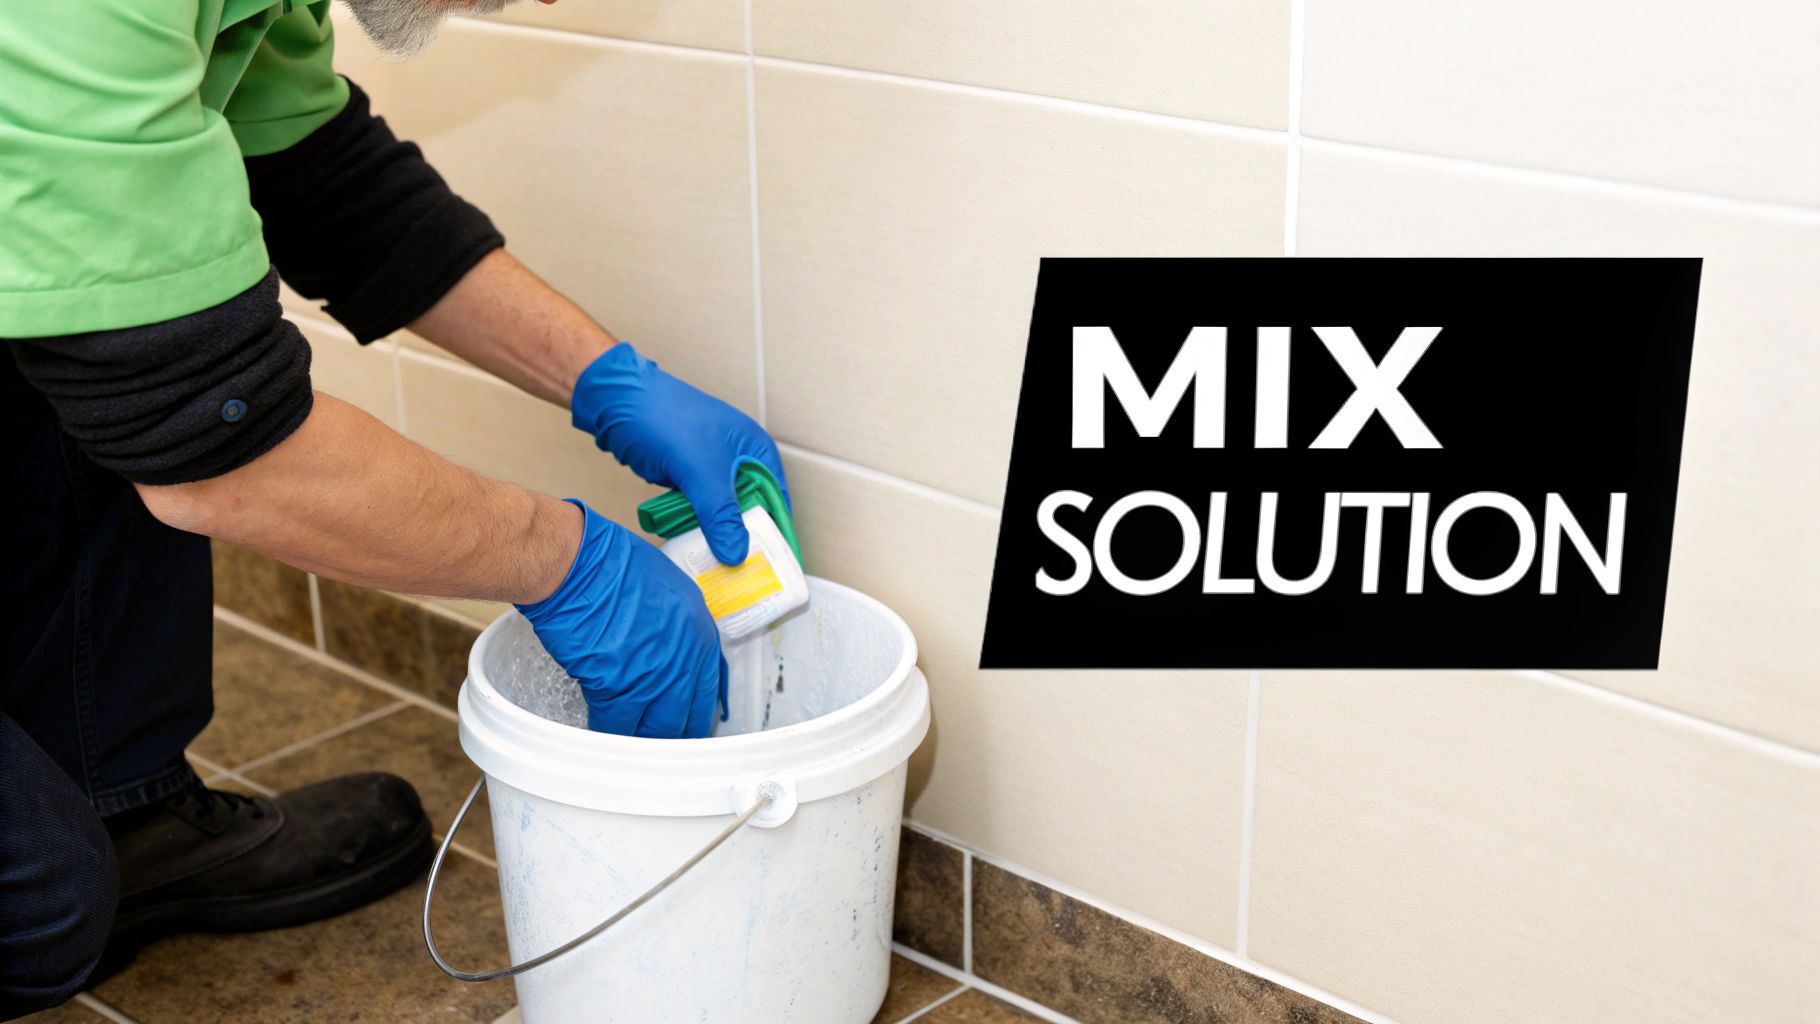
Not all bathroom grime is created equal. That means your cleaning solution shouldn't be a one-size-fits-all product, either. The right choice really comes down to what you're trying to clean—be it soap scum or mildew—and your wall's paint finish. Many of us are ditching harsh chemicals for simpler, effective DIY options that get the job done without the fumes.
A go-to for everyday soap scum is a simple mix of equal parts white vinegar and water, plus a few drops of dish soap. The vinegar’s mild acidity is a powerhouse for breaking down mineral deposits, while the dish soap cuts right through oils and grime. It’s perfect for the walls around your shower and sink. You can dive deeper into recipes like this in our guide to effective natural cleaning solutions.
Tackling Tougher Buildup
For those more stubborn spots like caked-on hairspray or the beginnings of mildew, you’ll need something with a bit more grit. A paste made from baking soda and water is a fantastic gentle abrasive. Just apply it directly to the stain, let it sit for a few minutes, then give it a gentle scrub with a soft brush or sponge. Easy.
If mildew is your main enemy, sometimes a commercial mildew remover is the best route. These are specifically formulated to kill the spores and stop them from coming back. It’s no surprise that the global bathroom cleaning products market was valued at USD 5.8 billion in 2023—people want solutions that work. You can learn more about the bathroom cleaning products market and see just how big the demand is for effective cleaners.
Safety First: Never, ever mix cleaning products, especially anything containing bleach and ammonia. This combination creates toxic chloramine gas. Always keep your bathroom well-ventilated by opening a window or running the exhaust fan while you clean.
Ultimately, the smartest approach is to match your cleaner to the problem. A gentle, all-purpose solution is fine for routine maintenance, but targeted cleaners are your best bet for specific stains. And remember to always test a new cleaning solution on a small, hidden spot first to make sure it won’t damage your paint.
The Wall Cleaning Process That Actually Works
Getting a genuinely clean, streak-free finish on your bathroom walls isn't just about scrubbing. The real secret is in the method, and it starts well before a single drop of cleaner touches the wall. Trust me, adopting a pro’s approach will save you from the usual headaches of drips, streaks, and missed spots. It’s all about working smarter.
First things first, prep the space. Move all your toiletries, towels, and decor off the counters and shelves. I also always lay an old towel or a cheap plastic drop cloth along the baseboards. This one simple step catches all the drips and saves you from a whole second cleanup job later.
Now, before you get anything wet, do a dry run. Grab a microfiber duster on an extension pole and give the walls a quick sweep from top to bottom. This gets rid of cobwebs, dust, and that sticky hairspray residue. This way, your cleaning solution can go straight to work on the actual grime instead of just making muddy streaks.
The Top-Down Technique
Ready to wash? Always, and I mean always, start at the top of the wall and work your way down. I like to tackle it in manageable sections, maybe about three feet wide at a time. This is the golden rule. It uses gravity to your advantage, preventing dirty water from running down over areas you’ve already cleaned—the number one cause of those frustrating streaks.
Apply your cleaner to a damp sponge or microfiber cloth, not directly onto the wall. Spraying the wall is a rookie mistake; the solution runs down too fast and you get an uneven clean. Wring your cloth out until it's just damp, not soaking. This gives you way more control and stops you from oversaturating the paint.
This image breaks down the scrub-and-rinse method that is so critical for a perfect finish.
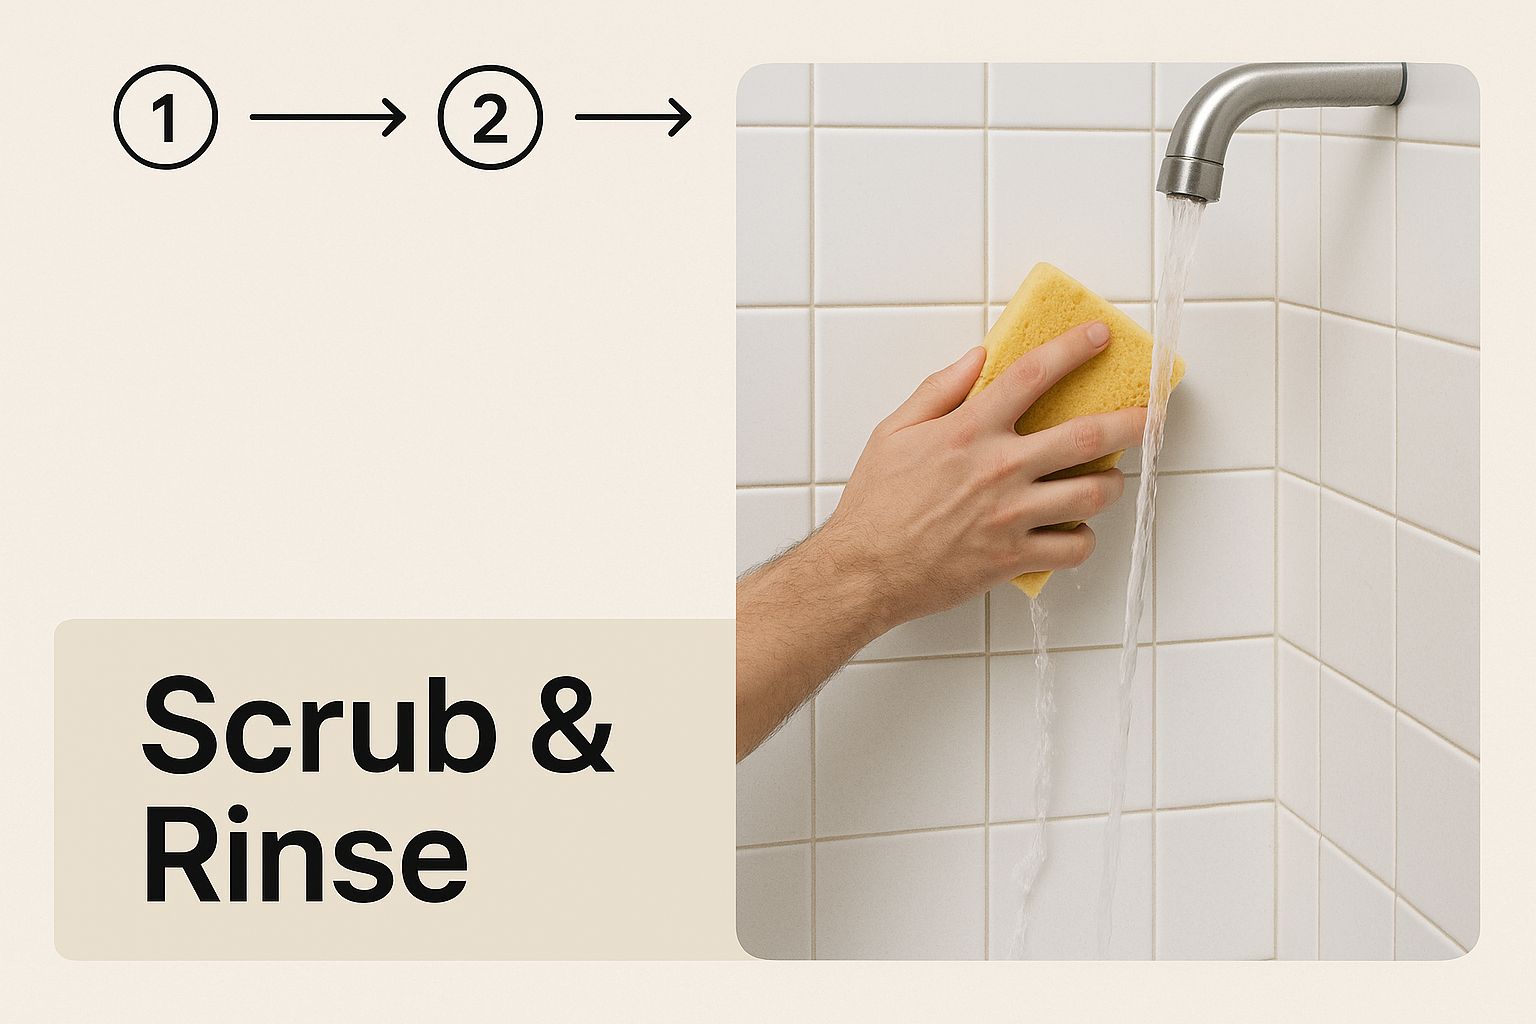
As you can see, it’s a two-part punch: one action to lift the dirt and another to completely wash it away.
After you've washed a section, the rinse is non-negotiable. Grab a separate, clean microfiber cloth, get it slightly damp with plain water, and wipe down the area to remove any leftover cleaning solution. If you skip this, you’re leaving behind a sticky film that actually attracts more dust and grime, meaning your walls will look dirty again in no time.
Pro Tip: Want to clean like a true professional? Use two buckets. Fill one with your cleaning mix and the other with clean rinse water. This simple setup stops you from transferring dirty, grimy water back onto the walls you just cleaned.
Finally, there’s the one step most people skip: drying. Take a completely dry, clean microfiber cloth and gently buff the walls after you rinse. It takes an extra minute, but this is what prevents water spots and leaves a polished, flawless surface. It's the secret to that perfectly uniform, just-cleaned look that really lasts.
How to Tackle Tough Stains and Mildew
Even with a solid cleaning routine, some bathroom wall stains just don't quit. I'm talking about that sneaky mildew in the corners, the chalky soap scum that builds up by the shower, or those stubborn water spots that seem to appear out of nowhere. This is when you have to switch from general maintenance to targeted problem-solving.
For mildew, a simple mix of one part bleach to three parts water is a powerhouse on non-porous surfaces. Just sponge it onto the affected area—and only that area—let it sit for about 10 minutes to knock out the spores, and then rinse it off completely. If you're not a fan of bleach, straight white vinegar works too. Spray it on, give it an hour, and wipe it clean.
Dissolving Stubborn Buildup
Soap scum and hairspray can leave a sticky, frustrating film that seems impossible to scrub away. The trick isn't to scrub harder, which can damage your paint. Instead, let a little chemistry do the heavy lifting for you. A simple paste of baking soda and water, applied directly to the gunk and left for 15 minutes, acts as a gentle abrasive that lifts the residue right off.
Of course, some spots are just extra tough and might call for a commercial cleaner. The market for surface cleaning products is huge—projected to hit around US$ 11.40 billion in 2023—because people need specialized solutions for these exact problems. If you're curious about this trend, a surface cleaning products market report has more details. For more tips on dealing with really difficult marks, this guide on how to remove stubborn stains has some great advice.
Key Takeaway: The secret to removing stubborn stains isn't brute force. It's using the right solution for the specific grime and giving it time to work before you start scrubbing.
Hard water mineral deposits are another beast entirely, often leaving behind chalky white or even rust-colored stains. These require an acidic cleaner to dissolve the minerals. We dive deep into this specific issue in our guide on how to remove hard water stains. And remember, no matter what you're using, always test any new cleaner on a small, hidden spot first to make sure it won’t damage your wall's finish.
Keeping Your Bathroom Walls Sparkling Clean
A deep clean feels incredible, but the real magic is in the day-to-day upkeep. Smart, simple habits are what stop grime from getting a serious grip, saving you from a ton of heavy scrubbing later on. It’s all about staying ahead of the game.
Think of it as a series of tiny, two-minute jobs. For instance, running a squeegee over your shower walls after you hop out is a total game-changer. That one little step removes over 90% of the moisture that invites mildew and soap scum. Another easy win? Let that exhaust fan run for an extra 15-20 minutes post-shower to suck all the lingering humidity out of the room.
Building Easy Maintenance Habits
These aren't big, time-consuming chores; they're small tweaks to your routine that deliver massive results. A quick weekly wipe-down of the high-splash zones—like behind the sink faucet or around the toilet base—prevents buildup before it even has a chance to start. All you need is a microfiber cloth dampened with your favorite all-purpose cleaner.
This approach dramatically cuts down the elbow grease needed for your next big deep clean. For a full playbook on keeping your bathroom spotless with minimal effort, check out our complete bathroom cleaning tips.
Expert Insight: The best way to keep walls clean is to tackle moisture and residue right away. A weekly wipe-down of problem spots means you won't need harsh chemicals or intense scrubbing, which helps preserve your paint and grout for years to come.
At the end of the day, preventing grime is so much easier than removing it. By adopting these small habits, you’ll keep your bathroom consistently fresh. You'll spend way less time on marathon cleaning sessions and more time enjoying a sparkling, healthy space. It's a simple trade-off that pays off every single week.
Common Questions About Cleaning Bathroom Walls
Even with the best instructions, there are always a few questions that pop up. Let's tackle the most common ones I hear so you can get to work without any second-guessing.
One of the biggest questions is how often you really need to clean your bathroom walls. If you have a busy, high-traffic bathroom or one that traps a lot of steam, a quick wipe-down every two weeks is a good idea to keep grime from building up. For a proper deep clean like the one we've covered, aim for every 3-4 months. But honestly, the real answer is: if you see mildew spots or grimy buildup, it’s time to clean.
Using Abrasives and Cleaning Special Surfaces
Another hot topic is magic erasers. Are they safe for painted walls? The answer is… sometimes. It’s best to use them carefully. A magic eraser is basically a super-fine abrasive, and it can absolutely wear away your paint finish, leaving a dull, noticeable spot—especially on satin or eggshell paints.
If you must use one, always test it somewhere hidden first. Use the lightest pressure possible and keep them far away from high-gloss paints, where any tiny scratch will stand out.
A Quick Word on Wallpaper: When it comes to wallpapered walls, you have to be gentle. First, make sure your wallpaper is the scrubbable or vinyl-coated kind. Then, use a soft sponge with a tiny bit of mild dish soap and water, wringing it out until it's barely damp. Wipe gently—never scrub—and immediately dry the area with a fresh microfiber cloth.
For any delicate or non-coated wallpapers, stick to dry methods like dusting to be safe.
So, what's the single best way to clean your walls? It really depends on the surface. For most painted walls, a simple vinegar and water mix handles everyday dirt just fine. But for that stubborn, sticky film from hairspray, an alkaline cleaner works much better without damaging the paint. And remember, never use abrasives on wallpaper—always check the manufacturer's instructions first.
Ready to let someone else handle the scrubbing and get your time back? The team at Custom Maids has been making homes in Mid-Michigan shine since 1982. Book your free, in-person or virtual consultation today!