
Ever hear the saying, "measure twice, cut once"? The same idea applies to cleaning your shower floor. The secret to a sparkling finish isn't just elbow grease—it's having the right tools and cleaners ready to go before you even start. Taking a few minutes to assemble your toolkit is the best prep work you can do to conquer built-up soap scum and stubborn grout stains.
Gathering Your Essential Cleaning Toolkit
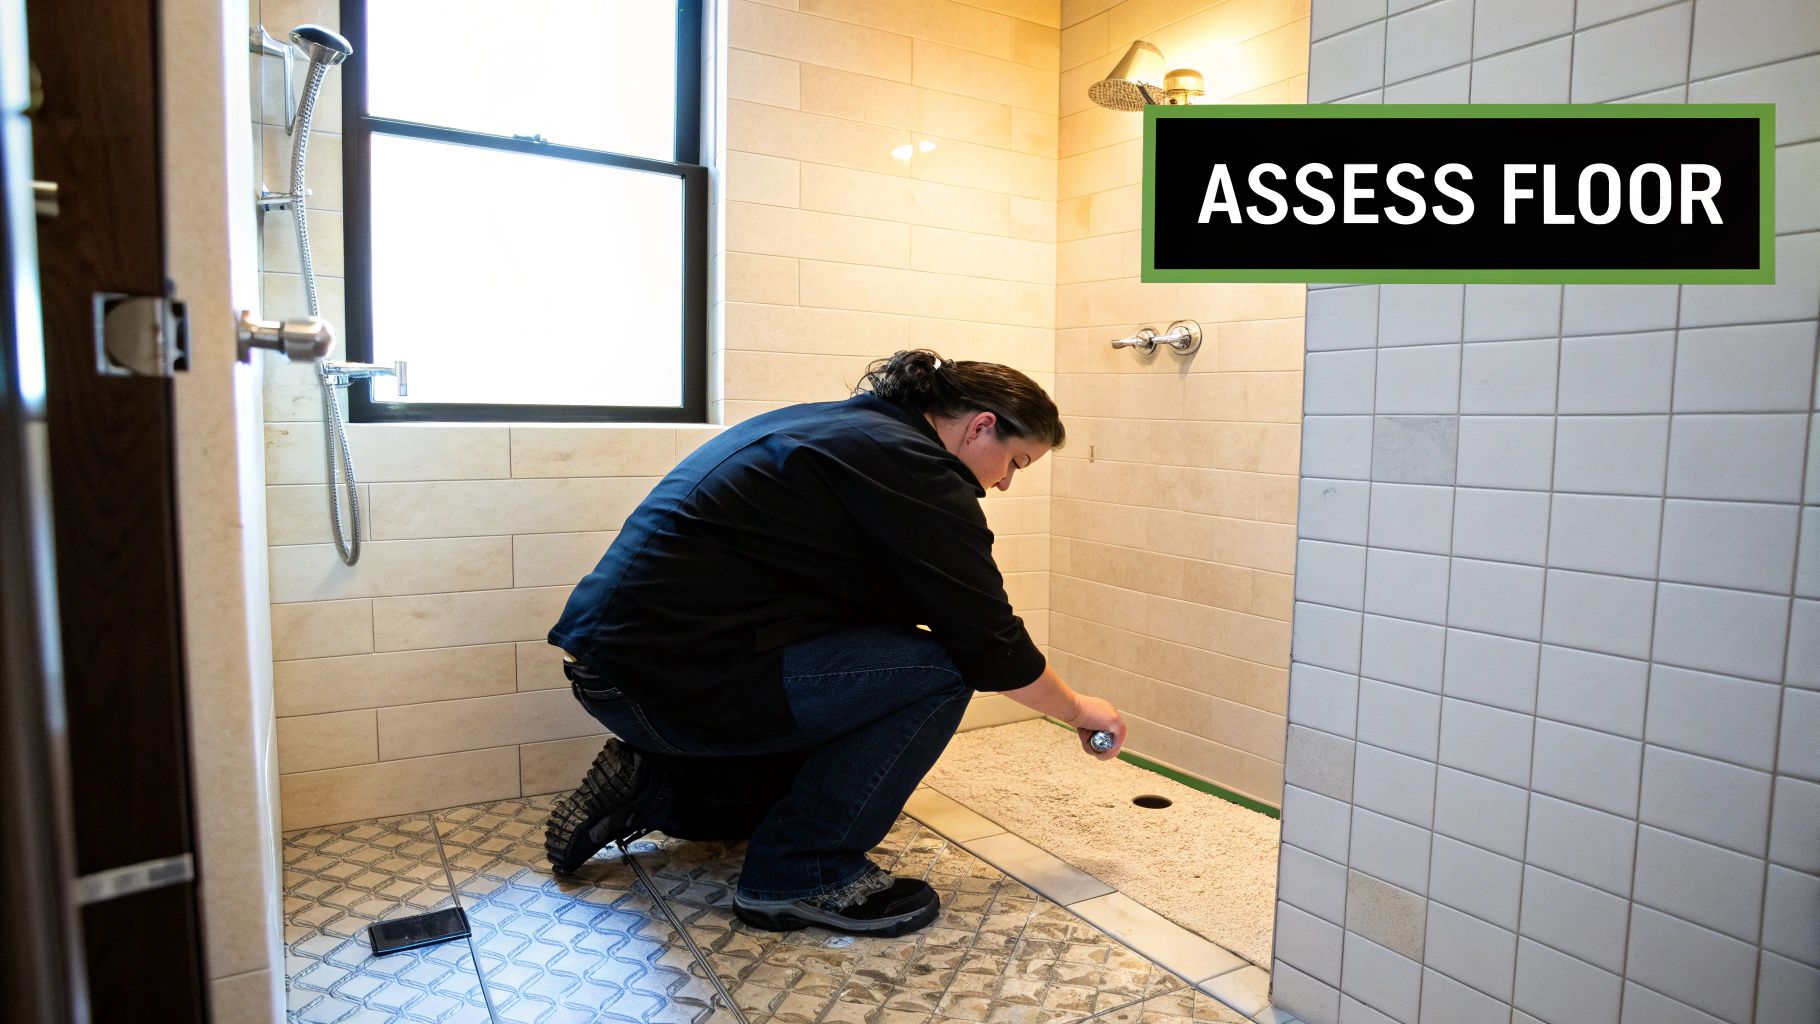
Before you start scrubbing, a quick inventory of your supplies will save you a ton of time and frustration. When everything is within arm's reach, you can stay focused on the task at hand. If you're curious, you can even explore a detailed list of what professional cleaners use to see how your home kit stacks up.
Choosing Your Cleaning Solution
Deciding on a cleaner is your most important move. The right choice completely depends on the type of tile you have. Durable porcelain and classic ceramic can handle stronger solutions than delicate natural stone like marble or travertine.
Picking the perfect cleaner can feel overwhelming with so many options out there. Should you grab a powerful commercial product or mix up a simple DIY solution? Both have their place. Let's break down the pros and cons.
Choosing Your Cleaning Solution
| Solution Type | Best For | Pros | Cons |
|---|---|---|---|
| Commercial Cleaners | Tough jobs like mold, mildew, and hard water stains. | Formulated for specific problems; often deliver fast, powerful results. | Can contain harsh chemicals; may not be safe for all tile types. |
| DIY Solutions | General cleaning and light-to-moderate soap scum. | Gentle, affordable, and made with common household ingredients. | May require more scrubbing; not all DIY mixes are safe for every surface. |
Ultimately, the best choice depends on your tile and the level of grime you're dealing with. A simple paste of baking soda and water is a fantastic, gentle abrasive for most tile types. For soap scum on porcelain or ceramic, a spray bottle with equal parts white vinegar and water works wonders. Just remember: never use vinegar on natural stone, as its acidity can permanently etch the surface.
Key Takeaway: Always, always test a new cleaner on a small, hidden spot first. This simple five-minute step can save you from widespread damage, especially on sensitive materials like travertine or slate.
Assembling Your Physical Tools
With your cleaner selected, it's time to gather your gear.
You absolutely need a stiff-bristled scrub brush—it's non-negotiable for agitating grime on the tile surfaces. For those pesky grout lines, a smaller, dedicated grout brush will give you the targeted pressure needed to lift deep-set stains. It makes a world of difference.
Don’t forget about safety! A good pair of rubber gloves will protect your hands from cleaners, and turning on your bathroom fan provides crucial ventilation while you work.
Executing the Perfect Shower Floor Deep Clean
Got your supplies? Great. Let's get that shower floor looking brand new again. The first, and most important, part of any deep clean is just getting everything out of the way. Pull out all the shampoo bottles, soap, razors, and loofahs. You need a completely clear surface to do this right.
Once it's empty, grab a small brush and dustpan and give the dry floor a quick sweep. This might seem like an extra step, but it gets rid of all the loose hair and debris that would otherwise turn into a soupy mess the second you add liquid. Trust me, it makes the scrubbing part way easier.
Applying Your Cleaner for Maximum Impact
Now it’s time for the cleaner. Be generous with it—you want to coat the entire tile floor, making sure you hit every single grout line.
But here’s the real pro tip: let it sit. Seriously. Most people jump right into scrubbing, but giving your cleaner a good 5-10 minutes to work its magic is a game-changer. This "dwell time" is what allows the active ingredients to penetrate and break down all that stubborn soap scum and hard water buildup.
Think of it like marinating a tough cut of meat. You're letting the cleaner do the hard work for you, tenderizing the grime so it comes off with a fraction of the effort. It makes a huge difference.
While the cleaner is working, crack open a window or flip on the exhaust fan. Good ventilation is always a smart move, especially if you’re using something with strong fumes.
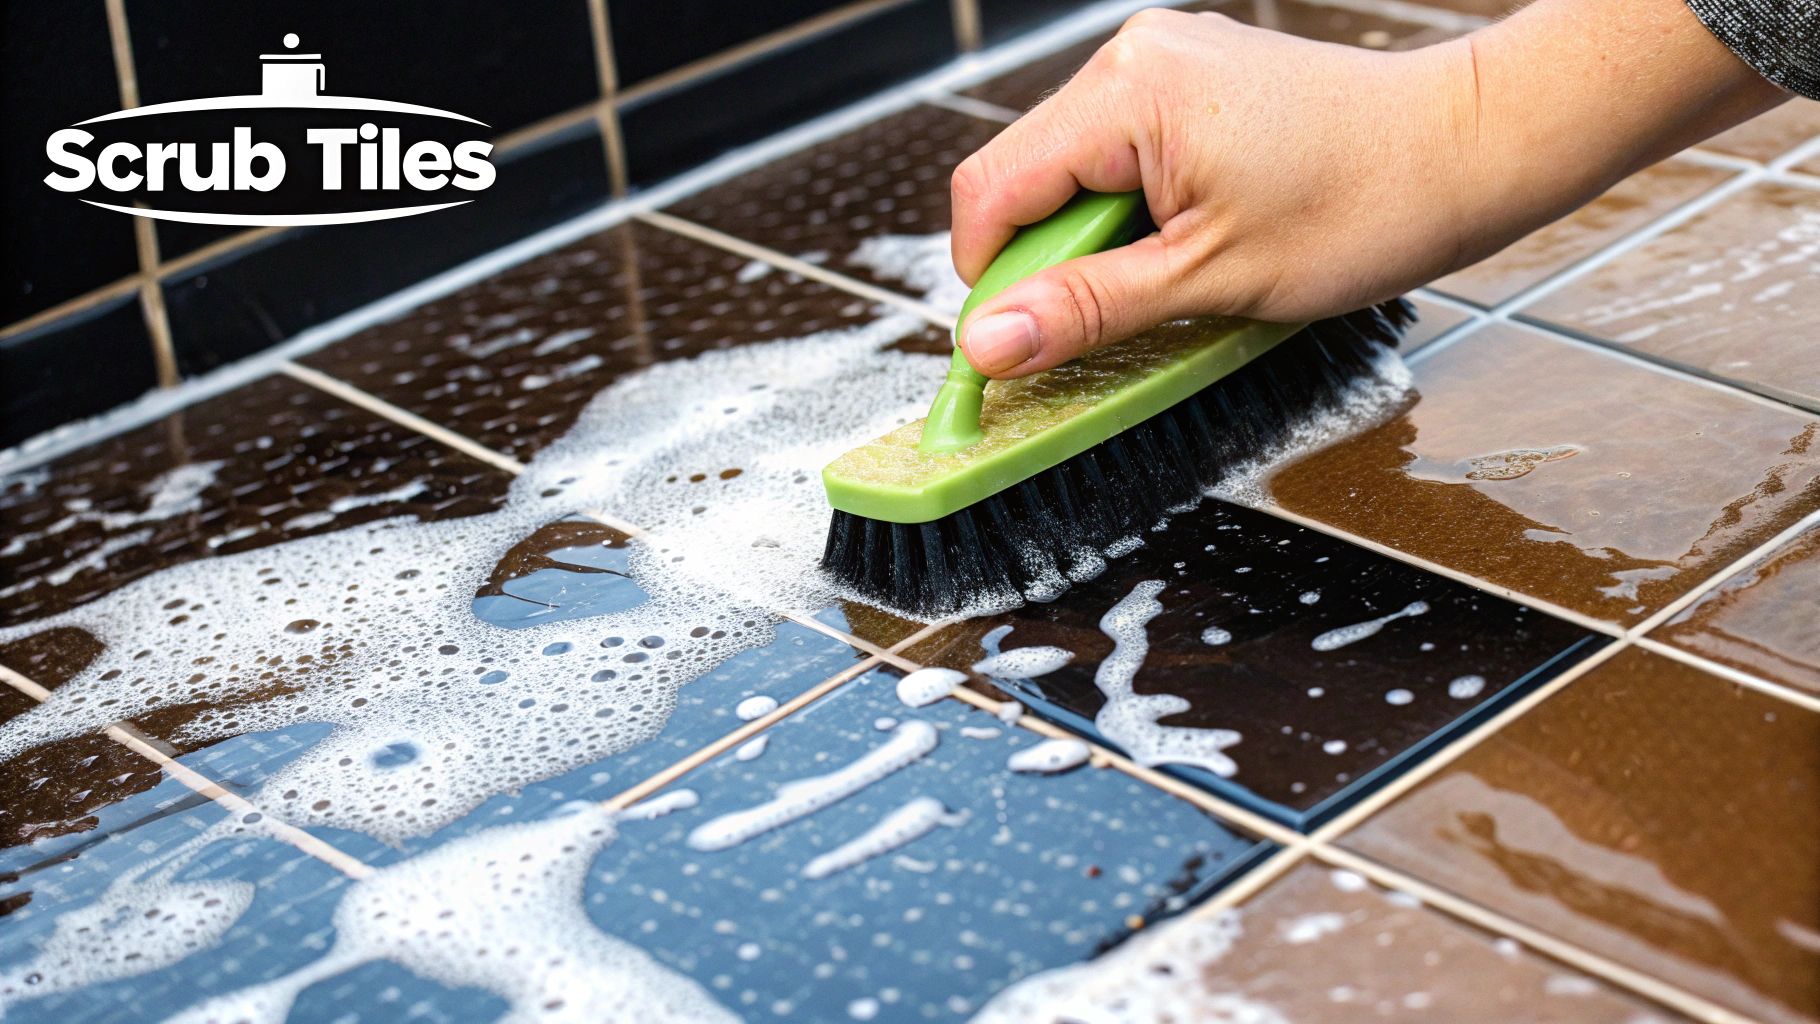
The Scrubbing and Rinsing Process
Once you’ve given the cleaner time to do its thing, it’s scrubbing time. A stiff-bristled brush is your best friend here. Work in small, circular motions across the tile to lift away all the gunk.
For the grout, you'll want to switch to a dedicated grout brush. Those smaller, tougher bristles are designed to get deep into the crevices where the real grime hides. If you want to get really into the weeds on this, our guide on how to clean tile and grout has some great additional pointers.
The infographic below highlights just how important it is to pick the right cleaner for your specific tile from the get-go.
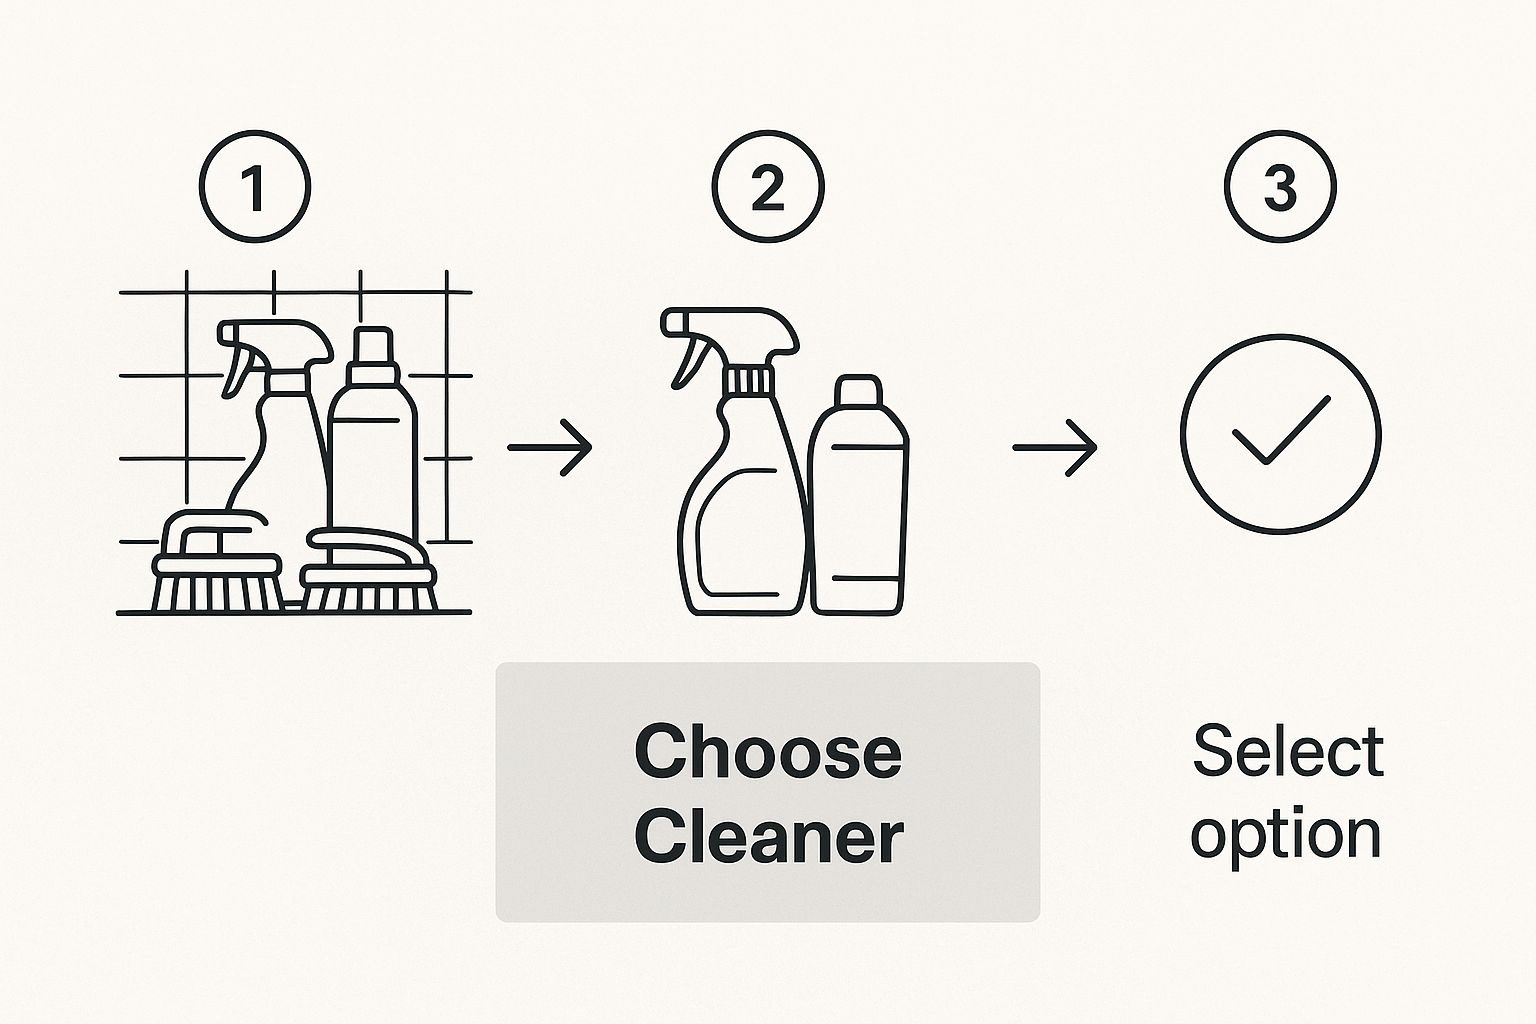
Whether you have porcelain, ceramic, or natural stone, using the correct product is the foundation for a clean that's both effective and safe for your tile.
After a thorough scrub, rinse everything down with warm water. Your shower head is perfect for this—make sure you wash away every last bit of loosened dirt and cleaning solution. Don’t rush this step! Any leftover residue can become a sticky film that attracts dirt even faster.
Last step: dry the floor completely with a microfiber cloth. This prevents new water spots from forming and makes it harder for mildew to get a foothold. You'll be left with a sparkling, clean finish.
Winning the Battle Against Grout Stains and Mildew
Let's be honest—even sparkling clean tiles can look grubby if the grout is stained. Grout is porous, which means it loves to soak up soap scum, dirt, and water. This unfortunately makes it the perfect home for mildew and stubborn discoloration.
To win this fight, you have to shift your focus from the tile surface to the lines in between. Your everyday cleaner probably won't cut it here.
For this job, you need something a bit more targeted. A simple paste made from baking soda and water is a fantastic, non-toxic place to start. Just apply it directly to the grout, let it sit for about 15 minutes, and then give it a good scrub with a grout brush.
Pro Tip: Don't try to tackle grout with an old toothbrush or a big scrub brush. A real grout brush is a game-changer. Its stiff, narrow bristles are specifically designed to get deep into those tight lines, giving you the leverage you need to lift stains effectively.
Tackling Tougher Stains
If the baking soda paste didn't quite do the trick, it's time to bring out the heavy hitters. An oxygen bleach solution (like OxiClean) is an excellent choice that's much safer on colored grout than harsh chlorine bleach.
Mix the powder with warm water according to the package directions. Apply it to the grout and let it bubble away for at least 10-15 minutes before scrubbing. You'll see it actively lifting organic stains and early-stage mildew.
For more serious mildew situations, it’s critical to know how to remove mildew the right way to make sure it doesn't come right back.
Once you’re done scrubbing, a thorough rinse is non-negotiable. Use your showerhead to wash away all the loosened grime and cleaning residue. The final, crucial step? Dry the floor completely with a microfiber towel. This prevents moisture from settling back into your freshly cleaned grout and keeps it looking great for longer.
Keeping Your Shower Floor Sparkling for Longer
You’ve put in the work, and your shower floor looks brand new. Now, how do you keep it that way? The last thing you want is for soap scum and grime to creep back in. The secret isn't more back-breaking scrubbing; it's all about building a simple, proactive maintenance routine. A few quick habits can make a world of difference and stretch the time between deep cleans.
One of the easiest tricks in the book is to keep a squeegee right there in your shower. After every use, a quick 30-second wipe-down of the floor and walls stops water from sitting around and leaving behind those pesky mineral deposits. Seriously, this one little habit is your best defense against hard water stains and soap scum buildup.
Create a Sustainable Cleaning Rhythm
When it comes to cleaning, consistency beats intensity every single time. Instead of waiting until you can see the grime, get into a simple rhythm that doesn't feel like a huge chore.
- Daily: Grab that squeegee or a microfiber cloth and give the floor a quick dry after the last shower of the day.
- Weekly: Give the floor a light misting with a pH-neutral daily shower cleaner. This will dissolve any fresh soap residue before it has a chance to harden into a problem.
- Monthly: Do a slightly deeper clean, paying extra attention to the grout lines to keep them looking bright and fresh.
Don’t forget about ventilation—it’s a huge piece of the puzzle. Always run your bathroom fan during your shower and for at least 20-30 minutes afterward. This simple step pulls moisture out of the air, creating an environment where mold and mildew just can't get a foothold.
A dry shower is a clean shower. Moisture is the number one ally of mold and mildew, so controlling humidity is just as important as scrubbing.
It's no surprise that homeowners are looking for better ways to maintain their tile. The global market for tile cleaners was valued at $3.6 billion in 2020 and is expected to climb to $5.8 billion by 2033. That growth shows just how many people are investing in keeping their showers looking great. You can see the full breakdown in this in-depth market report.
Common Cleaning Mistakes That Can Wreck Your Tile
Knowing how to clean your tile shower floor is one thing, but knowing what not to do? That’s just as important for protecting your investment. I’ve seen a few common missteps turn a simple cleaning job into a costly repair, and I want to help you avoid them.
One of the biggest mistakes I see is using the wrong cleaner for the tile. Acidic solutions like vinegar are fantastic for cutting through soap scum on ceramic or porcelain, but they will permanently etch and dull natural stone like marble, slate, or travertine. Don’t make that expensive mistake.
The Problem with Harsh Scrubs and Chemical Mixes
It’s tempting to grab the most aggressive tool you can find for tough grime, but steel wool or super abrasive scouring pads can leave behind thousands of microscopic scratches. These tiny scratches don't just dull the finish; they create new hiding spots for dirt and mildew to settle in.
Here’s a critical safety warning: never, ever mix cleaning chemicals. Combining products like ammonia and bleach creates toxic chloramine gas, which is a serious health hazard. Always stick to one product at a time and make sure you have plenty of ventilation.
Finally, a lot of people skip the final rinse. This leaves behind a sticky film that acts like a magnet for new dirt, undoing all your hard work almost immediately.
These days, it’s easier than ever to find the right product. With over 30% of cleaning products now sold online, a little research goes a long way. Global trends show shoppers are getting smarter—North Americans often seek out specialized cleaners for specific jobs, while Europeans tend to prefer eco-friendly formulas. You can dig deeper into these global cleaning market insights for additional product information.
Your Top Shower Floor Cleaning Questions, Answered
Even with the best game plan, you're bound to run into a few tricky spots. Whether you're wondering how often to tackle a deep clean or what to do about grout that just won’t come clean, getting these details right is what separates a decent shower from a sparkling one.
Let's dive into some of the most common questions we get.
How Often Should I Deep Clean My Tile Shower Floor?
For the average household, giving your shower floor a good, thorough scrub once a month is the perfect rhythm. This is usually frequent enough to keep that dreaded soap scum, mildew, and mineral gunk from setting up camp.
But of course, life isn't always average. If your home has hard water (hello, mineral deposits!), or if the shower sees a ton of daily traffic, you might need to bump that up to every two or three weeks.
My best advice? Clean it before it looks like it needs it. If you wait until the grime is obvious, you’re in for a much tougher scrubbing session.
A few simple habits, like a quick squeegee after each shower, can make a huge difference and stretch the time between those deep cleans.
Can I Use Vinegar On All Types of Shower Tile?
Absolutely not, and this is a big one. Vinegar is a fantastic, natural cleaner for ceramic and porcelain tiles. Its acidity just melts away soap scum and hard water stains like magic—a simple 50/50 mix with water does the trick beautifully.
However, that same acidity is a complete nightmare for natural stone. If you use vinegar on marble, travertine, granite, or slate, you'll cause etching. That's a type of chemical damage that permanently dulls the finish, and there's no going back from it.
For any natural stone, always stick to a pH-neutral cleaner made specifically for that material. It’s the only way to clean it without risking irreversible damage.
What Can I Do If My Grout Is Permanently Stained?
So you've hit the grout with everything you've got—oxygen bleach, heavy-duty scrubbers—and those stains just aren't budging. It happens. Sometimes, the discoloration is just too deep to remove. But don't lose hope! You have a couple of great options to bring it back to life.
- Grout Colorant: Think of it as "grout paint." These products are designed to be applied right over your old, stained grout lines. They seal the grout and give it a fresh, consistent color. It’s a game-changer.
- Grout Replacement: This is the more intensive option. You can have the old grout professionally removed and replaced with new grout. It's more work and costs more, but the result is a flawless, brand-new finish.
Feeling like deep cleaning your shower is a job best left to the pros? We get it. The team at Custom Maids has been making showers sparkle for over 40 years. Let our experienced professionals do the heavy lifting for you.
Learn more about our customized cleaning services and schedule your free consultation today