
To get your plastic bathtub sparkling, the secret is a gentle touch. A simple paste of baking soda and water or a spray of distilled white vinegar works wonders. This combo safely lifts soap scum and stains without scratching that delicate surface. Stay far away from harsh chemical cleaners and scouring pads—they'll cause permanent damage.
Understanding Your Plastic Bathtub
Before you reach for the first bathroom cleaner under the sink, it’s crucial to know what you’re working with. Plastic bathtubs, usually made from acrylic, have a much softer and more porous surface than old-school porcelain or enamel tubs. This makes them incredibly easy to scratch and damage with abrasive powders or harsh solvents.
Acrylic tubs became a household staple starting in the 1990s because they’re lightweight and affordable. But as any cleaning pro will tell you, this material needs a gentle hand. Aggressive scrubbing or using the wrong chemicals will quickly dull the finish, creating tiny scratches that just end up trapping more dirt over time. For more tips on maintaining different types of tubs, check out this guide from NAR.realtor.
The Golden Rule of Cleaning Plastic
The main goal is simple: clean effectively without causing harm. Your best friends here will always be soft cloths and mild, non-abrasive cleaning solutions. Think of it less like scrubbing a grimy pot and more like polishing a sensitive piece of furniture.
The biggest mistake I see homeowners make is treating their plastic tub like an indestructible, all-purpose sink. A gentle, consistent cleaning routine is far more effective than an occasional aggressive scrub-down.
This guide is all about techniques that work with the material, not against it. You'll see how to use simple household ingredients to lift grime and restore that beautiful shine safely. All it takes is a little patience and the right supplies. By ditching the harsh methods, you won't just get your tub clean—you'll preserve its finish for years, keeping it looking bright and new. Trust me, this simple shift in approach makes all the difference.
Gathering Your Scratch-Free Cleaning Toolkit
Before you even think about scrubbing, let's talk tools. Getting the right supplies together is the secret to a successful clean that won't leave your plastic tub looking worse for wear. The whole point is to avoid anything abrasive that can etch tiny micro-scratches into the soft acrylic surface.
Those little scratches are a bigger deal than they sound—they don't just dull the finish, they also become magnets for future dirt and grime.
Your absolute best friend for this job will be a set of soft microfiber cloths. Their tiny fibers are incredible at grabbing and holding onto dirt without scratching. If you run into a stubborn spot that needs a little more convincing, a non-abrasive sponge or a soft-bristle brush is the way to go. Just promise me you'll stay far, far away from steel wool or those aggressive green scouring pads.
Your Essential Supply List
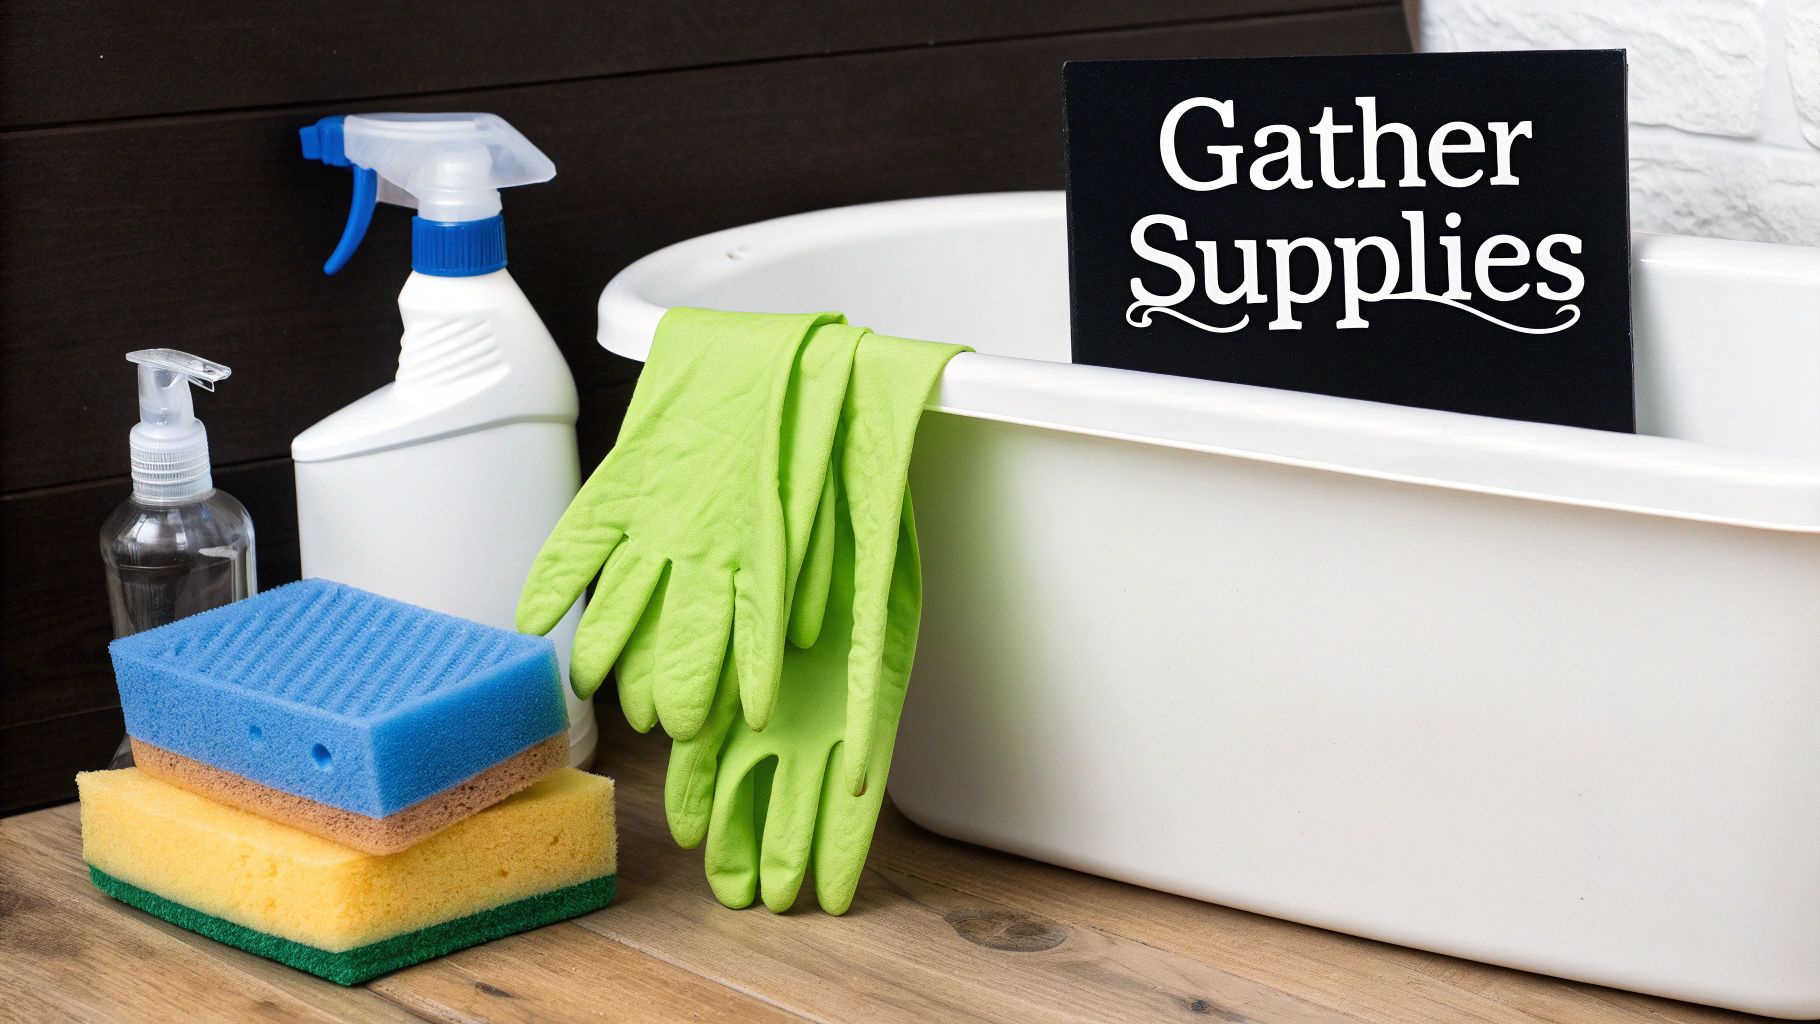
Here’s a quick rundown of everything you’ll want within arm's reach:
- Soft cloths: Grab at least two microfiber cloths. You'll use one for cleaning and the other for drying and buffing.
- Non-abrasive scrubber: A soft sponge or a simple nylon brush will handle any tougher areas without causing damage.
- Spray bottle: Perfect for applying your homemade cleaning solutions evenly across the tub's surface.
- Protective gloves: It’s always a smart move to protect your hands, even when you're using gentle, natural cleaners.
Think of this toolkit as an insurance policy for your bathtub’s glossy finish. By sticking with soft materials, you ensure you’re only removing the grime—not the shine along with it.
With this simple set of tools, you're all set for a safe and effective cleaning session. For a more comprehensive look at what to keep in your cleaning arsenal, our guide to a basic cleaning supplies checklist has you covered.
A Natural Method for a Sparkling Clean Tub
Forget the harsh chemicals and overwhelming fumes. You can get a sparkling clean plastic bathtub using simple, effective ingredients you probably already have in your kitchen. This natural approach is not only safer for your home's air quality but also gentler on the delicate acrylic surface, preventing scratches and keeping its shine.
The first move is always to clear the stage. Remove any shampoo bottles, soap dishes, and bath toys from the tub and its ledges. This simple action gives you an unobstructed surface to work with, ensuring no spot gets missed.
Next, give the entire tub a quick rinse with warm water from the showerhead. This isn't about deep cleaning yet; it's about washing away any loose hair, dust, or surface gunk. Think of it as prepping your canvas. A minute or two is all it takes to get the surface ready for the real work.
This simple prep work makes sure you're cleaning the tub itself, not just pushing around loose debris.
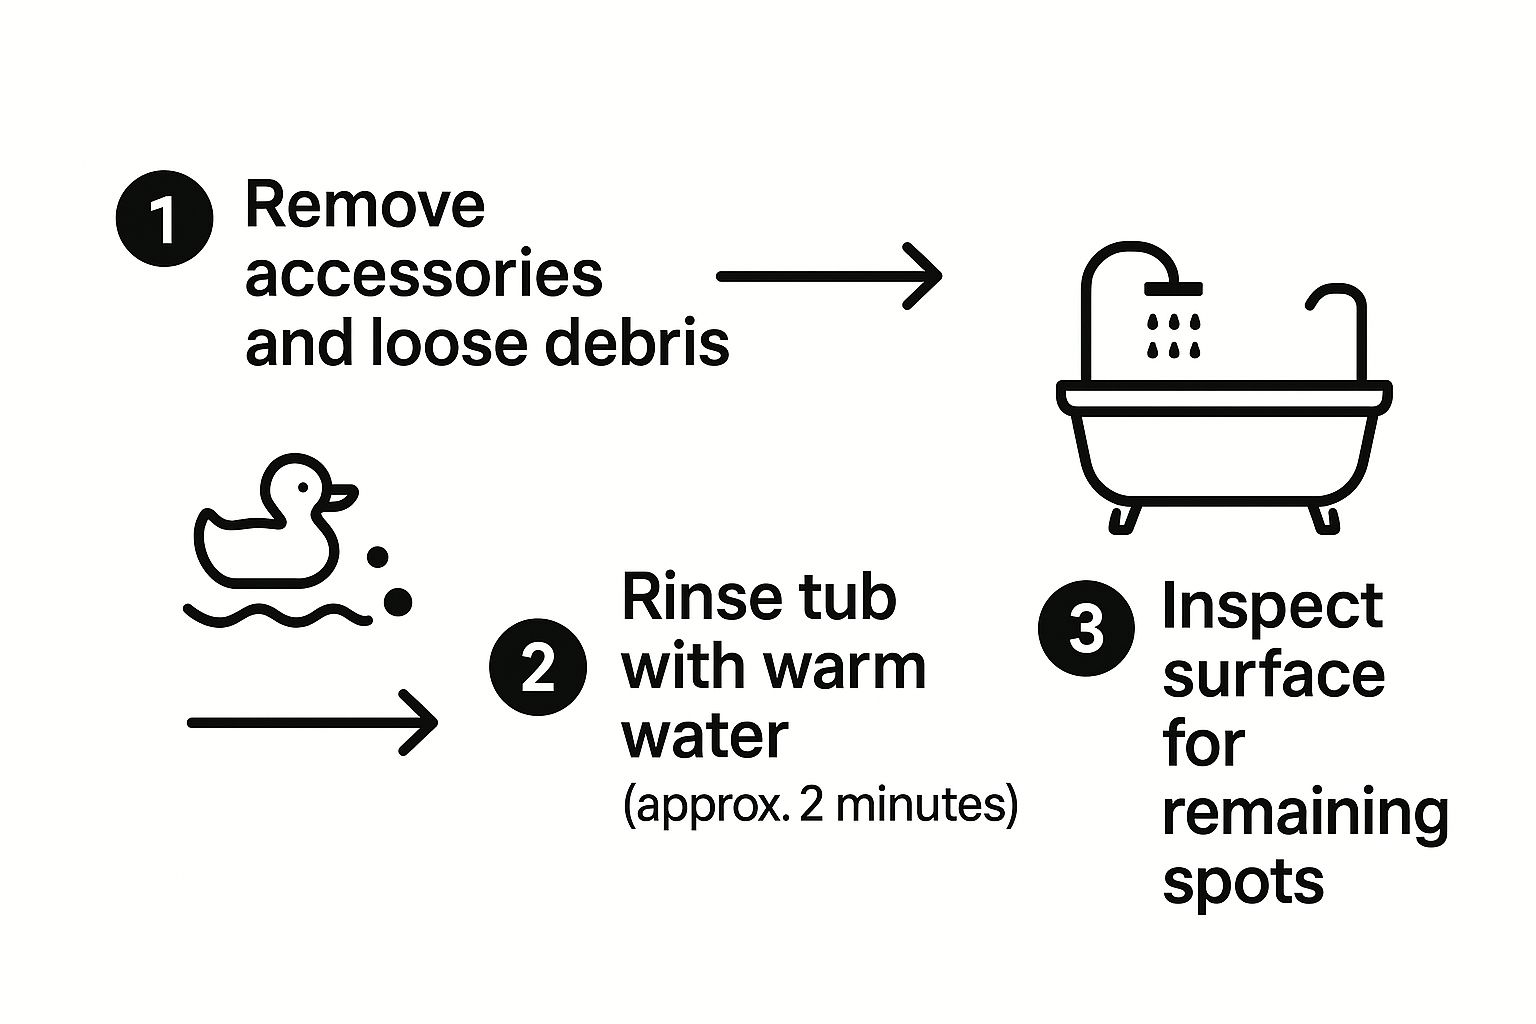
As the infographic shows, a methodical prep sequence is the foundation for an effective and efficient cleaning session.
Creating Your Cleaning Solution
Now it's time to mix up your cleaning agent. You have two excellent, non-toxic options that work wonders on soap scum and light stains without damaging the plastic.
- Baking Soda Paste: For targeted scrubbing power, create a thick paste using baking soda and a little bit of water or hydrogen peroxide. You’re aiming for a consistency similar to toothpaste.
- Vinegar Spray: For a general clean, fill a spray bottle with a 50/50 solution of distilled white vinegar and warm water. This acidic mix is fantastic at dissolving mineral deposits and soap residue.
Homeowners frequently rely on these combinations for good reason. One popular technique for fiberglass and plastic tubs involves a paste of two parts baking soda to one part hydrogen peroxide, which is especially effective against mold and mildew. Letting this paste sit for up to an hour can remove 90%–95% of organic stains.
The Gentle Scrubbing Process
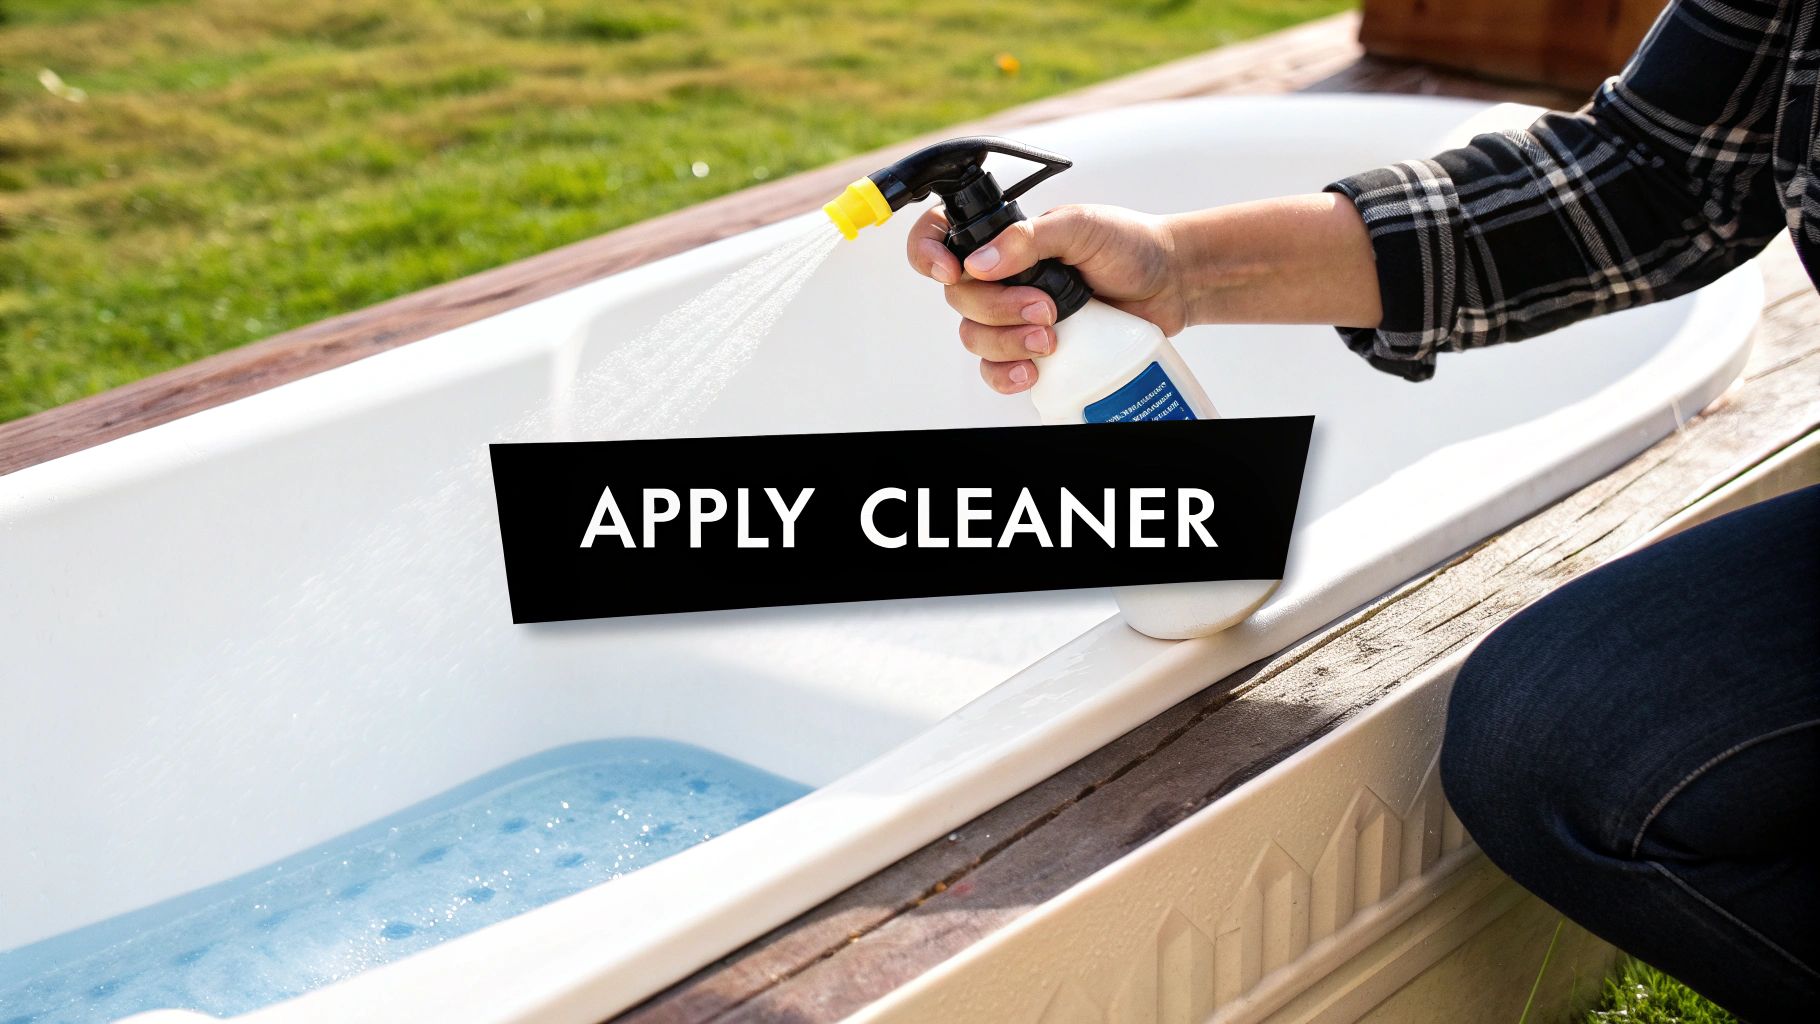
Apply your chosen cleaner generously. If you made the baking soda paste, dab it onto stained areas and along the waterline. If you're using the vinegar spray, coat the entire tub surface and let it sit for 15–20 minutes. This dwell time is crucial—it lets the natural ingredients do the heavy lifting by breaking down the grime chemically.
Letting the solution sit is the most important part of the process. Patience here means you'll have to use far less elbow grease later, which is exactly what you want when protecting a soft acrylic finish.
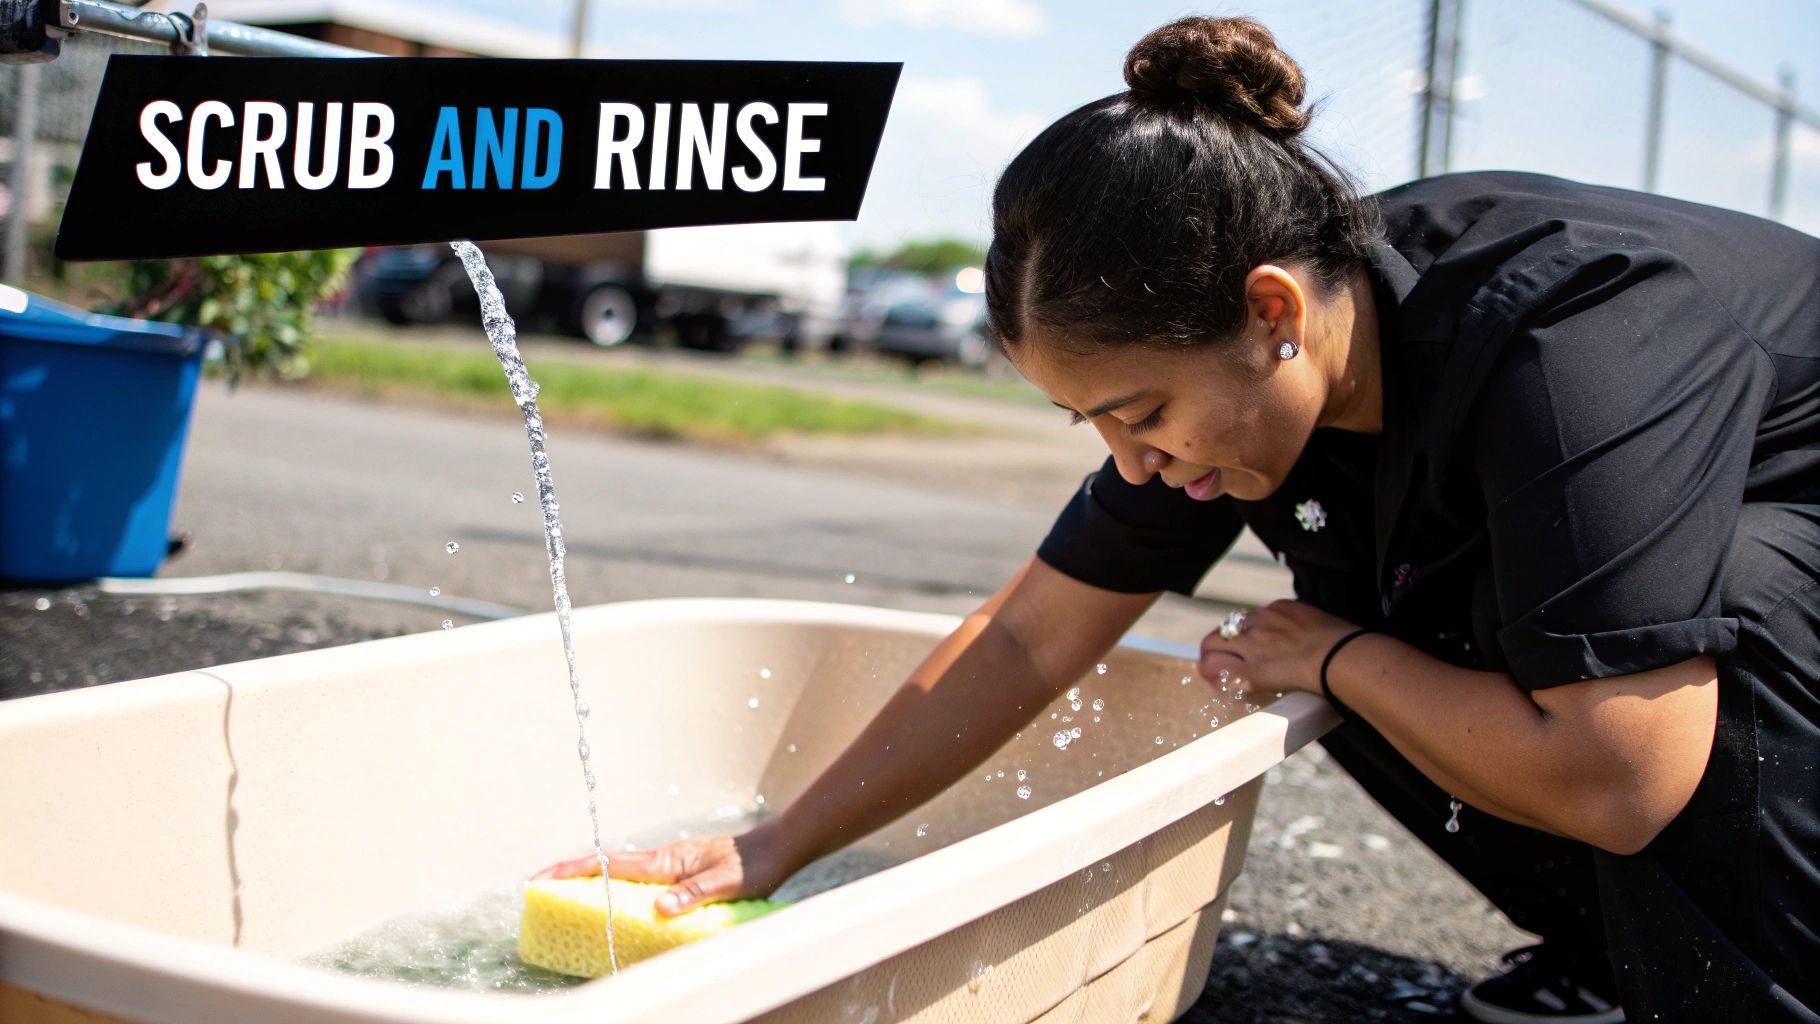
After the wait, grab your soft microfiber cloth or non-abrasive sponge, dampen it with warm water, and start scrubbing in gentle, circular motions. Start from the top and work your way down. This methodical approach ensures you cover every inch and push dissolved grime toward the drain.
For more ideas on what you can create at home, check out our guide on homemade cleaning product recipes. Once you're satisfied, give the tub a final, thorough rinse with warm water, washing away all the cleaner and lifted residue.
How to Remove Tough Stains and Soap Scum
Sometimes, the usual cleaning routine just won't cut it. You're left staring at stubborn, deep-set spots—those yellowish hard water stains, rust rings from a shaving cream can, or that thick, cloudy layer of soap scum that laughs at your sponge.
When you hit this wall, it's time for a more targeted approach. The good news? You can safely boost your cleaning power without reaching for harsh, abrasive chemicals that could ruin your tub's finish.
For those concentrated problem areas, a powerful baking soda paste is your best friend. Just mix baking soda with a little hydrogen peroxide until it forms a thick, frosting-like consistency. Slather this paste directly onto the stain, making sure you cover it completely.
Let this potent mixture sit and work its magic for at least 30–60 minutes. This gives the ingredients time to penetrate deep into the stain and start lifting the discoloration from the plastic.
Dealing with Mineral Buildup
Hard water deposits and soap scum are notorious for creating a chalky, dull film that’s nearly impossible to scrub away. Because these are mineral-based stains, they respond best to a bit of acidity. Here's a trick I've used countless times: soak a few old towels or a thick stack of paper towels in distilled white vinegar.
Lay them directly over the affected areas, pressing them down so they make full contact. This method allows the vinegar to dissolve the mineral buildup without evaporating too quickly. Let the towels sit for about an hour, then remove them and give the area a good scrub with a soft brush.
If you’re constantly fighting these deposits, it helps to know what you’re up against. For a deeper dive, check out this resource for understanding hard water issues and their impact on home surfaces.
The real secret to removing tough stains from a plastic tub is giving your cleaning solution enough time to work. Patience is always more effective—and much safer for your tub's finish—than aggressive scrubbing.
What if natural methods don’t quite get the job done? It might be time to bring in a commercial cleaner. The key is to look for products specifically labeled as "safe for acrylic" or "acrylic-safe." These formulas are engineered to dissolve stains without eating away at the delicate plastic finish.
For more detailed strategies on this, our guide on how to get rid of stains in a bathtub has some additional proven techniques. And remember, always follow the product’s instructions and test it on a small, hidden spot first.
Caring for a Refinished Plastic Tub
A freshly refinished plastic bathtub can look brand new, but that glossy coating is much more delicate than the original acrylic. You have to treat this new surface less like rugged plastic and more like a sensitive finish that needs special attention. One wrong move with a harsh cleaner can strip the coating right off, completely wasting your investment.
The golden rule here is to ditch anything abrasive. That means no scouring powders, no stiff-bristled brushes, and definitely no bleach-based cleaners. These are the quickest ways to dull, scratch, or even peel that beautiful new finish. Instead, your best bet is a mild, pH-neutral liquid cleaner or even a simple solution of dish soap and warm water.
Protecting Your Investment
For cleaning a reglazed tub, a soft microfiber cloth or a non-abrasive sponge isn't just a suggestion—it's essential. These tools are tough on grime but gentle on the finish, preventing the tiny micro-scratches that eventually lead to the coating failing.
It’s also smart to rethink certain bathroom accessories that can cause damage over time:
- Suction-cup mats: They trap moisture underneath and can literally pull the finish off the tub's surface, causing it to bubble and peel.
- Heavy bath caddies: If they have unprotected metal or hard plastic feet, they can easily chip or scratch the delicate epoxy.
The number one reason refinished tubs fail prematurely is improper care. A gentle, consistent cleaning routine is what makes that glossy finish last for years.
The stats back this up. Over 85% of damage to refinished tubs within the first five years comes from using the wrong cleaning methods. By staying away from harsh chemicals and abrasive tools, you avoid the most common mistakes people make. If you want to dive deeper into the do's and don'ts, you can explore detailed guidance on refinished tub care to keep your tub looking its best.
Answering Your Top Tub Cleaning Questions
Even with the best game plan, questions always come up when you're elbows-deep in a cleaning project. Let's clear up some of the most common ones so you can tackle any bathtub issue with confidence.
Can I Use Bleach on a Yellowed Plastic Bathtub?
This is a classic question, but the answer is a hard no. Bleach is way too aggressive for the porous surface of a plastic or acrylic tub. I've seen it do more harm than good.
Instead of whitening, it can actually cause permanent yellowing over time as it breaks down the plastic. It also makes the material brittle. You're much better off using a gentle alternative, like a paste made from baking soda and hydrogen peroxide. It'll lift the stains without damaging your tub's finish.
How Often Should I Deep Clean My Plastic Bathtub?
For a full deep clean, aim for every 2 to 4 weeks. It really depends on how often your tub gets used. A busy family bathroom might need it more often than a guest bath.
The single best habit you can adopt? A quick rinse and wipe-down after every use. It takes less than a minute but stops soap scum and grime from ever getting a foothold. Trust me, it makes those deep cleans way faster and less of a chore.
That little bit of daily effort prevents the stubborn, caked-on mess that requires serious scrubbing later.
What Is the Best Way to Make My Plastic Tub Shine?
Once your tub is clean and completely dry, you can bring back that glossy, like-new look. Here's a little trick I've used for years: apply a super-thin coat of a specialized acrylic polish or even a high-quality car wax (carnauba-based wax is great for this).
It's a simple process:
- Put a small amount of the polish or wax on a clean microfiber cloth.
- Gently rub it onto the tub in circular motions.
- Let it dry until you see a light haze form.
- Grab another clean, dry cloth and buff that haze away to reveal a brilliant shine.
This does more than just make it look pretty. It adds a protective layer that helps repel water and soap scum, making your future cleanups much easier. It's the perfect finishing touch to protect all your hard work.
Feeling overwhelmed by your cleaning to-do list? Let the professionals at Custom Maids give you back your time and leave your home sparkling. For a free, no-obligation consultation, visit us at https://custom-maids.co today.