
To really clean shower mold and mildew for good, you have to do more than just scrub what you see. The key is to kill the fungus, get rid of the stains it leaves behind, and—most importantly—stop it from coming back by controlling the moisture in your shower. It’s a combination of a good cleaning agent and some new daily habits that turns this frustrating chore into a simple, manageable task.
Understanding Why Shower Mold Keeps Returning
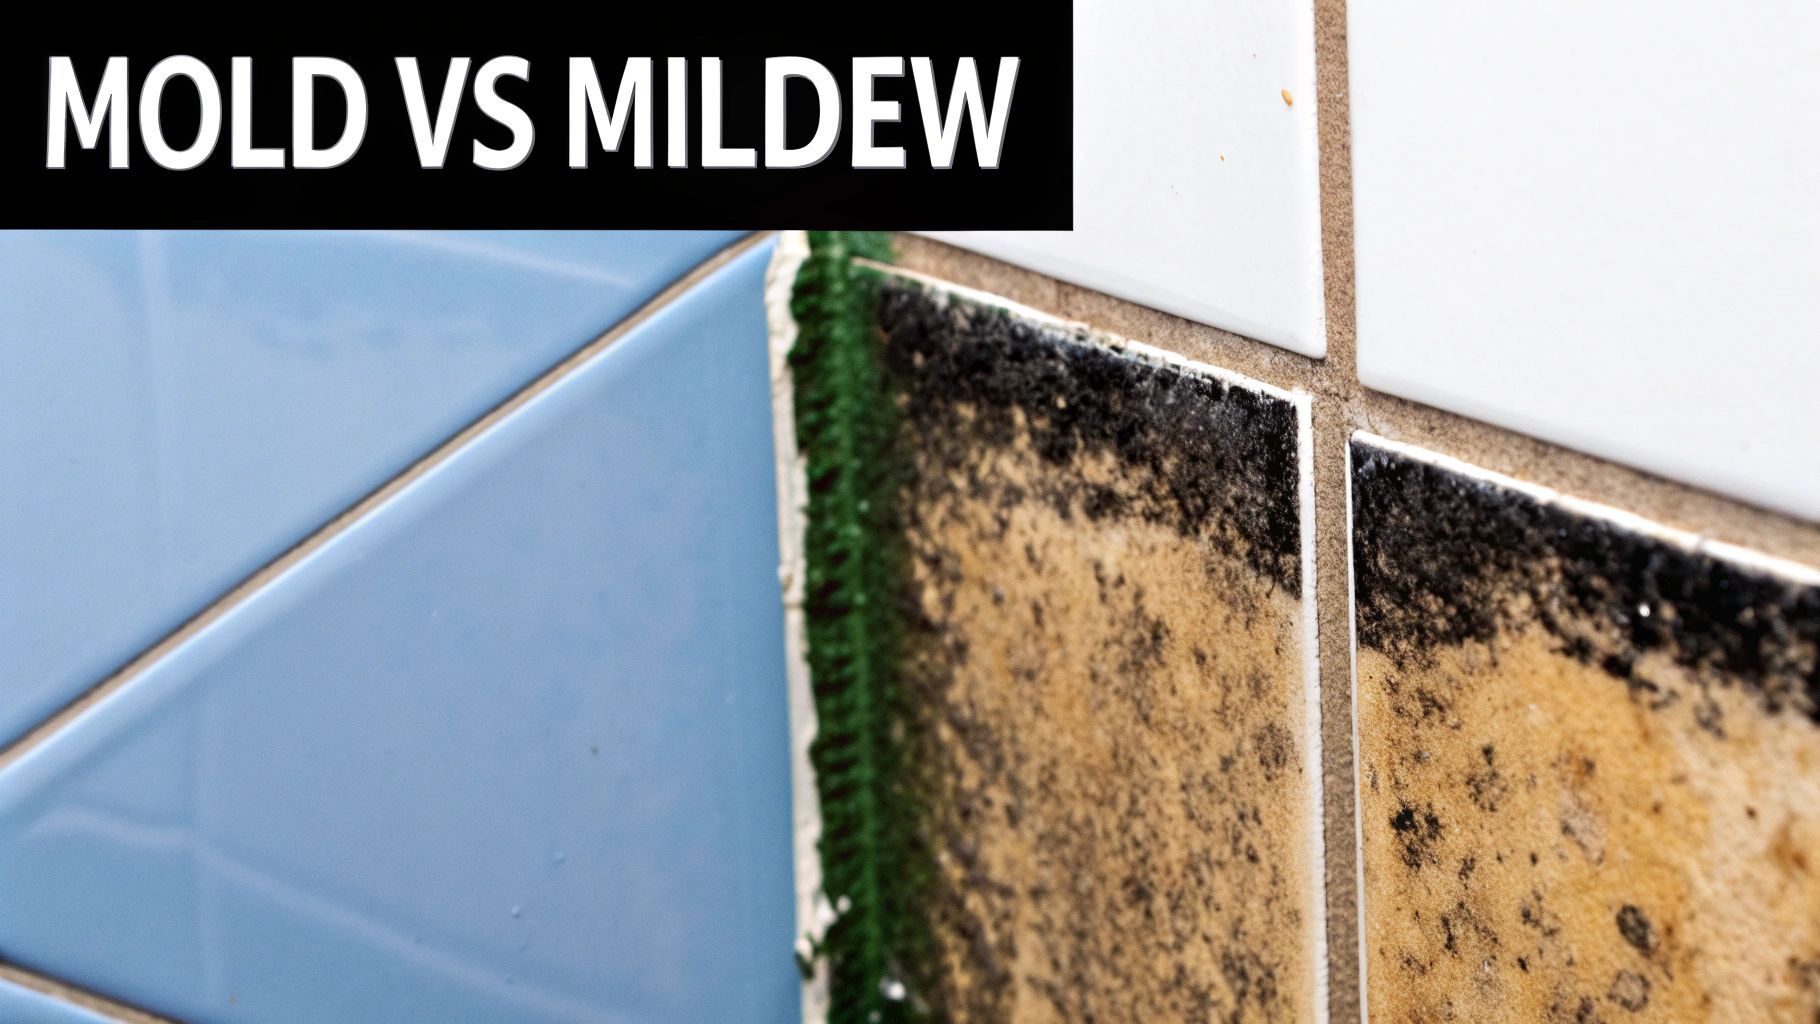
Before you can win the war against shower mold, you need to know your enemy. Mold and mildew are types of fungi that absolutely love specific environments, and your shower is pretty much their dream home. It’s the perfect storm of darkness, warmth, and—the biggest culprit—constant moisture.
Every time you take a hot shower, you’re basically creating a personal steam room. If that humid air has nowhere to escape, it clings to surfaces, seeps into grout lines, and gives mold all the water it needs to set up shop.
The Perfect Environment for Growth
Mold isn't just a random nuisance; it has a specific checklist for where it wants to live. Your shower ticks all the boxes.
- Moisture: This is the big one. Leaky faucets, terrible ventilation, and puddles of water left after a shower create a damp paradise for mold.
- Food Source: Mold has to eat, and in a shower, it feasts on soap scum, dead skin cells, and even some types of caulk or paint.
- Warmth: Bathrooms are usually one of the warmest rooms in the house, which helps mold grow even faster.
- Darkness: Mold loves to hide in dark, damp corners. That's why you often spot it first behind a shampoo bottle or deep in the grout lines.
This problem is so common that bathrooms are a huge part of the mold remediation industry, which is expected to hit about USD 1.75 billion by 2032. It's almost all because of poor ventilation and humidity issues in our homes. You can dig into more data on the mold remediation market to see just how big this issue is.
Simply scrubbing away the visible spots without addressing these underlying conditions is like wiping up a spill from a leaky pipe—the problem will inevitably return. A truly effective plan to clean shower mold mildew involves disrupting this perfect habitat.
Ultimately, getting rid of mold for good means changing its environment. That means taking away its food source with regular cleaning and, most crucially, cutting off its water supply by making sure your shower dries out completely between uses. Getting into that proactive mindset is the only way to find a lasting solution.
Assembling Your Mold Fighting Toolkit
Before you can actually clean shower mold mildew, you need to gear up. Trust me, having everything you need within arm's reach makes the whole process smoother and safer. It’s not just about picking a cleaner; it's about building a complete system to tackle the job right.
First things first: your safety gear. When you start scrubbing, mold spores can go airborne, and you absolutely don't want to be breathing that stuff in.
- Waterproof gloves are a must to keep harsh cleaners off your skin.
- Safety glasses or goggles will shield your eyes from any accidental splashes.
- A respirator mask (like an N95) is highly recommended to protect your lungs.
Core Cleaning Supplies
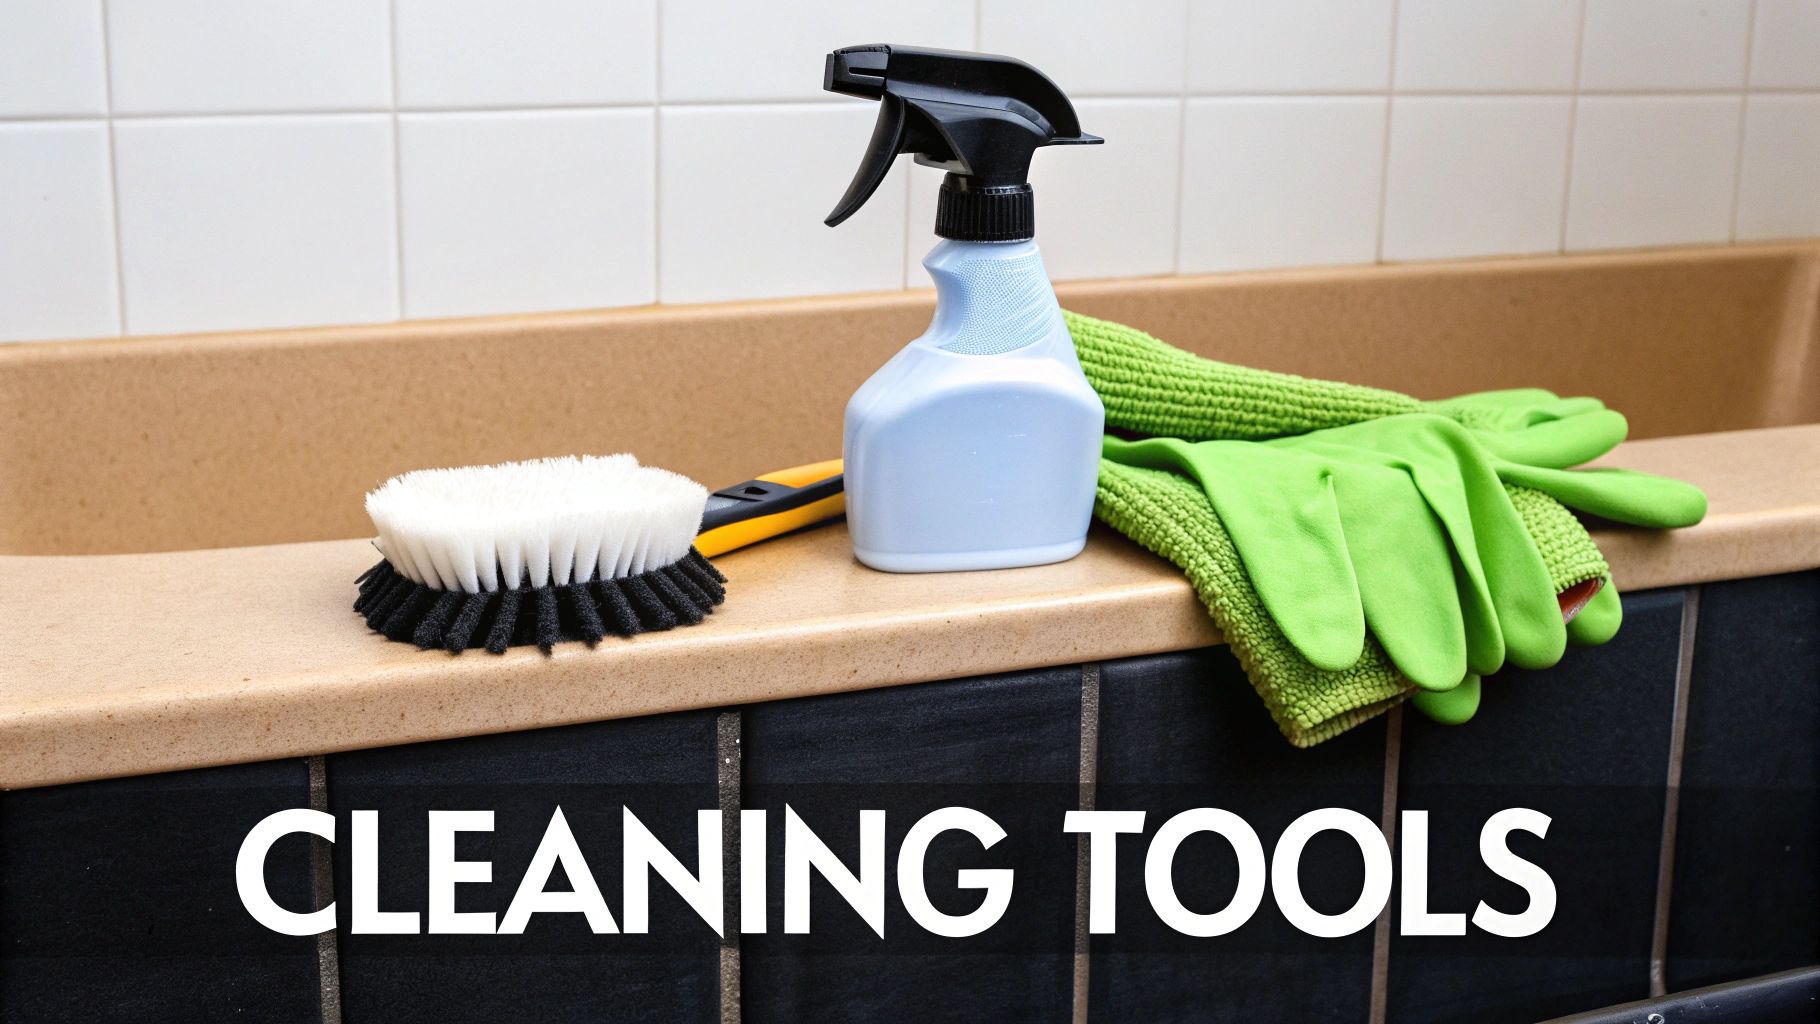
With your safety sorted, let's talk tools. A good, stiff-bristled scrub brush is your best friend for getting deep into those porous grout lines where mildew loves to set up camp. For larger tile surfaces, a simple non-abrasive sponge gets the job done without leaving scratches.
I also like to keep a few microfiber cloths handy. They're perfect for wiping surfaces down and, most importantly, drying the entire area when you're finished. A dry shower is a mold-free shower.
A quality grout brush can seriously cut your scrubbing time in half. Ditching that old toothbrush for a real tool is an investment in your own efficiency—and sanity.
Finally, you need to choose your weapon. The cleaning solution you pick depends entirely on how bad the problem is. For a bit of surface mildew, a simple DIY mix often works. But for that stubborn, deep-set black mold, you'll need something with more muscle.
To learn more about what the pros use, check out our guide on the 13 cleaning tools people absolutely rave about.
Choosing Your Cleaning Solution
Not sure what to use? Every situation is different, and what works for light mildew won't touch a serious mold problem. This table breaks down your options so you can pick the right cleaner for your shower.
| Cleaning Agent | Best For | Safety Precautions | Mixing Ratio |
|---|---|---|---|
| White Vinegar | Mild surface mildew, soap scum, and preventing regrowth on non-porous surfaces. | Well-ventilated area. Avoid mixing with bleach (creates toxic gas). | 1 part vinegar to 1 part water in a spray bottle. |
| Hydrogen Peroxide | Stubborn mold on grout and caulk. Great for whitening stained areas. | Wear gloves and eye protection. Can bleach fabrics. | Pour 3% hydrogen peroxide directly into a spray bottle. |
| Baking Soda Paste | A gentle abrasive for scrubbing tile and grout. Helps deodorize. | Minimal risk, but gloves are still a good idea. | Mix with a small amount of water to form a thick paste. |
| Commercial Mold Remover | Heavy mold infestations and deep-set black mold stains. | Follow label directions precisely. Requires good ventilation, gloves, and eye protection. | Pre-mixed, ready to use. |
After you've picked your solution, you’re ready to move on. Remember, the goal is to work smarter, not harder. The right tools and cleaners make all the difference between a frustrating afternoon and a sparkling clean shower.
My Go-To Process for Removing Shower Mold for Good
With your supplies in hand, it's time to get down to business. We’re going to clean shower mold mildew from every last surface. This isn’t just about wiping away the ugly spots you can see; it’s about killing the fungus at its root and making your shower an unwelcome place for it to grow back. Technique is everything.
First things first, prep the area. Get all your shampoo bottles, loofahs, razors, and soap dishes out of the shower. This gives you a clean slate to work with and keeps your stuff from getting covered in cleaner. Next, crank up that exhaust fan and crack open a window if you’ve got one. Ventilation is absolutely non-negotiable here.
Give Your Cleaner Time to Work
Now it's time to apply your cleaning solution. Whether you’re using a store-bought spray or your own DIY concoction, the goal is total saturation. Don’t be shy with it! On vertical walls, I always start spraying at the top and let it drip down. This trick prevents streaky messes and helps the cleaner coat everything evenly.
Here’s the most common mistake I see people make: they start scrubbing right away. Resist that urge! Your cleaner needs a moment to do the heavy lifting for you. We call this dwell time, and it’s the secret to an effective clean.
Let the solution sit for at least 10-15 minutes. For those really stubborn, deep-set stains that have been there forever, you might need to let it sit even longer.
This quick visual breaks down how the timing works.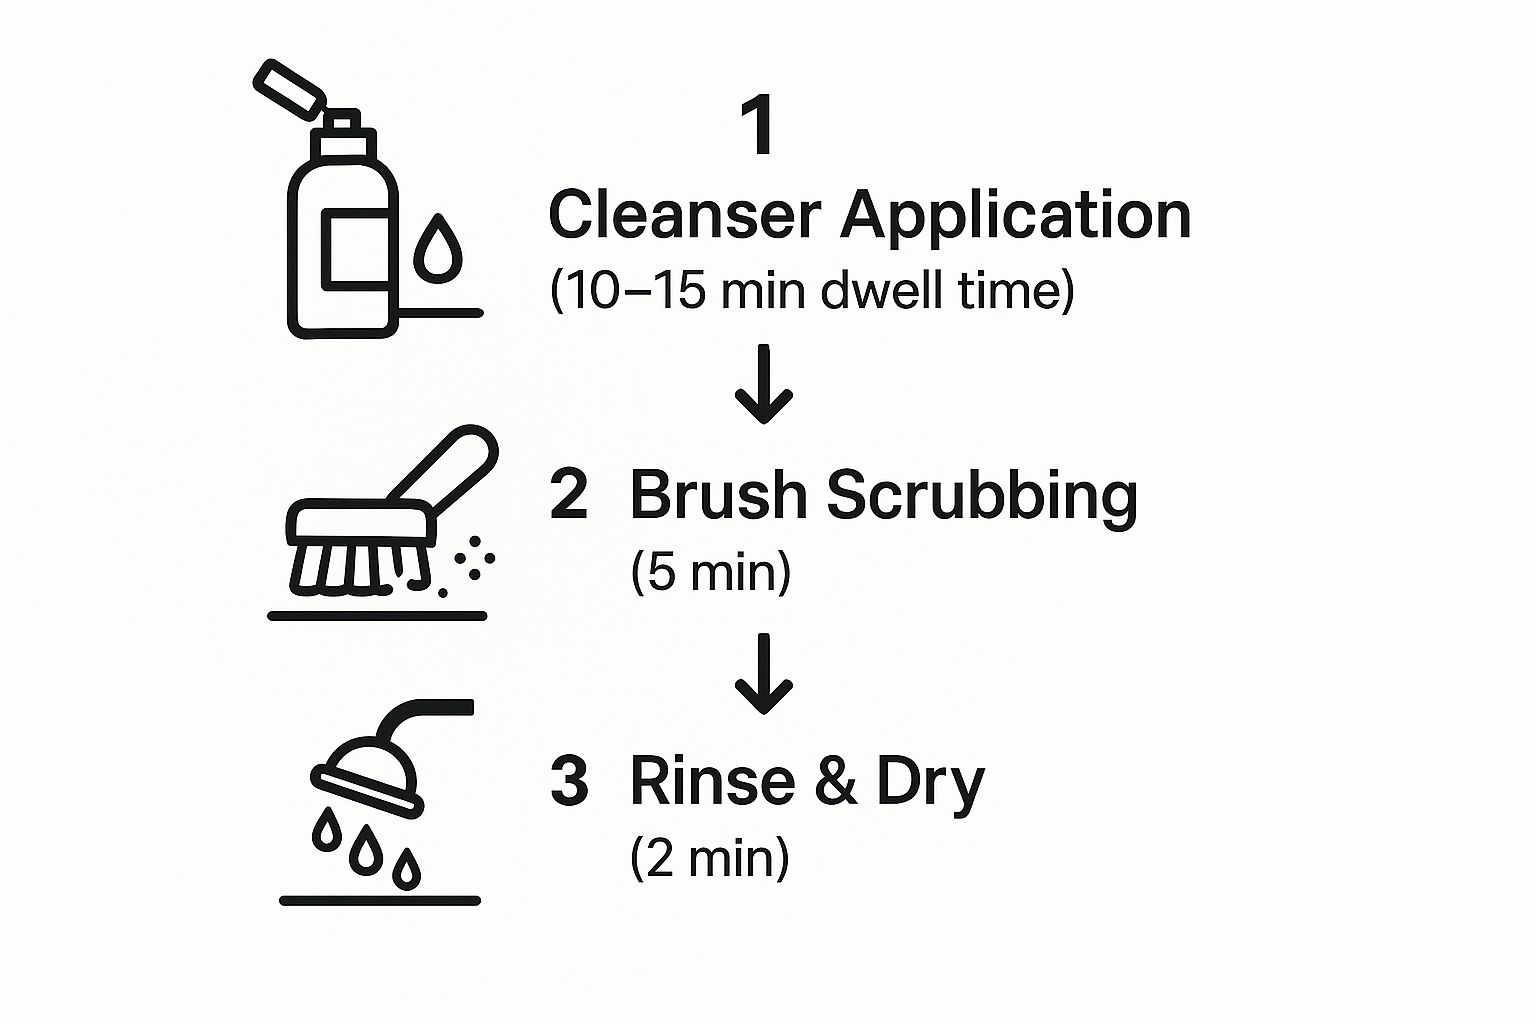
As you can see, letting the cleaner sit is the longest—and most important—part of the whole process.
Scrub, Rinse, and Dry
Once your cleaner has had time to work, grab your stiff-bristled brush and put in a little elbow grease. Focus on the grout lines, tight corners, and any textured spots where mold loves to hide. I find that small, circular motions work best to lift the grime without tearing up the grout.
Those ugly black spots in the silicone caulk can be a real pain. They often need a more targeted attack. We have a whole guide with specific techniques to remove mold from shower caulk that can save you from having to re-caulk the whole shower.
After a thorough scrub, rinse every surface with hot water. A handheld shower head is your best friend here, letting you blast away all the gunk you just loosened up.
Here’s a pro tip: Don't skip the final drying step. Grab a microfiber cloth or a squeegee and wipe everything down. Mold can't grow without moisture, so a dry shower is your best defense against its return.
To make sure your hard work pays off, it helps to understand the crucial difference between sanitizing and cleaning. Wiping away the visible grime is just cleaning; sanitizing is what actually kills off the microscopic spores left behind.
Selecting the Right Cleaner for Shower Mildew
Walking down the cleaning aisle can feel overwhelming. So many bottles promise to clean shower mold mildew, but how do you know which one will actually get the job done without destroying your bathroom surfaces? The secret is to look past the flashy labels and get to know the active ingredients.
Not all cleaners are created equal. A heavy-duty, bleach-based formula might obliterate mold on ceramic tile, but it could permanently discolor or even etch natural stone like marble. On the flip side, a gentle vinegar solution is great for keeping light mildew at bay but won't stand a chance against a serious black mold problem.
Matching the Cleaner to Your Shower Surface
Think of it like this: you wouldn't use steel wool on a non-stick pan. The same exact logic applies to your shower. The material it's made of is the single most important factor in choosing your cleaner.
- Ceramic and Porcelain Tile: These surfaces are tough customers. They can handle most commercial mold cleaners, even those with strong ingredients like bleach or ammonia, because they're non-porous and incredibly resilient.
- Fiberglass and Acrylic: Time to be gentle. Stick with non-abrasive cleaners here. Harsh chemicals or gritty scrubs can create tiny scratches, which ironically give mold brand-new places to hide out and grow.
- Natural Stone (Marble, Travertine, Granite): This is where you have to be extremely careful. Always, always use a pH-neutral cleaner specifically made for stone. Acidic cleaners like vinegar will cause permanent damage.
The need for better products has created a huge market. In fact, the mildew cleaner industry is on track to be worth around USD 5 billion by 2025, all driven by homeowners looking for safer, more effective solutions. You can read more about the growth of the mildew cleaner market and the industry's push for better products.
The most powerful cleaner in the world is useless if it ruins your shower. Always test a new product in a small, hidden spot first to make sure it doesn’t cause any discoloration or damage.
Ultimately, picking the right product is a balancing act between cleaning power and the safety of your materials. Taking a minute to read the label for both active ingredients and surface compatibility is the smartest move you can make before you start spraying.
Building a Mold-Proof Shower Routine
Once you’ve won the battle to clean shower mold mildew, the real victory is making sure it never comes back. A big scrub-down hits the reset button, but it’s a smart, consistent routine that keeps your shower permanently mold-free. This isn't about spending hours cleaning every week—it's about small, sustainable habits that make your shower an awful place for mold to grow.
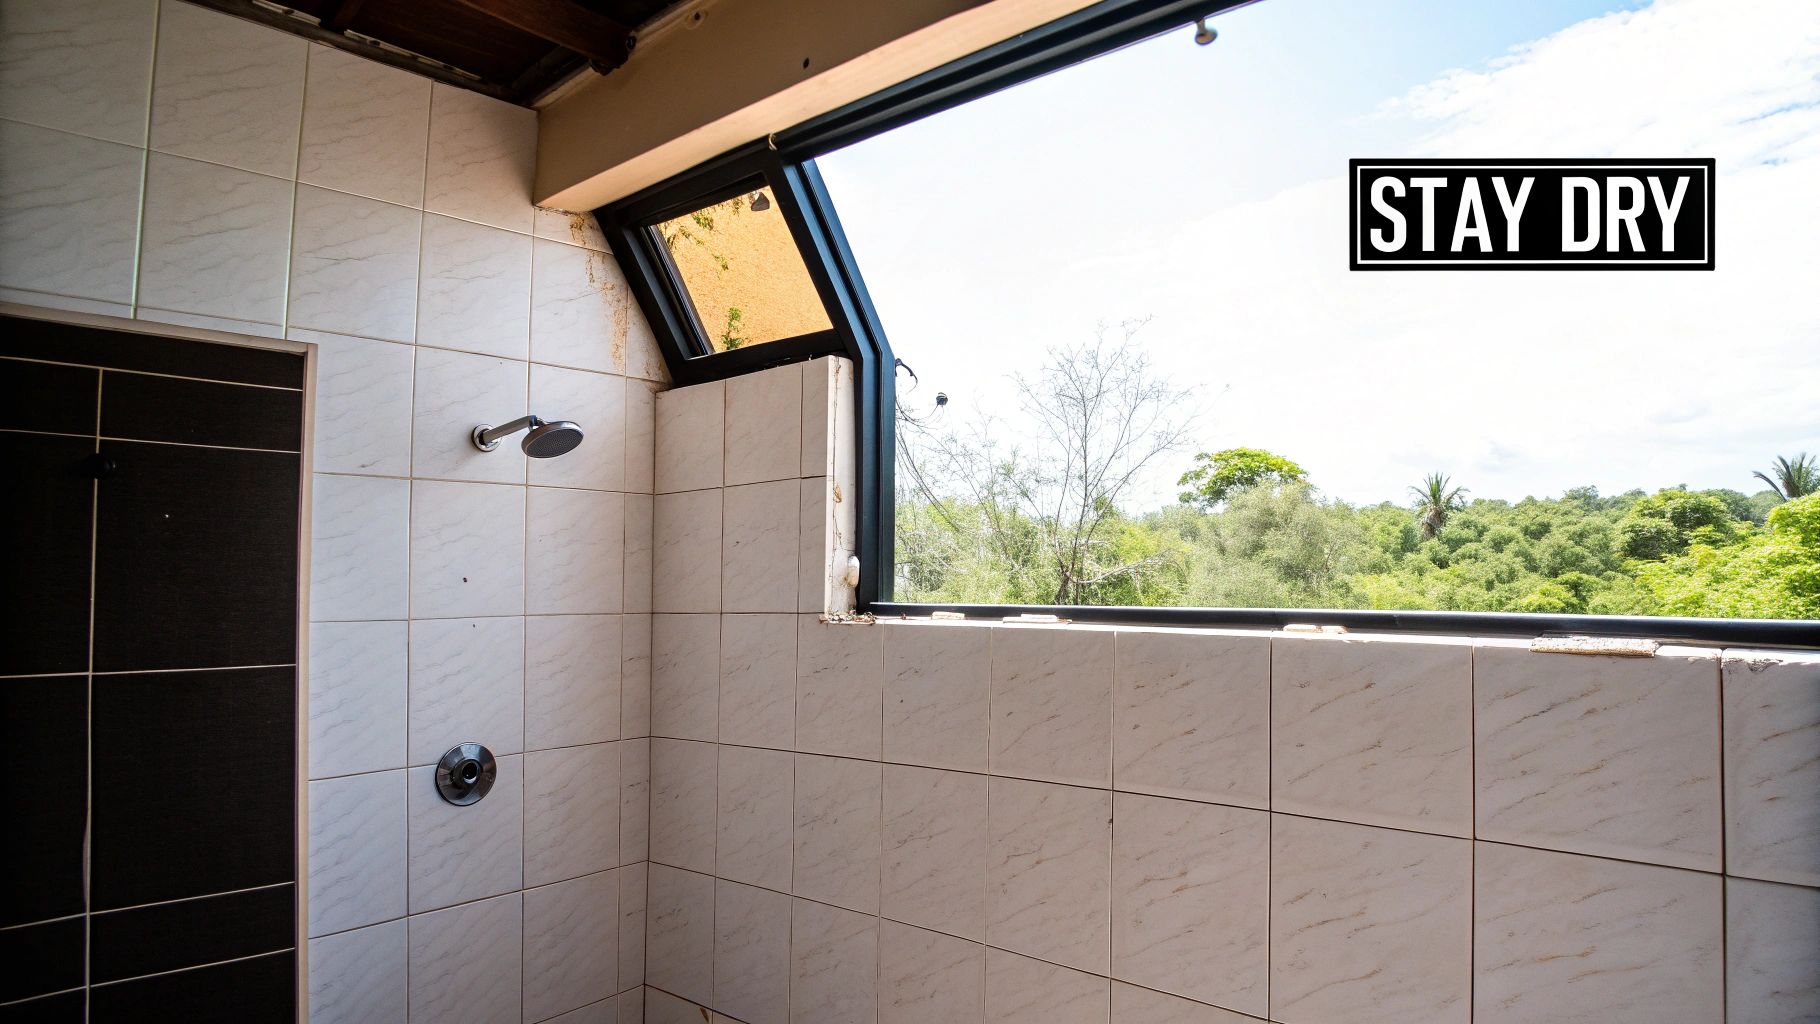
The goal is to starve the mold by controlling moisture and cutting off its food sources. Just a couple of minutes after each shower can make all the difference in the world.
Pro Tip: Think of it like brushing your teeth. A quick daily effort prevents a much bigger, more painful problem later on. Consistency is way more effective than a massive deep clean every few months.
Your Simple Maintenance Schedule
Building a mold-proof shower routine is probably easier than you think. It's all about layering small daily actions with slightly bigger weekly and monthly tasks.
- Daily (2 Minutes): After every shower, grab a squeegee and give the glass and tile a quick wipe-down. Most importantly, leave the exhaust fan running for at least 30 minutes to pull all that humid air out of the room.
- Weekly (5 Minutes): Give the entire shower a light misting with a daily cleaner or a simple mix of white vinegar and water. This quick spray stops soap scum from building up, which is what mold loves to eat.
- Monthly (10 Minutes): Do a quick scan of your grout lines and caulk. If you spot any early hints of discoloration, hit them with a targeted cleaner right away before they can spread.
For a deeper dive into prevention strategies, our guide on how to prevent bathroom mold offers even more expert advice.
If mold is a recurring nightmare, you might need to think about long-term solutions like mold-resistant materials. For those considering a bigger change, planning a bathroom renovation can solve deep-seated issues by building in better ventilation and materials from the ground up.
Your Top Questions About Shower Mold, Answered
Even when you feel ready to tackle that shower mold, a few questions always seem to pop up. Let's walk through some of the most common ones so you can clean with total confidence.
One of the first hurdles is figuring out if you're even looking at mold. Is it mold or just soap scum? It's easier to tell than you think. Mold usually shows up as distinct spots—often black, green, or even pink—and has a slimy or fuzzy texture. Soap scum, on the other hand, is just a whitish or grayish film that builds up over time.
When Should I Call a Professional?
Knowing when to wave the white flag and call in an expert is a big deal, mostly for your own safety. While you can handle small patches on tile or grout yourself, some situations are definite red flags.
- It's a Big Problem: If the mold covers more than 10 square feet (think a 3x3 foot section), it’s time to let the pros handle it.
- You Smell It, But Don't See It: A persistent musty odor with no visible source is a classic sign that mold is hiding behind your walls or under the floorboards.
- Health is a Concern: If anyone in your home has a compromised immune system, severe allergies, or asthma, don't take the risk. Call an expert.
The most important thing to remember is that mold is not just ugly; it's a potential health risk. Ignoring it only lets the problem—and the danger—get worse.
Health Risks of Shower Mold
This brings us to the big question: Is the mold in my shower actually dangerous? Yes, it absolutely can be. It’s a surprisingly common issue—around 30% of homes worldwide have mold problems, and showers are a prime starting point.
For many people, exposure triggers allergy-like symptoms: coughing, wheezing, and a sore throat. For those with sensitivities, the effects can be much more severe. If you want to dive deeper into the data, you can learn more about the health impacts of mildew growth.
Ultimately, being informed is your best defense. It helps you act fast to get rid of shower mold and mildew, protecting both your home and your health.
Feeling like you're in a never-ending battle with mold? If you need a professional to reset your space and get it sparkling again, Custom Maids offers deep cleaning services to take the tough jobs off your plate. Get your free consultation today!