
Unlock a Truly Fresh Start in Your New Home
Moving into a new home is a chance for a new beginning, but that excitement can quickly fade if you're greeted by the grime of previous occupants. A truly fresh start begins before the first box is unpacked; it starts with a deep, methodical clean. While the property may have received a basic sweep, their definition of 'clean' might not align with your standards for hygiene and comfort. This is where a detailed move in cleaning checklist becomes essential.
This comprehensive guide goes beyond the obvious, guiding you through a 7-step process to ensure every room, from the kitchen to the closets, is sanitized, safe, and genuinely ready for your family. Think of it as a reset button for your living space. We will break down each critical area into actionable tasks, providing professional tips and the rationale behind why each step is non-negotiable for a healthy home environment. Following this checklist will transform your new house into a spotless sanctuary, setting the stage for a truly fresh start.
1. Deep Kitchen Cleaning and Sanitization
The kitchen is the heart of your new home, but it can also be a hotspot for germs, grease, and grime left by previous occupants. A deep kitchen cleaning and sanitization goes far beyond a simple surface wipe-down. It's a comprehensive process that tackles every surface, appliance, and storage area to ensure the space is hygienic, safe, and truly ready for your family. This foundational step is arguably the most critical part of any move in cleaning checklist, as it eliminates unseen bacteria, lingering odors, and potential pest attractants, giving you peace of mind from your very first meal.
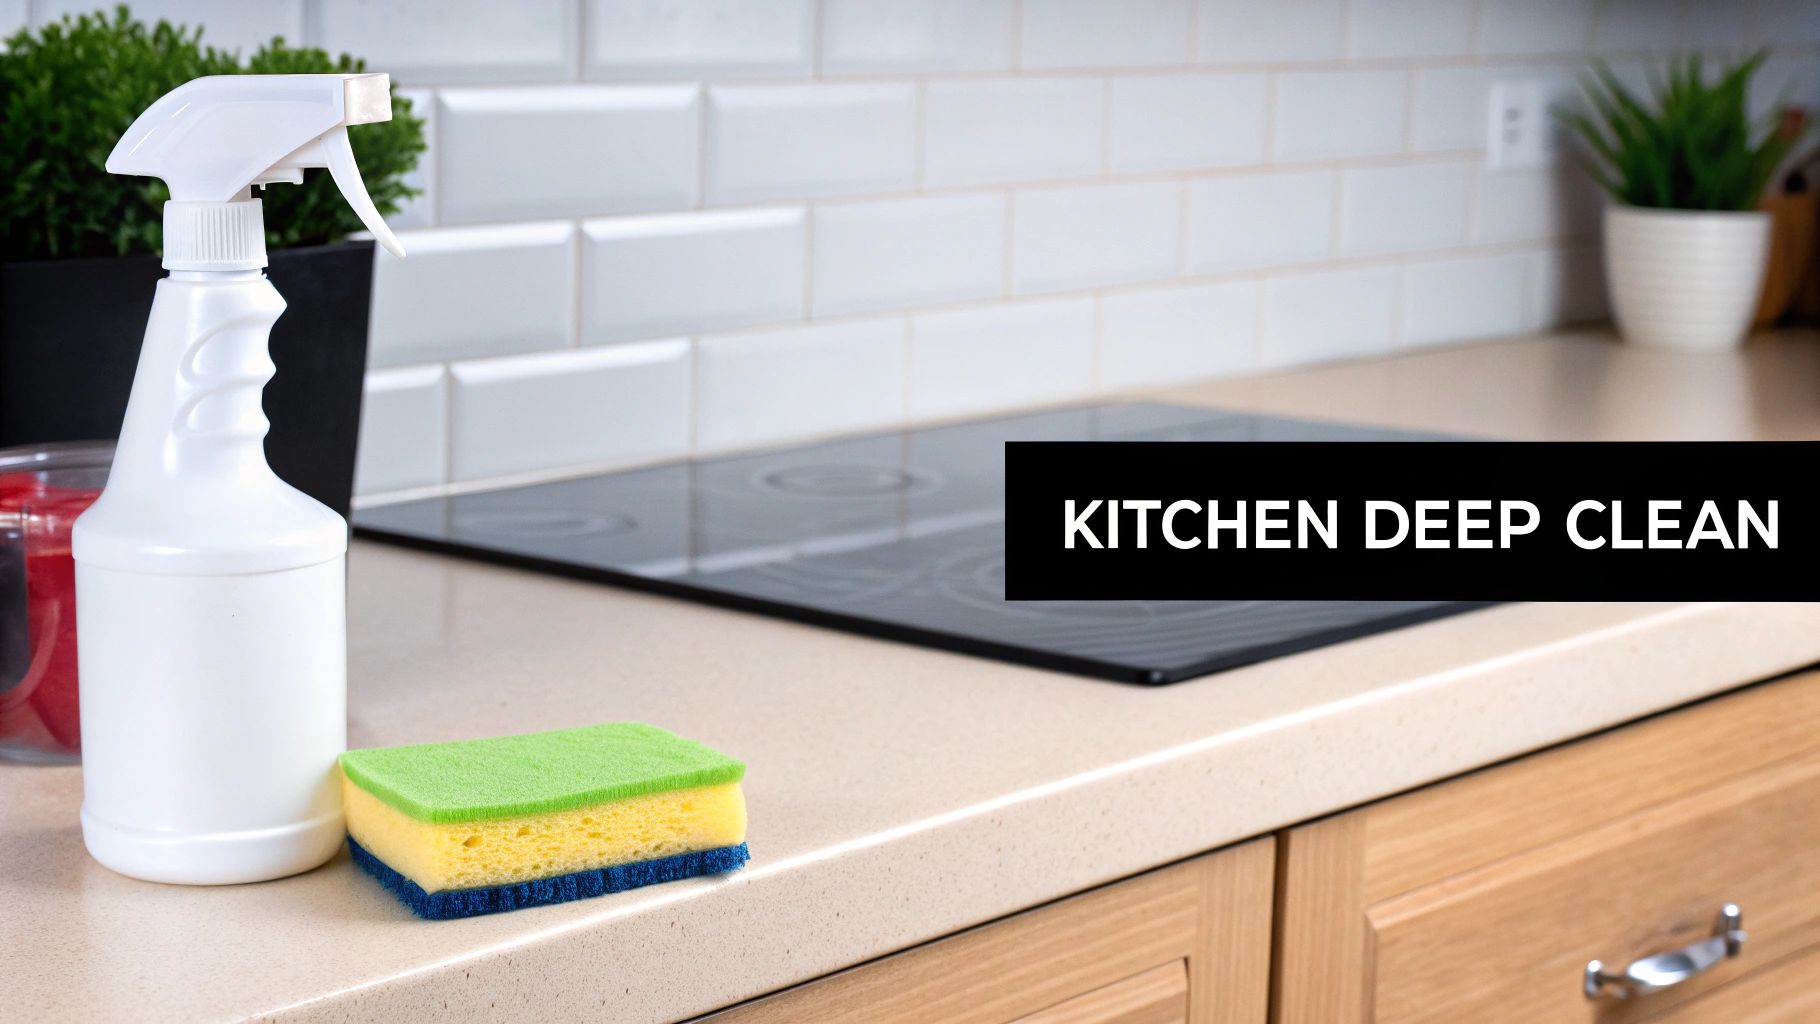
This process involves a systematic, top-to-bottom approach. Professional move-in cleaning services often dedicate a significant portion of their time, sometimes 2-3 hours, to the kitchen alone because of its complexity. The goal is to "reset" the entire room, ensuring every nook and cranny is addressed.
How to Implement a Deep Kitchen Clean
Start by emptying the room of any remaining items. The best time to perform this deep clean is before you unpack a single box of dishes or food. This gives you unobstructed access to every surface.
- Appliances First: Begin with the major appliances. Pull the refrigerator and stove away from the wall to clean behind and underneath them. Clean the inside and outside of the refrigerator, microwave, and oven. For the oven, use a heavy-duty oven cleaner or a paste of baking soda and water for a less toxic approach. Don't forget to clean the refrigerator coils to improve energy efficiency and longevity.
- Cabinets and Drawers: Remove all drawers if possible and vacuum out any debris. Wipe the inside and outside of all cabinets and drawers with a quality degreaser. Pay special attention to the areas around the stove, as these are often coated in a fine layer of sticky grease.
- Surfaces and Sink: Scrub countertops, backsplashes, and the sink. Use a disinfecting cleaner to kill germs, especially in the sink and around the faucet handles. For stubborn stains on light-colored countertops, a paste of baking soda and hydrogen peroxide can be effective.
- Final Details: Finish by cleaning the range hood and its filter, wiping down all light fixtures, disinfecting light switches and handles, and finally, mopping the floor.
Actionable Tips for a Pristine Kitchen
- Degrease Like a Pro: For tough, baked-on grease, especially on cabinet surfaces or the range hood, a simple solution of warm water and dish soap can work wonders. For more stubborn spots, create a thick paste of baking soda and water, apply it, let it sit for 15-20 minutes, and then scrub with a non-abrasive sponge.
- Filter Replacements: If your refrigerator has a water dispenser or ice maker, now is the perfect time to replace the water filter. This ensures your water is clean from day one.
- Check the Dishwasher: Run an empty cycle with a dishwasher cleaning tablet or a cup of white vinegar placed on the top rack to sanitize the interior and clear out any mineral buildup from the previous user.
2. Bathroom Deep Clean and Disinfection
Second only to the kitchen in its need for sanitization, the bathroom is a critical area that demands a thorough deep clean before you settle in. This process goes beyond a quick wipe of the counter; it involves a meticulous disinfection of every fixture and surface to eliminate harmful bacteria, mold, and mildew left behind. A properly sanitized bathroom is essential for personal hygiene and health, making this task a non-negotiable part of any effective move in cleaning checklist. Addressing soap scum, hard water stains, and unseen germs ensures the space is safe and welcoming from your first day.
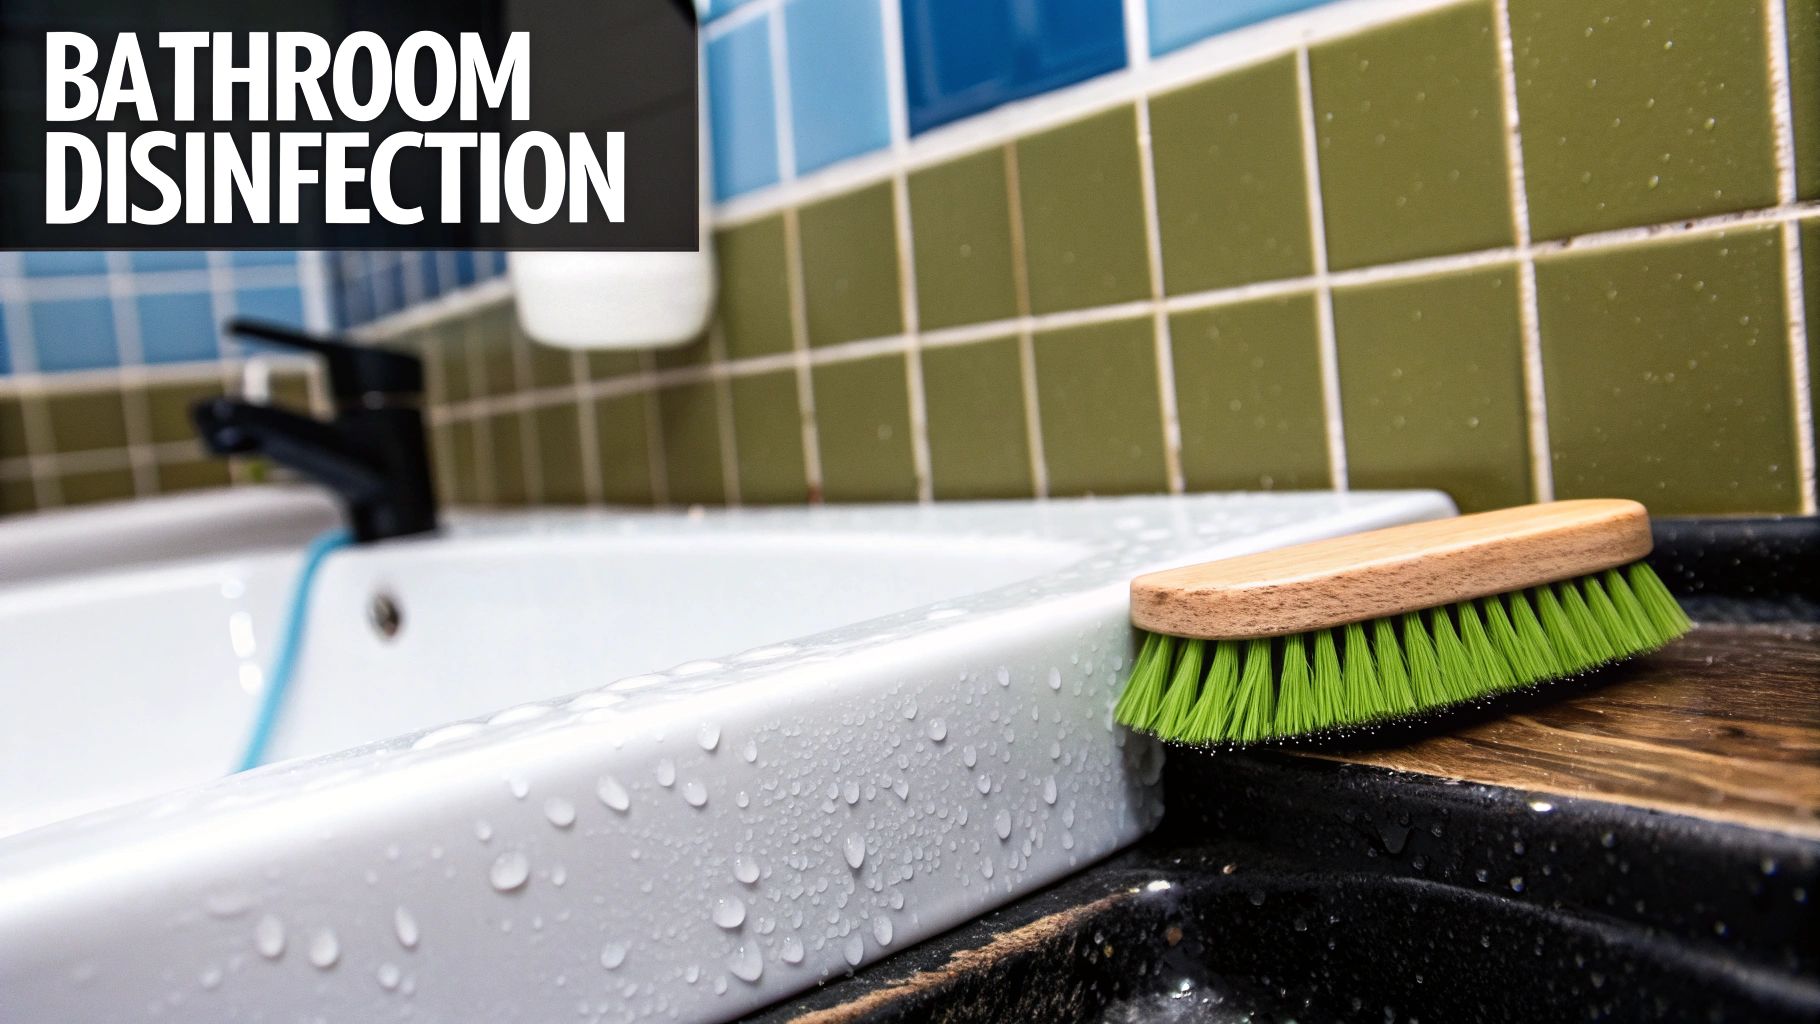
This comprehensive cleaning is standard practice for property management companies between tenants for a reason. It "resets" the room to a hygienic baseline, removing all traces of previous occupants. Professional services often use hospital-grade disinfectants and systematic methods to ensure no corner is overlooked, a standard worth emulating for complete peace of mind.
How to Implement a Bathroom Deep Clean
For the most effective clean, the bathroom should be completely empty. Tackle this job before unpacking any toiletries or towels to allow for unrestricted access to all surfaces, including often-neglected areas like behind the toilet.
- Toilet and Tub First: Begin by applying a quality toilet bowl cleaner inside the bowl and a mildew remover or heavy-duty cleaner to the shower and tub. Let these products sit and work their magic for 10-15 minutes while you clean other areas. This allows the chemicals to break down grime, making scrubbing much easier.
- Wipe Down Surfaces: Clean and disinfect the vanity, countertops, and sink. Pay close attention to the faucet handles and the area around the sink drain. Remove any medicine cabinet shelves and wipe them down individually, along with the inside of the cabinet.
- Scrub and Detail: Return to the shower, tub, and toilet. Scrub the shower walls, door, and tub thoroughly. Use an old toothbrush or a grout brush for tile lines. Scrub the toilet bowl and wipe down the entire exterior, including the base and the area behind it.
- Final Touches: Finish by cleaning mirrors, wiping down light fixtures, disinfecting light switches and doorknobs, and mopping the floor with a disinfecting solution.
Actionable Tips for a Sparkling Bathroom
- Grout and Mildew Trick: For stubborn mildew stains in grout, apply a thick paste of baking soda and hydrogen peroxide. Let it sit for at least 30 minutes before scrubbing with a stiff brush.
- Clear the Drains: Pour a mixture of baking soda and vinegar down the sink and shower drains to help clear out any buildup and deodorize them. Follow with hot water after it stops fizzing.
- Ventilation Fan Vigor: Don't forget the exhaust fan cover. It's often caked with dust, which hinders its performance. Remove the cover, wash it in warm, soapy water, and wipe down the fan blades as much as possible before replacing it. For a deeper understanding of sanitizing these high-contact areas, you can learn more about how to disinfect high-traffic areas.
3. Floor Care and Treatment
The floors in your new home have endured everything from moving dollies to the daily foot traffic of previous occupants. Proper floor care and treatment is a crucial item on any move in cleaning checklist, as it not only removes accumulated dirt and allergens but also sets the stage for the entire home's cleanliness. This process goes beyond a quick sweep or vacuum, involving a deep, material-specific cleaning that addresses stains, sanitizes surfaces, and protects your investment for the future. Tackling floors before furniture arrives ensures a truly fresh start from the ground up.
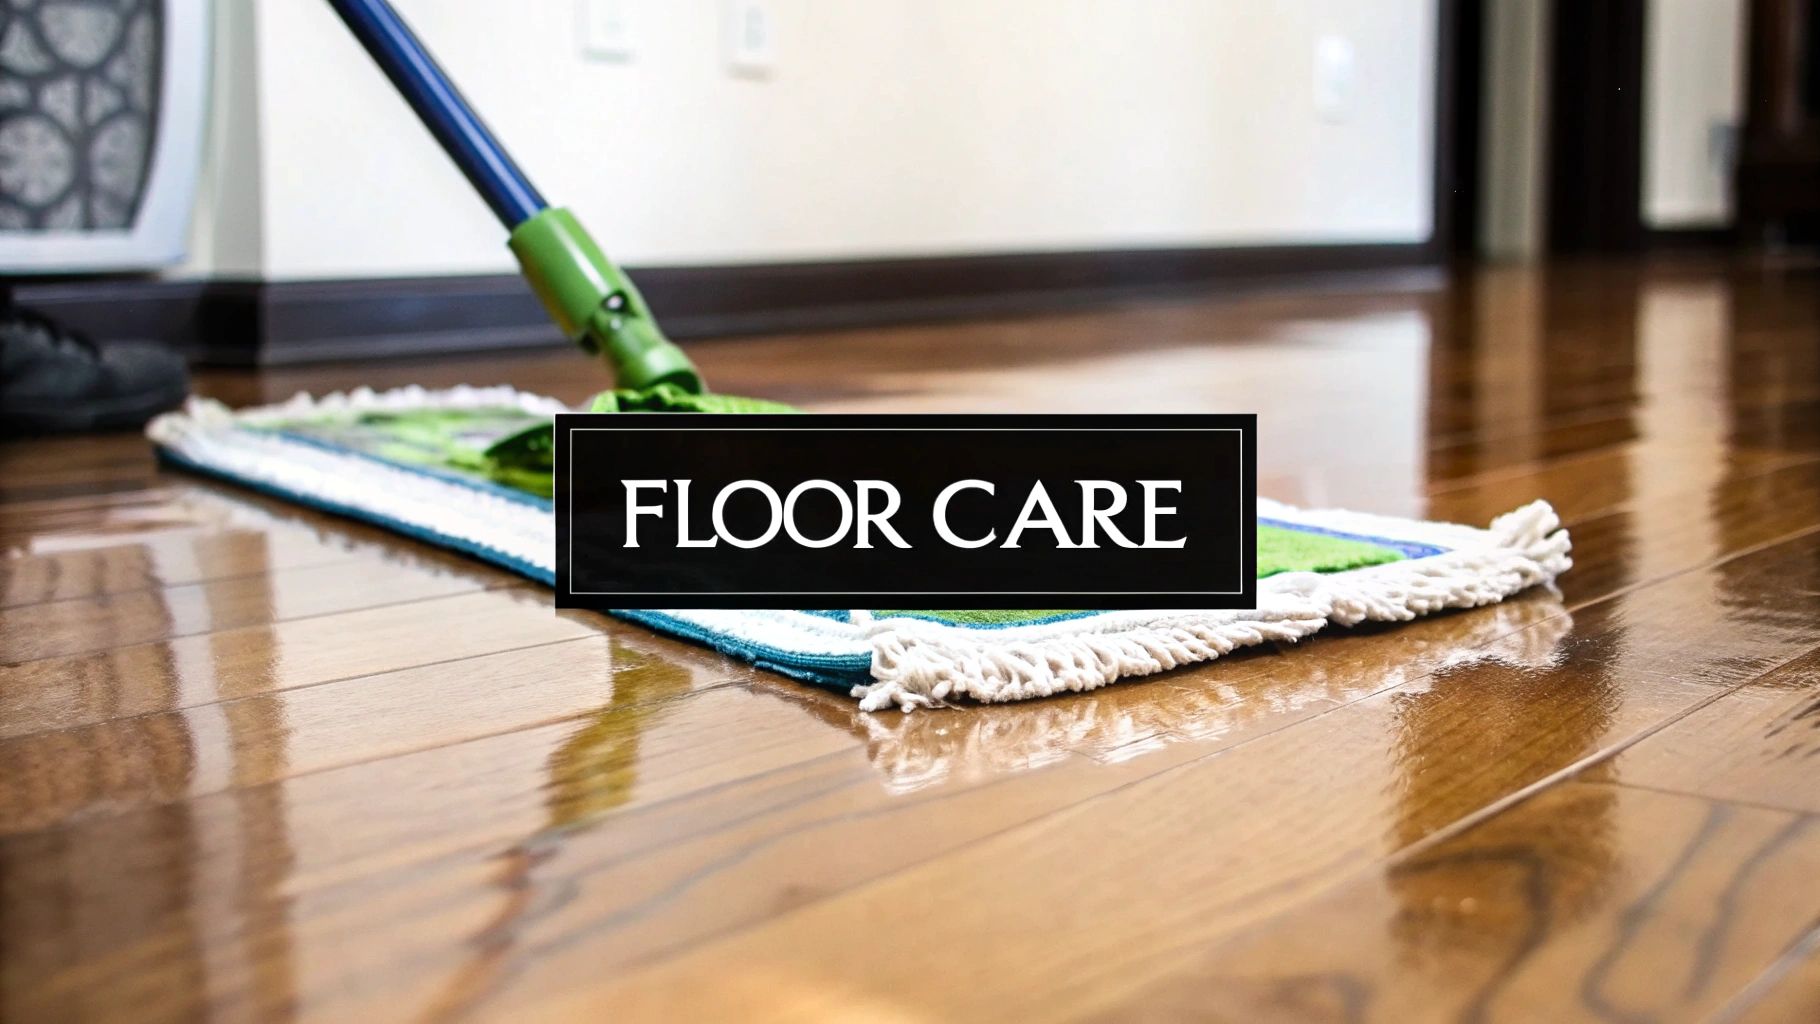
Different flooring materials require unique approaches. For instance, carpets can hide years of dust, pet dander, and other allergens deep within their fibers, often requiring professional extraction. Hardwood, tile, and laminate each have their own vulnerabilities to damage from improper cleaning agents or techniques. A systematic, educated approach is key to reviving them without causing harm.
How to Implement Proper Floor Care
The best strategy is to address all floors in the house after the walls and fixtures have been cleaned but before any furniture is brought inside. This prevents dust and debris from settling on newly cleaned surfaces and gives you complete access.
- Carpet Deep Cleaning: For wall-to-wall carpeting, vacuuming is just the first step. Consider renting a deep cleaner or hiring a professional service like Stanley Steemer to perform a hot water extraction. This method injects hot water and a cleaning solution deep into the carpet pile and then powerfully extracts it, along with deeply embedded dirt, bacteria, and allergens.
- Hardwood and Laminate: After a thorough vacuuming, use a microfiber mop with a pH-neutral cleaner designed specifically for that material. Brands like Bona offer specialized hardwood and laminate floor cleaners that are highly effective and safe. Avoid using excessive water, as it can seep between planks and cause warping or damage over time.
- Tile and Grout: Scrub tile floors with a suitable cleaning solution, paying close attention to the grout lines, which can harbor mold and mildew. A stiff-bristled brush and a grout cleaner can restore the original color and sanitize these porous lines.
- Protection and Finishing: Once clean, consider applying a protective finish. For hardwood, a fresh coat of polish or wax can restore shine and add a layer of defense against scratches. For tile, applying a grout sealant can prevent future staining and make cleaning easier.
Actionable Tips for Flawless Floors
- Test First, Clean Later: Always test any new cleaning product or solution on a small, inconspicuous area, like inside a closet or under where an appliance will sit, to ensure it doesn't cause discoloration or damage.
- Vacuum Thoroughly: Before any wet cleaning, a meticulous vacuuming is non-negotiable. Use attachments to get into corners and along baseboards to remove all loose dirt and debris that could scratch the floor during mopping or scrubbing.
- Allow Proper Drying Time: Resist the urge to start moving in furniture immediately after cleaning. Allow floors, especially hardwood and freshly sealed grout, to dry completely. This can take several hours and prevents smudging, trapping moisture, and damaging the finish. You can discover more about proper maintenance and how to clean hardwood floors on custom-maids.co.
4. Interior Window and Light Fixture Cleaning
Often overlooked in the chaos of a move, clean windows and light fixtures are essential for transforming a house into a bright, welcoming home. This task goes beyond a quick dusting; it involves a thorough cleaning of all interior glass, sills, tracks, blinds, and light fixtures. Properly cleaned windows can dramatically increase the amount of natural light entering a room, making spaces feel larger and more cheerful. Addressing this as part of your move in cleaning checklist ensures you remove layers of dust, grime, and film left by previous occupants, maximizing both natural and artificial light from day one.

This process is critical not just for aesthetics but for creating a healthier living environment by removing allergens trapped in dust on sills and blinds. Professional window cleaners often note that a deep clean can improve light transmission by 30-40%, a significant difference that can boost mood and even reduce the need for artificial lighting during the day. Real estate photographers, for instance, always prioritize spotless windows to make homes look their best in listing photos.
How to Implement Window and Fixture Cleaning
Tackle this job before furniture is placed near windows and before you lay down area rugs. This allows for easy access and prevents drips or dust from soiling your belongings.
- Window Sills and Tracks First: Before touching the glass, open the windows and thoroughly vacuum the tracks and sills. Use a crevice tool to get into the corners. Scrub any stubborn dirt with an old toothbrush and a cleaning solution, then wipe clean.
- Blinds and Shades: Dust blinds with a microfiber duster or use the brush attachment on your vacuum. For vinyl or plastic blinds, you can wipe each slat with a damp cloth and a mild detergent. Fabric shades can be lightly vacuumed.
- Glass Cleaning: Spray your glass cleaner, like a popular choice such as Sprayway Glass Cleaner or a simple solution of water and vinegar, directly onto a microfiber cloth rather than the window itself to prevent drips. Wipe the glass in an "S" pattern from top to bottom. Use a separate, dry microfiber cloth to buff the glass for a streak-free shine.
- Light Fixtures: Turn off the power at the circuit breaker. If possible, carefully remove glass globes or covers and wash them in warm, soapy water. While they dry, dust the base of the fixture and replace any burnt-out bulbs. Once dry, reassemble the fixture.
Actionable Tips for a Brighter Home
- Clean on a Cloudy Day: Direct sunlight can cause your cleaning solution to evaporate too quickly, leaving behind unsightly streaks. Cleaning on an overcast day gives you more time to wipe and buff the glass properly.
- Use the Right Tools: A high-quality squeegee can provide professional, streak-free results much faster than cloths alone, especially on larger windows. Overlap your strokes by an inch to avoid leaving lines.
- Don't Forget the Screens: If the windows have screens, pop them out and gently scrub them with soapy water and a soft brush. Rinse thoroughly and let them air dry completely before reinstalling them. This prevents dirt from blowing onto your clean glass.
5. Cabinet and Storage Space Organization Cleaning
It's easy to overlook what you can't see, but the interiors of cabinets, closets, and drawers are just as important as the visible surfaces in your new home. These spaces are where your clothes, food, and personal belongings will live, and they often harbor dust, debris, and allergens from previous occupants. A thorough cabinet and storage space cleaning is a foundational step in any move in cleaning checklist, ensuring you have a truly fresh start and that your items are placed into a sanitized environment from day one.
This task involves more than a quick wipe. It’s a detailed process of emptying, vacuuming, disinfecting, and inspecting every single storage unit in the home, from kitchen cabinets to bedroom closets and bathroom vanities. This proactive cleaning prevents the transfer of dirt and germs to your belongings and eliminates musty odors that can permeate fabrics and pantry goods.
How to Implement a Full Storage Space Clean
For the best results, perform this cleaning before you begin unpacking. This ensures you can access every corner without obstruction and prevents cross-contamination with your clean items.
- Empty and Vacuum: Start by ensuring all cabinets, drawers, and closets are completely empty. Use a vacuum with a hose attachment to thoroughly remove all loose dust, crumbs, hair, and other debris from corners and crevices.
- Wipe and Disinfect: Mix a solution of warm water and a gentle all-purpose cleaner or a few drops of dish soap. Wipe down all interior surfaces, including shelves, walls, and the inside of doors. For kitchens and bathrooms, follow up with a disinfecting spray to kill any lingering germs.
- Inspect and Deodorize: As you clean, carefully inspect for any signs of water damage, mold, or pests. After the surfaces are dry, place an open box of baking soda in the back of larger cabinets or closets to absorb any residual odors, leaving them smelling fresh.
Actionable Tips for Pristine Storage
- Remove Old Liners: Always peel away any existing shelf or drawer liners left by previous residents. They can trap moisture, dirt, and bacteria. Use a plastic scraper and an adhesive remover to gently clear away any sticky residue left behind.
- Install New Liners: Once the surfaces are clean and dry, install new, high-quality shelf liners, like those from Duck Brand. This not only provides a clean surface for your items but also protects the cabinets and makes future cleanups significantly easier.
- Systematic Organization: Having clean, empty spaces provides the perfect opportunity to plan your organization strategy before unpacking. This thoughtful approach can be especially helpful when trying to organize your home with kids and pets in mind, creating designated, easy-to-access zones.
6. Air Vent and HVAC System Cleaning
The air you breathe is just as important as the surfaces you touch, yet the HVAC system is often overlooked during a standard cleaning. Air vent and HVAC system cleaning focuses on removing the accumulated dust, debris, allergens, and even mold spores that have settled within your home's ductwork and vents from previous occupants. This step is a cornerstone of a thorough move in cleaning checklist because it directly impacts your home's indoor air quality and the efficiency of your heating and cooling system. Addressing this before you fully settle in ensures you aren't circulating contaminants throughout your new space from day one.
While a full professional duct cleaning is a major undertaking, a detailed surface-level cleaning of all accessible components is a non-negotiable move-in task. This process tackles the entry and exit points of your air system, preventing the immediate spread of old dust and allergens. The goal is to purify the air at its source points and prepare the system for a fresh start with a new filter.
How to Implement Air Vent and System Cleaning
This task should be done before deep cleaning floors, as dust and debris will inevitably be dislodged. Ensure the HVAC system is turned off at the thermostat before you begin to prevent it from kicking on and spreading dust while you work.
- Remove and Clean Vent Covers: Carefully unscrew and remove all supply and return air vent covers throughout the house. Take them outside or to a utility sink and wash them thoroughly with warm, soapy water to remove built-up grime and dust. Let them dry completely.
- Vacuum the Duct Opening: Using a vacuum with a long hose and a brush attachment, reach as far as you can into the duct opening behind each vent. Vacuum the interior surfaces to capture loose dust, pet hair, construction debris, and any other surprises left behind.
- Replace the HVAC Filter: Locate your furnace or air handler and replace the filter. This is arguably the most critical part of the process. Even if the old filter looks clean, it’s best practice to start fresh. Note the filter size for future purchases.
- Wipe and Reinstall: Once the vent covers are dry, wipe the area around the duct opening on the wall or floor, and then securely reinstall the clean covers.
Actionable Tips for Better Air Quality
- Always Replace the Filter: Do not skip replacing the furnace filter. Brands like 3M Filtrete and Honeywell offer a range of options. Consider upgrading to a higher MERV (Minimum Efficiency Reporting Value) rated filter to capture smaller particles like pollen, mold spores, and bacteria.
- Check Airflow: With the covers off, turn the system's fan on for a moment. This allows you to quickly check that air is flowing from the supply vents and being pulled into the return vents, ensuring no major blockages are immediately apparent.
- Consider Professional Service: If you notice excessive debris, detect a musty odor coming from the vents when the system is on, or if a family member has severe allergies or asthma, it's wise to hire a professional HVAC cleaning service for a full duct cleaning. The EPA notes this can be beneficial in specific situations, such as after home renovations or if there is visible mold growth.
7. Wall and Surface Spot Cleaning
After the major cleaning tasks are done, focusing on the vertical surfaces is what truly elevates a move-in clean from good to pristine. Wall and surface spot cleaning involves a systematic inspection and treatment of walls, baseboards, door frames, and window sills to remove the scuffs, smudges, fingerprints, and general grime that accumulate over time. This step is often overlooked by DIY cleaners but is a standard for professionals, who understand that clean walls make the entire home feel brighter, fresher, and genuinely new. It's a crucial part of any comprehensive move in cleaning checklist because it addresses the subtle but significant signs of previous occupancy.
This process is more about targeted treatment than washing every square inch of drywall. Professional painters, for example, always perform a thorough wall cleaning before applying a new coat, as it ensures proper paint adhesion and a smooth finish. Similarly, a move-in clean uses this technique to "reset" the room's appearance without the need for a full repaint, saving you time and money while achieving a high-impact result.
How to Implement Wall and Surface Cleaning
The key is to work methodically and test your cleaning solutions. Before starting, do a walk-through of each room in good lighting to identify high-traffic areas and visible marks, often found near light switches, hallways, and behind where furniture used to be.
- Dust First: Before applying any liquid, use a microfiber mop or a vacuum with a brush attachment to dust the walls and baseboards. This prevents you from turning dust into muddy streaks.
- Target Scuffs and Marks: For isolated scuffs, especially on painted surfaces, a melamine foam sponge (like a Magic Eraser) can be highly effective. Use it gently with minimal water, as aggressive rubbing can damage the paint finish.
- Wipe Down High-Touch Areas: Clean around light switches, door handles, and door frames using a soft cloth dampened with a gentle all-purpose cleaner or a solution of mild dish soap and water.
- Baseboard and Trim Detail: Baseboards and trim often collect a surprising amount of dust and scuffs. Wipe them down with a damp cloth and your chosen cleaning solution. For stubborn grime, a soft-bristled brush can be used to gently scrub the surface.
Actionable Tips for Spotless Surfaces
- Test Your Cleaner: Always test your cleaning solution on a small, inconspicuous area first, like inside a closet or behind where a large piece of furniture will go. This ensures it won't discolor the paint or damage the finish.
- The Two-Bucket Method: To avoid spreading dirt, use two buckets. One with your cleaning solution and one with clean rinse water. Wipe with the solution, then rinse your cloth in the clean water before dipping it back into the solution.
- Remove Switch Plates: For a truly thorough job, use a screwdriver to remove light switch and outlet covers. This allows you to clean the plate itself and the wall area underneath, where dirt and dust often collect. Just be sure the power is off at the circuit breaker before doing so.
Move-In Cleaning Tasks Comparison
| Cleaning Type | Implementation Complexity 🔄 | Resource Requirements ⚡ | Expected Outcomes 📊 | Ideal Use Cases 💡 | Key Advantages ⭐ |
|---|---|---|---|---|---|
| Deep Kitchen Cleaning and Sanitization | High - detailed appliance and surface cleaning | Specialized degreasers and cleaners, multiple sessions | Hygienic food prep areas, odor removal, pest prevention | Move-in cleaning, real estate staging | Ensures food safety, eliminates odors, deep grease removal |
| Bathroom Deep Clean and Disinfection | Medium-High - chemical cleaners and grout tools | Strong chemicals, disinfectants, scrubbing tools | Eliminates bacteria, mold, mildew; improves hygiene | Tenant turnover, health-critical spaces | Prevents health hazards, fresh environment, mold removal |
| Floor Care and Treatment | Medium - varied methods by floor type | Material-specific cleaners, professional equipment | Allergen removal, floor lifespan extension, better air quality | Whole home cleaning, move-in/move-out | Extends floor life, improves indoor air, deep stain removal |
| Interior Window and Light Fixture Cleaning | Medium - streak-free techniques, ladder work | Glass cleaners, microfiber cloths, ladders | Increased natural light, brighter rooms | Homes with many windows, real estate photos | Enhances brightness, removes dust/allergens, professional look |
| Cabinet and Storage Space Organization Cleaning | Medium - requires emptying and organizing | Cleaning supplies, shelf liners, pest inspection tools | Clean, odor-free storage; pest prevention | Storage spaces, closets, turnover cleaning | Prevents contamination, odor elimination, pest identification |
| Air Vent and HVAC System Cleaning | Medium - filter replacement and vent cleaning | Filters, vacuum with brush, possible duct services | Better air quality, improved HVAC efficiency | HVAC maintenance, allergy-sensitive homes | Improves air quality, reduces allergens, prevents odors |
| Wall and Surface Spot Cleaning | Medium-High - varies by surface and paint type | Cleaning solutions, magic erasers, basic tools | Refreshed surfaces, grime and odor removal | Whole home appearance improvement | Revitalizes paint, removes dirt buildup, move-in ready finish |
Make Your Move-In Seamless with Professional Cleaning
Embarking on the journey of moving into a new home is filled with excitement and anticipation. Following a comprehensive move in cleaning checklist is the single most effective way to ensure this new chapter begins on a foundation of health, hygiene, and genuine comfort. By methodically addressing each critical area we've outlined, from the deep sanitization of your kitchen and bathrooms to the often-overlooked details like air vents and light fixtures, you are taking control of your new environment. You are not just cleaning a space; you are preparing a sanctuary for yourself and your family.
Key Takeaways for a Pristine New Home
The true value of this detailed checklist lies in its systematic approach. It transforms a monumental task into a series of manageable, impactful actions. Remember these core principles:
- Prioritize High-Touch, High-Impact Zones: The kitchen and bathrooms are non-negotiable starting points. These areas harbor the most germs and require thorough disinfection to be truly move-in ready.
- Work Top-to-Bottom, Dry-to-Wet: This professional cleaning strategy prevents re-soiling surfaces you've already cleaned. Start with dusting light fixtures and cleaning walls before tackling floors to maximize efficiency.
- Don't Overlook the Invisible: Cleaning what you can't immediately see, such as the inside of cabinets, air vents, and HVAC filters, is crucial for long-term air quality and hygiene. Removing the previous occupants' dust and dander is a vital step.
From Checklist to Reality: Your Next Steps
The reality of moving is that it's a physically and mentally draining process. Juggling packing, logistics, and endless paperwork can leave little time or energy for the deep clean your new home deserves. This is where a strategic decision can make all the difference. While the DIY approach is noble, the sheer scope of a proper move-in clean can be overwhelming.
Consider the immense value of your time and energy during this transitional period. Instead of spending your first precious days in your new house on your hands and knees scrubbing, you could be unpacking, decorating, and creating your first happy memories. Outsourcing this intensive labor to a professional cleaning service is not an extravagance; it's a practical investment in a smoother, healthier, and more enjoyable move. A professional team arrives with the right tools, commercial-grade products, and the expertise to execute a detailed move in cleaning checklist with unmatched efficiency and precision.
They can accomplish in hours what might take you an entire weekend, ensuring every nook and cranny is sanitized to a professional standard. This allows you to walk into a truly pristine home, confident that every surface is clean and safe. For those in Mid-Michigan, from Bay City to Saginaw and Midland, this professional peace of mind has been our specialty since 1982.
Ready to make your move as stress-free and seamless as possible? Let the experienced team at Custom Maids handle the dirty work so you can focus on what truly matters: settling into your beautiful new home. Contact Custom Maids today for a free consultation and discover how easy it is to start fresh in a professionally cleaned space.