
Moving into a new home is an exciting milestone, but before you unpack a single box, there's a crucial task to tackle: the move-in clean. This isn't just a quick wipe-down; it's a deep, sanitizing reset that transforms a house into your home. A previous owner's dirt, dust, and grime can linger in unseen places, impacting air quality and your overall comfort. Tackling this task methodically ensures a healthy, fresh start for you and your family. As you prepare, it can be helpful to review broader considerations like these first time home buyer tips to ensure a smooth transition overall.
This comprehensive move in clean checklist breaks down the entire process into manageable, room-by-room stages. It provides professional-level tips to guarantee a truly spotless beginning. Whether you're a homeowner in Michigan or a renter starting a new lease, this guide will help you reclaim your space and start your new chapter on the cleanest possible note.
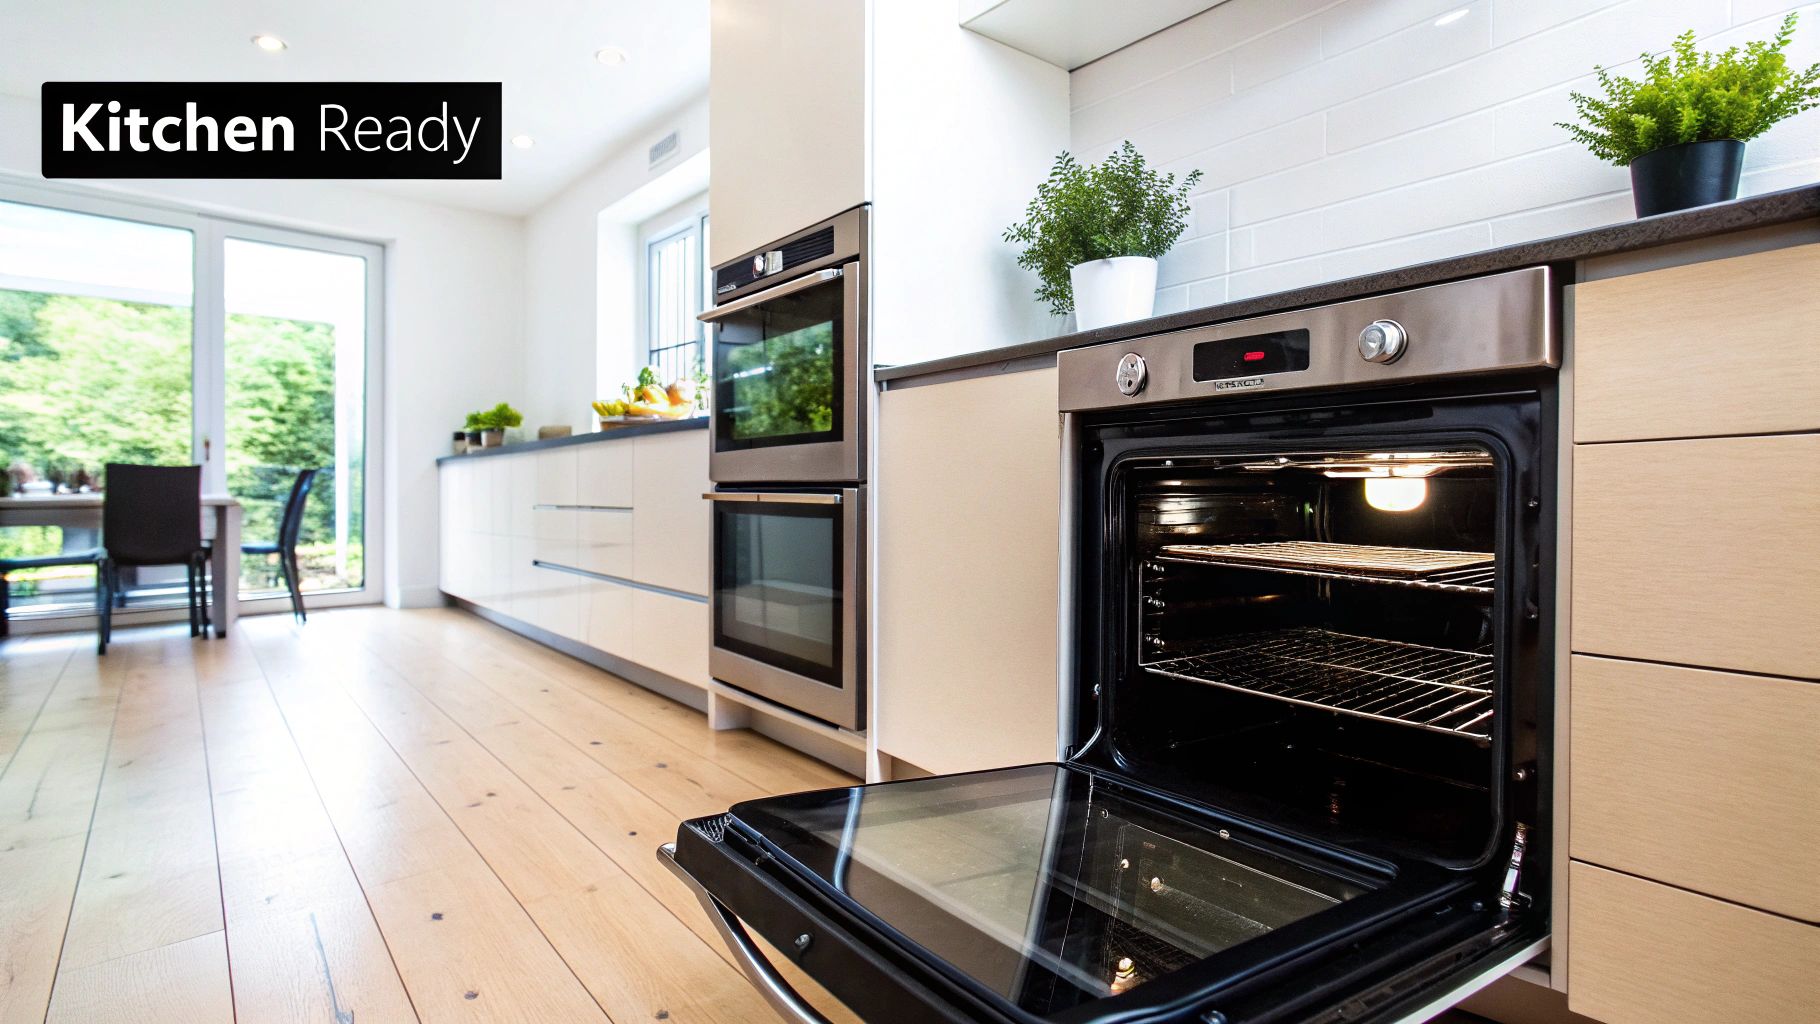
1. Deep Clean Kitchen
The kitchen is the heart of your new home, and it’s the one room where hygiene is non-negotiable. A thorough deep clean before you unpack a single plate is a critical first step in any effective move in clean checklist. This process goes far beyond a simple wipe-down, targeting built-up grime, bacteria, and lingering odors left by previous occupants. It ensures your food preparation and storage areas are sanitary from day one.
Why It's Essential
Starting with a sterile kitchen prevents cross-contamination and provides peace of mind. You don't know the cleaning habits of the last residents, and areas like refrigerator interiors, cabinet corners, and appliance crevices can harbor unseen bacteria and food residue. Tackling this first ensures you can safely start stocking your pantry and fridge immediately after moving.
Actionable Cleaning Strategy
Follow a top-to-bottom, inside-to-out approach for maximum efficiency.
- Appliances First: Empty, scrub, and sanitize the refrigerator and freezer. Pull it out to clean the floor underneath and vacuum the coils behind it. For the oven, use a paste of baking soda and water to scrub away burnt-on grease. Clean the stovetop, degrease the range hood filter, and run an empty dishwasher cycle with a cup of white vinegar on the top rack to remove mineral deposits and sanitize the interior.
- Cabinets and Drawers: Remove all shelves and drawers if possible. Vacuum out crumbs and debris, then wipe all interior and exterior surfaces with a multipurpose cleaner. This is the perfect time to install new shelf liners.
- Surfaces and Sink: Thoroughly degrease and disinfect all countertops, backsplashes, and the sink. Use a small brush to scrub around the faucet and drain. If your new home has a garbage disposal, clean it by grinding up ice cubes followed by lemon or orange peels to sharpen the blades and deodorize it.
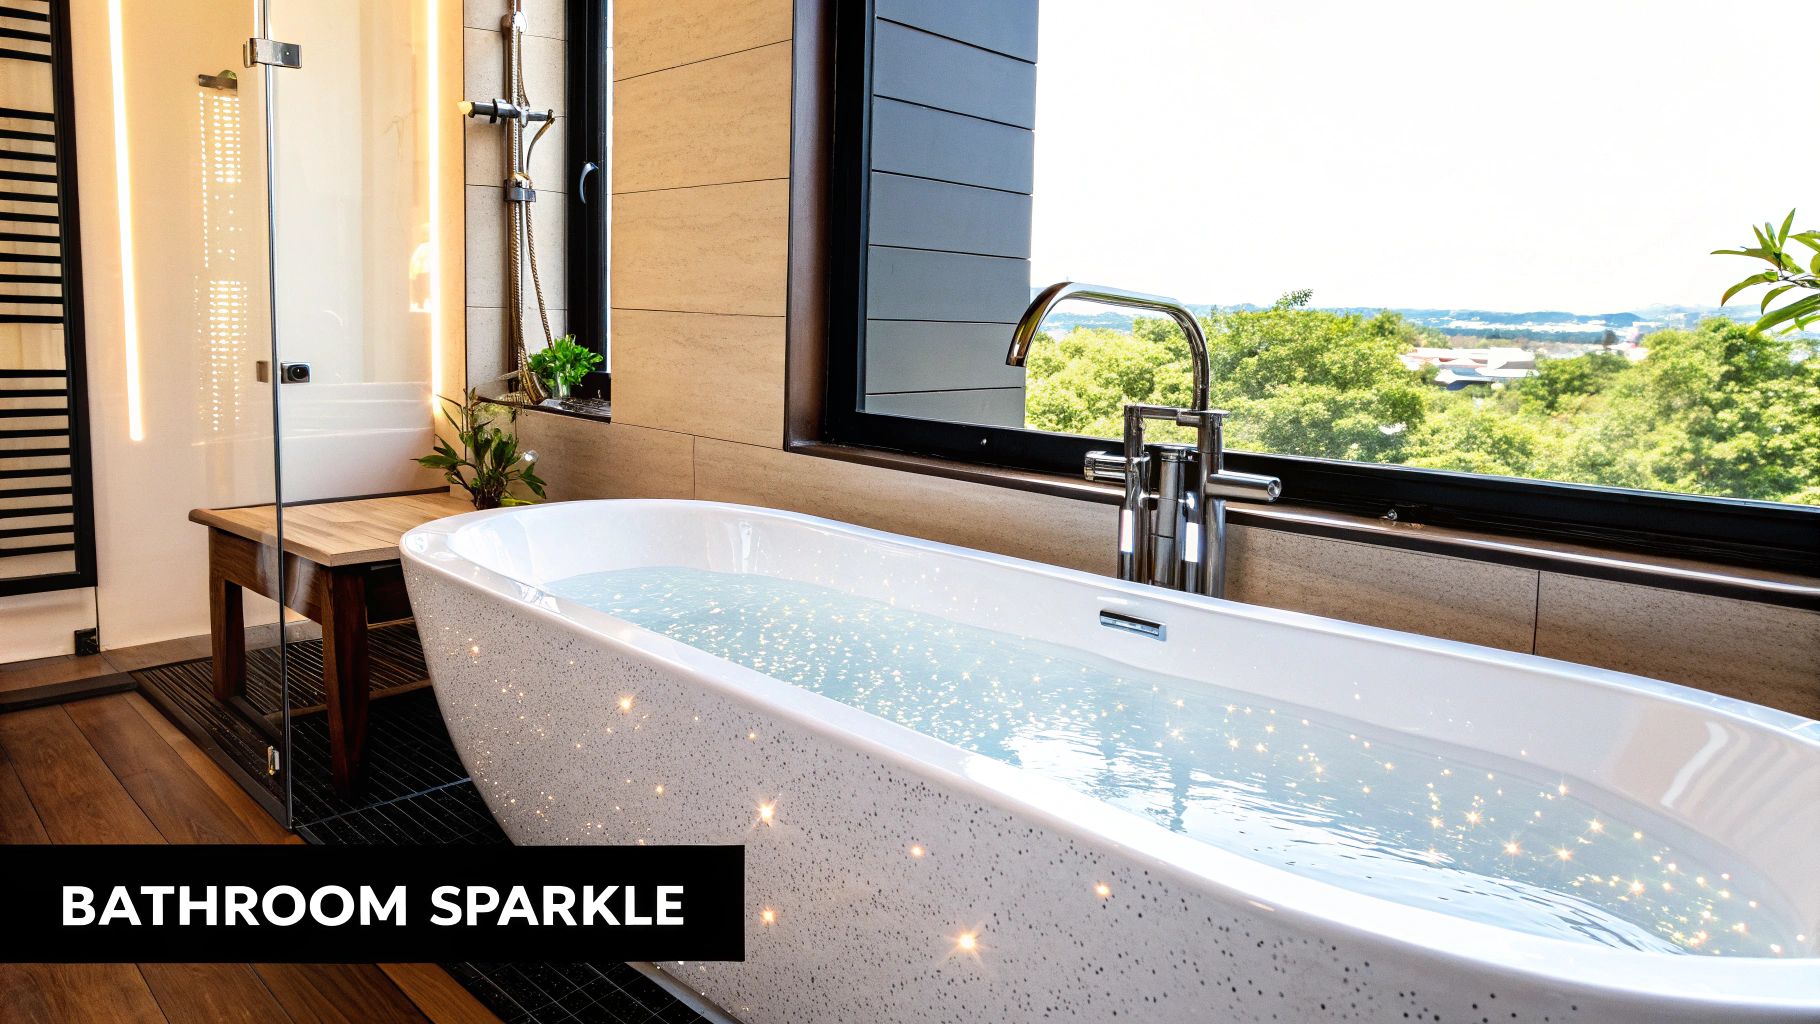
2. Bathroom Sanitization
After the kitchen, the bathroom is the next most critical area to address for a truly hygienic home. A comprehensive sanitization process is a non-negotiable part of any move in clean checklist, as it tackles areas prone to bacteria, mold, and mildew. This deep clean goes far beyond a quick wipe-down, ensuring that toilets, showers, and sinks are completely disinfected and safe for your family from the moment you move in.
Why It's Essential
Bathrooms are high-moisture environments where germs can thrive. You have no way of knowing the hygiene habits of previous occupants, and soap scum, hard water stains, and unseen bacteria can accumulate quickly. A thorough sanitization eliminates these health risks, providing a fresh, clean slate and preventing the spread of germs. This step ensures your personal care spaces are sanitary before you even unpack your first towel.
Actionable Cleaning Strategy
Work from the top down and from the driest areas to the wettest to avoid spreading dirt and germs.
- Shower and Tub: Start by spraying the shower walls, tub, and glass doors with a heavy-duty cleaner designed to cut through soap scum and hard water stains. For persistent black mold in grout or corners, a bleach-based cleaner may be necessary. Let the products sit for the recommended contact time before scrubbing and rinsing thoroughly.
- Toilet and Sink: Disinfect the toilet inside and out, paying close attention to the base, tank, and handle. A pumice stone can gently scrub away stubborn rings inside the bowl without scratching the porcelain. Clean and disinfect the sink, faucet, and countertops, using an old toothbrush to detail around the drain and fixtures.
- Surfaces and Floors: Wipe down mirrors, medicine cabinets (inside and out), light fixtures, and vents. Finish by thoroughly mopping and disinfecting the floor, making sure to clean behind the toilet and in all corners. For a deeper understanding of these techniques, you can find detailed bathroom cleaning tips on custom-maids.co.
3. Window and Glass Cleaning
Clean windows and glass surfaces can dramatically brighten your new space, making it feel larger, cleaner, and more welcoming. This crucial step on any move in clean checklist involves more than a quick spray and wipe; it’s about achieving a streak-free, crystal-clear finish on all windows, mirrors, and glass doors. Tackling this task before you arrange furniture allows for unobstructed access and prevents cleaning solutions from splashing onto your belongings.

Why It's Essential
Maximizing natural light is one of the quickest ways to improve the ambiance of a new home. Dust, grime, and water spots left by previous occupants or construction can make a home feel dim and dingy. A thorough cleaning of all glass surfaces, including those you might overlook like shower doors and mirrored closet doors, instantly elevates the home’s overall cleanliness and appearance.
Actionable Cleaning Strategy
For professional-quality results, adopt a systematic approach and use the right tools.
- Preparation and Technique: Begin by cleaning the window screens. Remove them, gently scrub with a soft brush and soapy water, rinse, and let them dry completely. For the glass, work on a cloudy day to prevent your cleaning solution from drying too quickly and causing streaks. Use a high-quality squeegee, working from top to bottom and wiping the blade clean after each pass.
- Tackling Tough Spots: For stubborn residue like paint splatters or sticker adhesive, carefully use a new razor blade held at a 45-degree angle to scrape it off the wet, soapy glass. This technique effectively removes debris without scratching the surface.
- Finishing Touches: Use a clean, lint-free microfiber cloth or classic newspaper to wipe away any remaining drips along the edges and sills. Don't forget to wipe down the window tracks and frames, where dust and debris often accumulate.
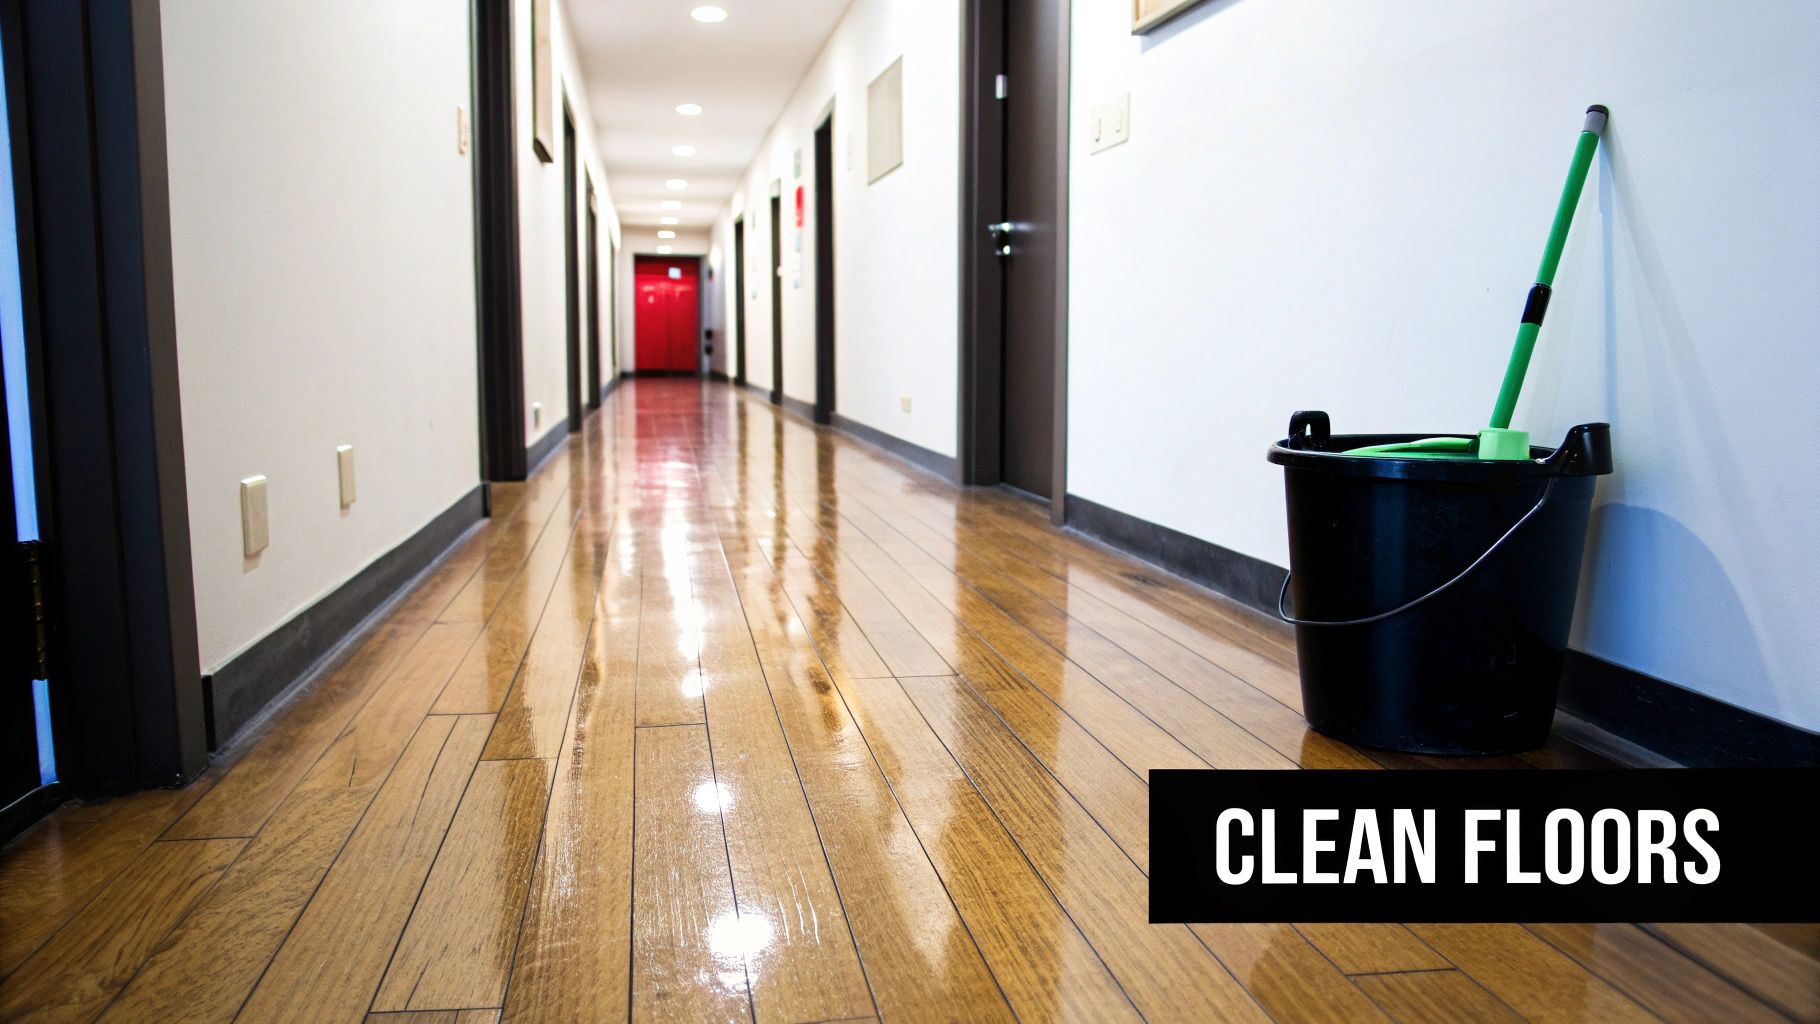
4. Floor Deep Cleaning and Care
Floors bear the brunt of moving-day traffic and often hide years of accumulated dirt, allergens, and wear from previous occupants. Addressing them properly is a fundamental part of any move in clean checklist. This involves more than a quick sweep; it's a comprehensive cleaning tailored to each specific flooring type, designed to sanitize, restore, and protect the surfaces you walk on every day.
Why It's Essential
Floors are the largest surface in any room and significantly impact the overall cleanliness and air quality of your new home. Previous residents may have had pets, smoked, or simply neglected deep cleaning, leaving behind allergens, odors, and bacteria embedded in carpets and floorboard crevices. A thorough floor cleaning ensures you are starting fresh in a truly hygienic environment.
Actionable Cleaning Strategy
Before you move in furniture, seize the opportunity to give your floors the attention they need. Always test cleaning products on a small, hidden area first.
- Carpets: For carpeted areas, a professional steam cleaning or a high-powered rental unit is highly recommended. This process penetrates deep into the fibers to remove embedded dirt, stains, pet dander, and odors that a standard vacuum can't reach. Pay extra attention to high-traffic areas.
- Hardwood and Laminate: After sweeping or vacuuming, use a pH-neutral cleaner designed for wood or laminate. Avoid using excessive water, which can cause damage. For hardwood, applying a fresh coat of polish can restore its shine and add a layer of protection. For more in-depth advice, you can learn more about how to clean hardwood floors.
- Tile and Vinyl: Use a heavy-duty cleaner appropriate for the material, focusing on grout lines where grime accumulates. A stiff brush can help lift stubborn dirt from the grout. For tough stains on ceramic tile, an alkaline cleaner can be particularly effective. Ensure you rinse the floor thoroughly to remove any cleaning solution residue.
5. Light Fixtures and Ceiling Fans
Often overlooked, light fixtures and ceiling fans accumulate years of dust, dead insects, and airborne grime that can dull your new space. Cleaning these fixtures is a crucial step in a move in clean checklist as it not only improves air quality and hygiene but also maximizes light output, making your home feel brighter and more welcoming from the start. This task ensures you're not showering your freshly cleaned rooms with old dust the first time you turn on the fan.
Why It's Essential
Dust and grime on light bulbs and fixtures can significantly reduce their brightness and efficiency. Ceiling fans caked with dust will launch these particles into the air as soon as they are switched on, compromising the cleanliness of the entire room. In kitchens, fixtures can be coated in a sticky layer of grease, creating a fire hazard and attracting more dirt. Addressing this ensures a healthier environment and proper function of these essential components.
Actionable Cleaning Strategy
Safety is paramount, so always turn off the power at the circuit breaker before beginning. Use a sturdy ladder and have a spotter for safety.
- Ceiling Fans: Use a pillowcase to clean fan blades. Slip the case over a blade and pull it back, trapping all the dust and debris inside. Wipe the motor housing and pull chains with a damp microfiber cloth. After cleaning, check if the fan wobbles when turned on and balance it if necessary.
- Light Fixtures: Carefully remove any glass globes, shades, or covers. Wash them in warm, soapy water and dry completely before reassembly. For intricate fixtures like chandeliers, take a photo beforehand. You can gently wipe down each crystal with a lint-free cloth dampened with a 1:3 ammonia-to-water solution.
- Bulbs and Components: While fixtures are disassembled, wipe down the light bulbs (when cool) with a dry microfiber cloth to remove dust. This simple step can make a room noticeably brighter. Vacuum or dust the electrical housing of the fixture itself before putting everything back together.
6. Cabinet and Storage Deep Clean
Cabinets, closets, and built-in storage are the blank canvases of your new home, but they often hide dust, debris, and residues from previous occupants. A thorough cabinet and storage deep clean is a crucial part of any move in clean checklist, ensuring your belongings start their life in a truly fresh, hygienic space. This task involves more than a quick wipe; it’s about sanitizing every nook, cranny, and surface before you place a single item inside.
Why It's Essential
Starting with clean storage prevents the transfer of dirt, allergens, and mystery grime onto your clean clothes, linens, and pantry items. You never know what was stored before, from dusty old shoes in a bedroom closet to sticky syrup spills in a kitchen cabinet. Cleaning these areas first provides a sanitary foundation for organization and gives you complete confidence in the cleanliness of your home.
Actionable Cleaning Strategy
Work systematically to ensure no surface is missed, preparing each storage area for immediate use.
- Empty and Vacuum: Before applying any cleaner, thoroughly vacuum every shelf, corner, and drawer. Use a crevice tool to remove all lingering dust, crumbs, and debris. This is especially important for bedroom closets and kitchen pantries.
- Wipe and Sanitize: Mix a gentle but effective cleaner, like warm water with a few drops of dish soap, to wipe down all interior and exterior surfaces. For greasy kitchen cabinets, a solution with white vinegar can help cut through the grime. Pay special attention to handles and knobs.
- Deodorize and Refresh: Closets can hold onto stale odors. Leave the doors open to air out after cleaning. For a fresh scent, you can place an open box of baking soda or a few cotton balls with essential oil inside. After everything is completely dry, install fresh, new shelf liners for a final touch of clean.
7. HVAC System and Vents
The air you breathe is just as important as the surfaces you touch, making the HVAC system a crucial part of any comprehensive move in clean checklist. Over time, air ducts, vents, and filters accumulate an astonishing amount of dust, pet dander, pollen, and other allergens left behind by previous occupants. Cleaning these components before you settle in significantly improves your home's indoor air quality and helps the system run more efficiently.
Why It's Essential
Addressing the HVAC system from the start helps remove hidden contaminants that can trigger allergies or respiratory issues. A clean system circulates clean air, reducing the amount of dust that settles on your freshly cleaned surfaces. Furthermore, clogged filters and vents force your furnace and air conditioner to work harder, increasing energy consumption and utility bills.
Actionable Cleaning Strategy
Focus on accessible components while considering professional help for deeper issues.
- Filters and Vents: Begin by turning off the HVAC system at the thermostat. Locate and replace all air filters, making sure to use a new one with the correct size and MERV rating for your system. Remove all supply and return vent covers, wash them in warm, soapy water, and use a vacuum with a brush attachment to clean out any accessible dust from the duct openings.
- Exhaust Fans: Don't forget bathroom and kitchen exhaust fans. Their covers are often clogged with lint, dust, and grease, which reduces their effectiveness. Unplug or turn off the power, remove the covers, and clean them thoroughly. Vacuum the fan blades and housing to restore proper airflow.
- Consider Professional Cleaning: If the home is older or you suspect significant buildup, hiring a professional for a full duct cleaning is a worthwhile investment. Professionals have the specialized equipment, like high-powered vacuums and rotary brushes, needed to thoroughly clean the entire system. You can learn more about the equipment professionals use on custom-maids.co.
7-Point Move-In Cleaning Checklist Comparison
| Task | Implementation Complexity 🔄 | Resource Requirements ⚡ | Expected Outcomes 📊 | Ideal Use Cases 💡 | Key Advantages ⭐ |
|---|---|---|---|---|---|
| Deep Clean Kitchen | High (3-5 hours, multiple steps) | Specialized cleaners, multitools | Hygienic kitchen, extended appliance lifespan | Preparing kitchen for food prep or tenancy shift | Thorough sanitation, maintenance issue detection |
| Bathroom Sanitization | Medium (2-3 hours) | Strong chemicals, scrubbing tools | Eliminated bacteria/mold, fresh environment | Routine or deep bathroom hygiene | Mold prevention, allergen reduction |
| Window and Glass Cleaning | Low-Medium (1-3 hours, weather dependent) | Squeegees, extension poles, cloths | Streak-free windows, increased natural light | Maintaining appearance, improving light | Enhances brightness, improves view clarity |
| Floor Deep Cleaning and Care | High (4-8 hours, multiple floor types) | Professional equipment (steamers, buffers) | Dirt removal, restored shine, improved air quality | Deep cleaning of diverse flooring surfaces | Extends floor life, removes allergens |
| Light Fixtures and Ceiling Fans | Medium (2-4 hours, safety needed) | Ladder, cleaning solutions | Brighter lighting, balanced fans, hazard reduction | Detailed fixture maintenance | Improves lighting, extends fixture lifespan |
| Cabinet and Storage Deep Clean | Medium-High (3-6 hours) | Cleaning agents, hardware tools | Clean storage, odor removal, better organization | Decluttering and storage maintenance | Identifies repairs, improves functionality |
| HVAC System and Vents | High (technical knowledge needed) | Vacuum tools, filter replacements | Improved air quality, system efficiency | HVAC maintenance and allergen reduction | Energy savings, enhanced respiratory health |
Checklist Complete: Enjoy Your Spotless New Beginning
You've made it through the ultimate move in clean checklist, and your new home is now ready to be truly yours. Tackling everything from the kitchen’s hidden grime to the dust on the ceiling fans is a monumental task, but the result is more than just a clean space. It’s a fresh start, a blank canvas for your life, and a healthier environment for you and your family from day one.
The value of this detailed approach cannot be overstated. By deep cleaning cabinets, sanitizing bathrooms, and addressing often-overlooked areas like HVAC vents and light fixtures, you’ve reset the home’s hygiene baseline. This initial effort prevents the buildup of old dirt and allergens, making future cleaning easier and ensuring your living space is genuinely pristine. You’ve transformed an unfamiliar house into a welcoming, comfortable home.
Your Next Steps to a Perfect Move-In
With the deep cleaning behind you, the final steps are about settling in and maintaining this high standard.
- Final Walkthrough: Do one last check with your list in hand to ensure no spots were missed. This is your final quality control before the moving truck arrives.
- Unpack with Purpose: As you unpack, wipe down your belongings before placing them in their newly cleaned drawers and closets. This prevents transferring dust from your old place.
- Establish a Routine: Use the momentum from this deep clean to create a simple, weekly cleaning schedule. It will be much easier to maintain a sparkling home than to start from scratch again.
Completing a comprehensive move-in clean is an empowering first act of homeownership or tenancy. It sets a powerful precedent of care and attention to detail. This isn't just about scrubbing floors; it's about taking ownership of your environment and creating a sanctuary you can be proud of. Enjoy the peace of mind that comes with knowing every corner is clean, and welcome to your spotless new beginning.
Moving is overwhelming enough without adding a top-to-bottom deep clean to your to-do list. If you're in Mid-Michigan and want a flawless start without the stress, trust the experts at Custom Maids. We provide meticulous move-in cleaning services to ensure your new home is immaculate, letting you focus on settling in. Contact Custom Maids for a free estimate and walk into a perfectly clean home.