
Before you even think about grabbing a cloth or a cleaner, the first step is to play detective. Not all water spots are created equal, and knowing what you're up against is half the battle. White, cloudy rings are your best-case scenario—it means the moisture is just trapped in the top finish. But if you see a darker spot, that’s a sign the water has soaked deep into the wood itself, which calls for a completely different game plan.
Understanding White vs. Dark Water Spots
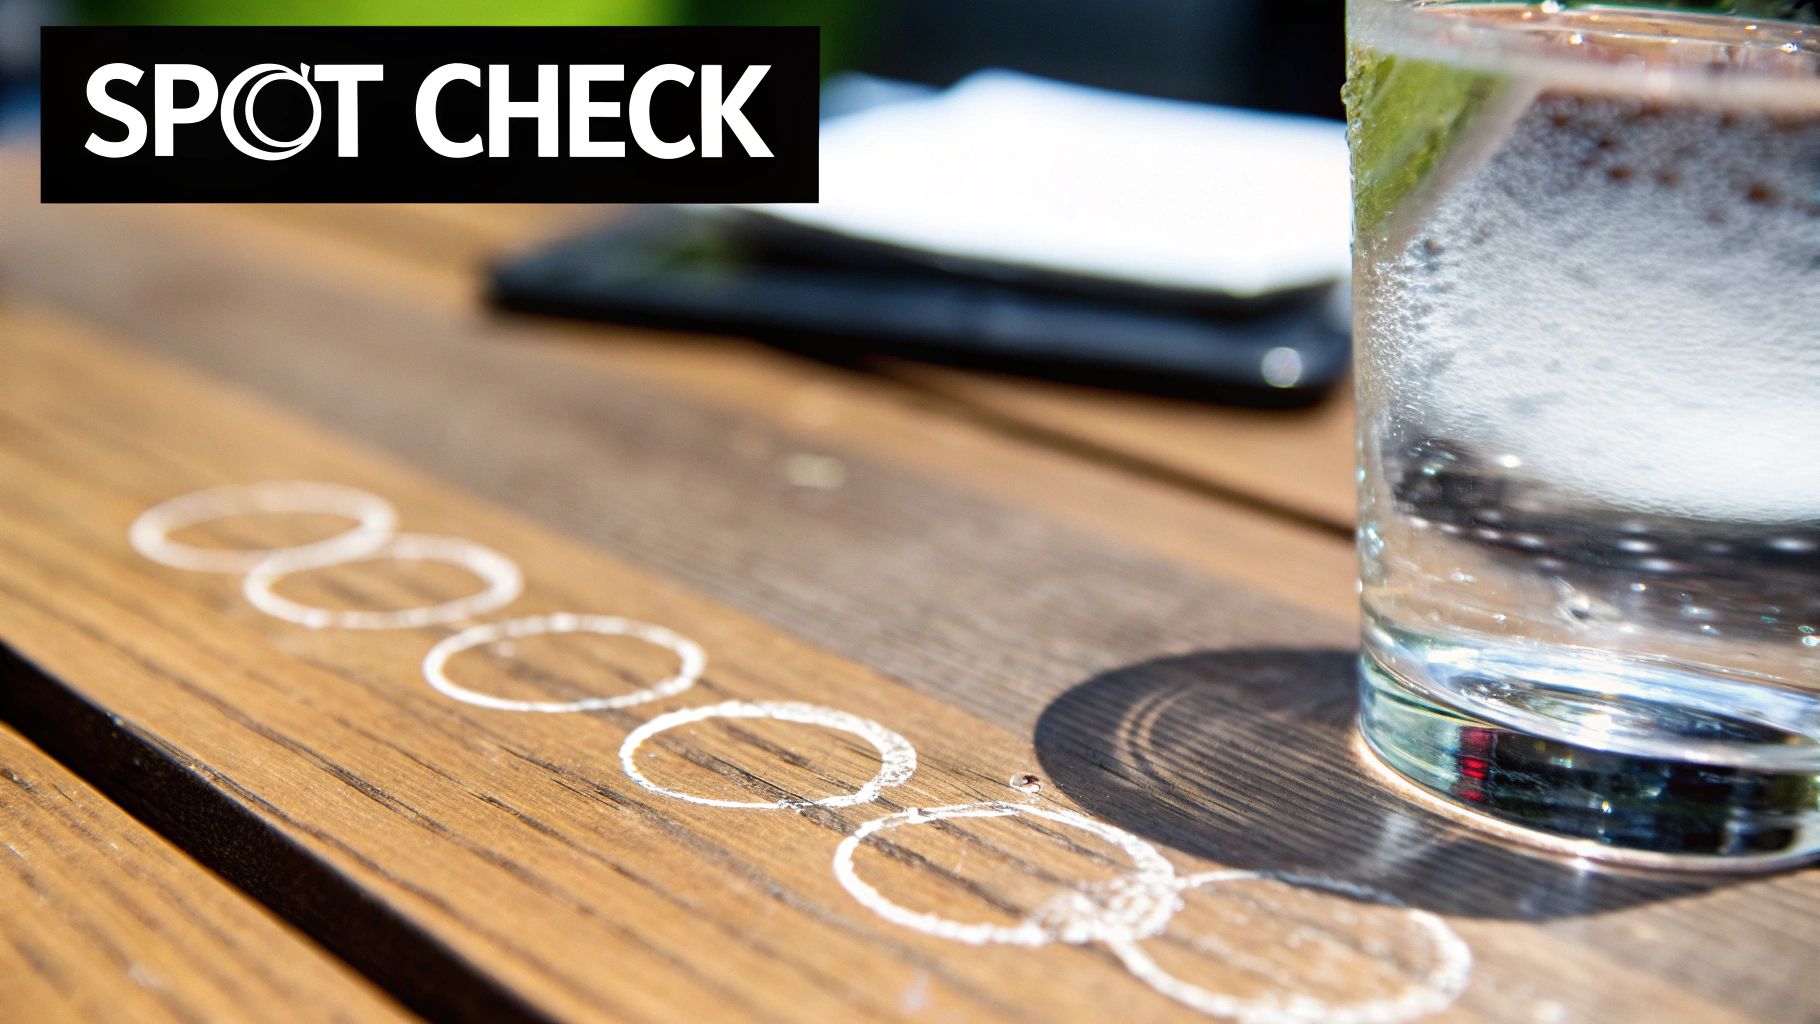
That frustrating water ring on your beautiful wood table isn't just one type of problem. It falls into two very distinct categories, and telling them apart is the most critical part of a successful repair. If you get too aggressive with a simple surface stain, you risk making things worse. On the other hand, a gentle approach won’t even touch a deep-set mark.
The Good News: White Stains
Think of white or milky-colored spots as a surface-level issue. This happens when moisture—maybe from a sweaty glass or a hot pizza box—gets trapped in the wood’s protective topcoat, like lacquer, shellac, or varnish. It's the finish that's cloudy, not the wood itself.
- What it is: Moisture caught in the finish layer.
- What it looks like: A pale, hazy, or white ring or blotch.
- Difficulty: Usually easy to remove with simple, non-abrasive methods.
These are by far the most common water marks I see, and thankfully, you can often fix them with things you probably already have at home.
The Challenge: Dark Stains
A dark or black water stain tells a much different story. This means water has managed to sneak past the protective finish and has soaked right into the wood fibers. That dark color you see is the wood itself reacting to prolonged moisture, and it's a sign of deeper damage.
Unfortunately, these stains take more elbow grease. Because the damage is in the wood, you're not just treating the finish anymore; you have to address the wood underneath. While a gentle method like using a warm iron over a cloth might help evaporate moisture from a light stain, dark spots are beyond that quick fix. To dig deeper into how these different stains are treated, the experts at Matthew's Painting offer some great insights on furniture repair.
Key Takeaway: The color of the spot is your roadmap. White means work on the finish; dark means work on the wood. This simple distinction will guide every action you take next.
Quick Guide to Identifying and Treating Water Spots
Not sure where to start? Use this table as a quick reference to figure out what kind of water spot you're dealing with and the best way to begin tackling it.
| Spot Color | What It Means | Primary Removal Strategy | Difficulty Level |
|---|---|---|---|
| White / Hazy | Moisture is trapped in the top finish layer. | Gentle heat (iron) or mild abrasives. | Easy |
| Dark / Black | Water has penetrated and stained the wood. | Chemical treatments or light sanding/refinishing. | Moderate to Hard |
This little cheat sheet should help you choose the right tools for the job without accidentally causing more damage. Remember to always start with the least aggressive method first
How to Fix Light Colored Water Stains
Let's tackle the most common problem you'll run into: those milky, ghost-like rings that show up after a sweaty glass sits on your coffee table. The good news is these light-colored water stains are the easiest to fix. Why? Because the moisture is only trapped in the top layer of the finish, not deep in the wood itself. With a little patience, you can usually get them out with stuff you already have at home.
One of the most effective—and surprising—tricks involves using oily things from your kitchen. Think full-fat mayonnaise or petroleum jelly. The oil in these products is the secret weapon; it works its way into the finish, displaces the trapped moisture, and conditions the wood at the same time.
Using Oily Household Products
The process couldn't be simpler. Just put a small dab of mayonnaise or petroleum jelly right on the white ring. Use a soft cloth to gently spread it over the entire stain, but try to keep it contained to just the affected spot.
Now, you wait. Let it sit for at least a few hours. For a really stubborn spot, leaving it on overnight is your best bet. You need to give the oil enough time to penetrate the finish and do its thing. Once time is up, just wipe the residue away with a clean, dry cloth and give the surface a little buff. More often than not, you'll find the white mark has completely disappeared.
Taking care of your wood surfaces requires a gentle touch, much like the process shown here.
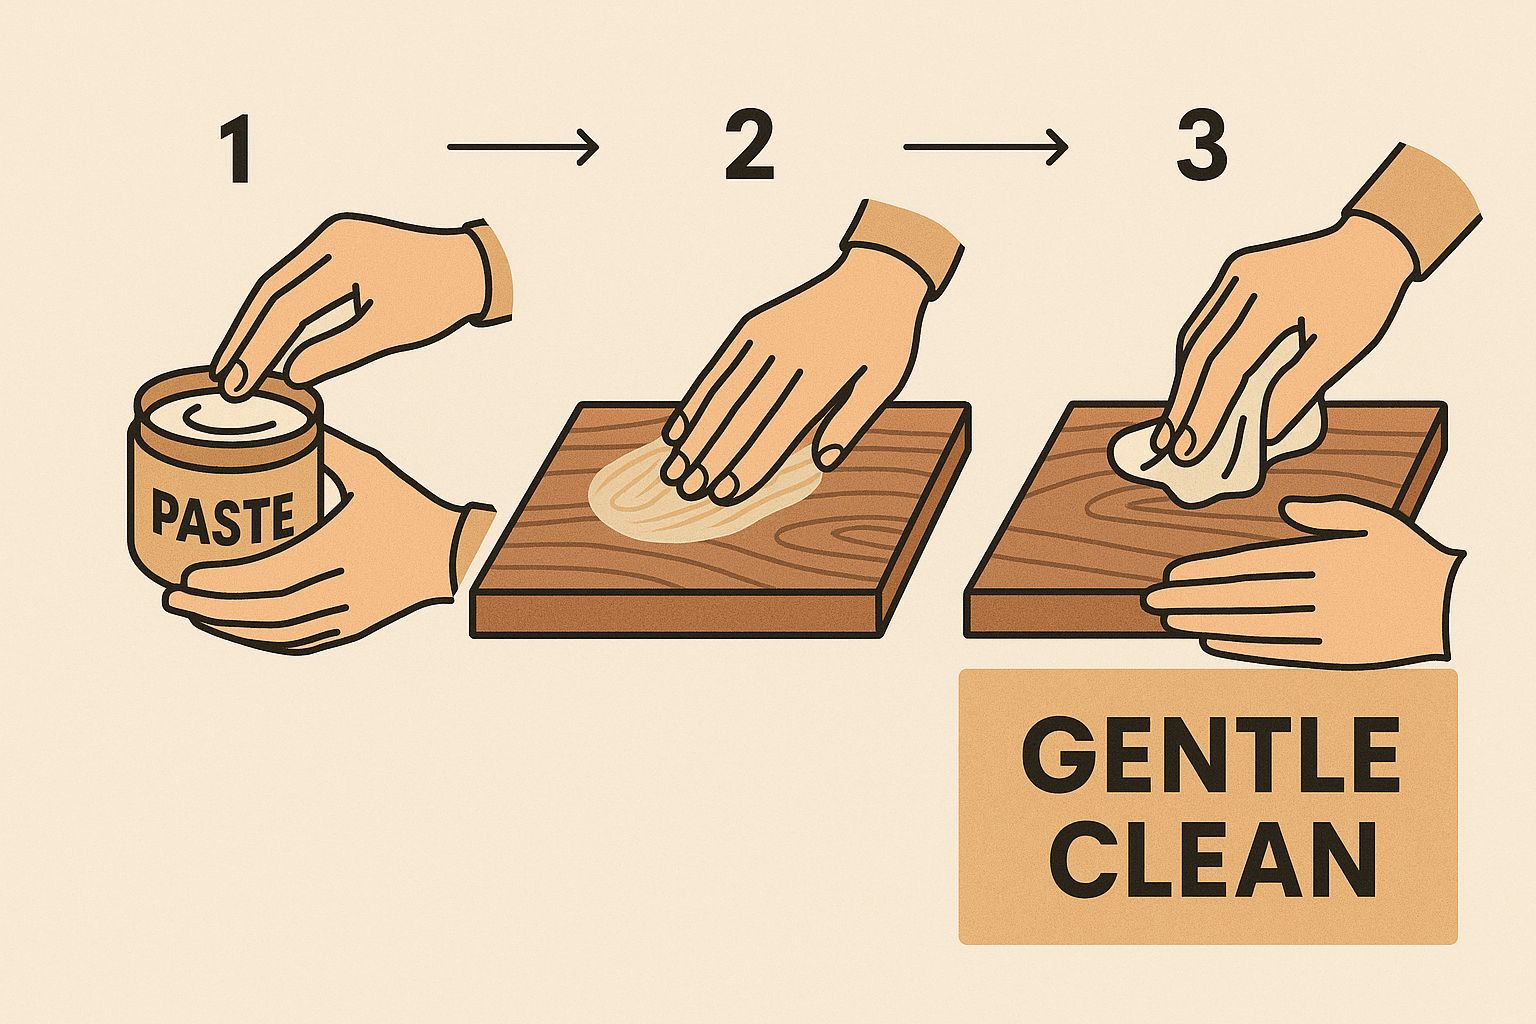
This image really highlights how important a soft approach is. Being too aggressive is how you end up damaging the finish you're trying to save.
Applying Gentle Heat to Evaporate Moisture
Another go-to strategy is using gentle heat to coax the trapped moisture right out of the finish. This is a favorite trick among wood care pros because it deals with the root of the problem head-on—the water.
Pro Tip: The golden rule when using heat is "low and slow." Blasting it with high heat will permanently damage the finish, leaving you with a much bigger headache than a simple water ring.
You’ve got two great tools for this job right in your house:
- A Hairdryer: Put your hairdryer on its lowest heat setting. Hold it several inches away from the stain and keep it moving constantly, almost like you’re spray-painting, to spread the heat out evenly. You should see the stain start to fade within just a few minutes.
- A Clothes Iron: First, empty all the water out of your iron. Set it to the lowest, dry setting (absolutely no steam). Lay a clean, dry cotton cloth—like an old t-shirt—over the water spot. Briefly press the warm iron on the cloth for just a few seconds at a time, lifting it to check your progress frequently.
Professional restorers have a whole bag of tricks like these. In fact, many guides showcase at least eight distinct methods, from the iron trick to mixing vinegar and olive oil. That last one—applied with a soft cloth in the direction of the grain—can remove white rings while giving the wood a little nourishment. You can watch these different methods in action in this restoration guide to get a better feel for which one might be right for your situation.
Tackling Those Stubborn Dark Water Stains
When a water ring on your wood furniture turns dark or black, it's a clear signal that the usual tricks won't cut it. A dark stain means one thing: moisture has seeped past the finish and worked its way deep into the wood itself.
Dealing with these requires a more direct approach, but the golden rule is to always start with the gentlest method first. You want to solve the problem without creating a bigger one.
First, Try a Gentle Abrasive Paste
Before you jump to any harsh chemicals, a simple homemade paste can sometimes work wonders. This is always my first line of attack for a dark spot, especially if the surrounding finish still looks okay.
The goal here is to carefully lift the stain from the wood grain without scratching everything up. A classic home remedy is a simple paste made from plain white toothpaste and baking soda. The mild abrasives in the mix can often buff out the discoloration without needing anything stronger.
Here’s how I mix and use it:
- Combine one part non-gel white toothpaste with one part baking soda.
- Dab a small amount of the paste onto a clean, soft cloth.
- Gently rub the paste onto the dark stain, making sure you're always moving with the wood grain. This is key to avoiding new scratches.
- After a minute or two of light rubbing, wipe the paste off with a clean, damp cloth and dry the area completely.
This technique is surprisingly effective for stains that haven't set in too deeply. Interestingly, the principles are similar to tackling other stubborn household stains. If you’re battling mineral deposits elsewhere in your home, our guide on cleaning hard water stains might offer some helpful insights.
When Wood Bleach Is Your Last Resort
If the paste doesn't make a dent, the stain is likely deep, and the finish is probably already damaged. At this point, oxalic acid, also known as wood bleach, becomes an option for the more experienced DIYer. Be warned, this isn't just cleaning anymore—it's a full-blown restoration project.
Safety First: Wood bleach is a serious chemical. You absolutely must wear protective gloves and safety glasses. Make sure you're working in a well-ventilated space.
Using oxalic acid involves a careful process of applying it to the stain, letting it work its magic, and then neutralizing it completely with another solution. Only after all that can you even think about the next steps: sanding, re-staining, and refinishing the area to blend in with the rest of your furniture.
Why Your Furniture Finish Dictates the Repair Method
Before you even think about how to get rid of that pesky water ring on your wood furniture, you need to know what you’re dealing with. The single most important factor for a successful fix is the type of finish on your piece. I’ve seen it a hundred times: using the wrong product turns a minor watermark into a major disaster.
Different finishes like shellac, lacquer, or a modern polyurethane react in completely different ways to solvents and cleaners. A method that works like a charm on a tough polyurethane table could strip the finish right off a delicate antique. It's crucial to be selective, especially when you consider things like the risks of steam cleaning wooden floors—the same logic applies here, as misusing a technique can cause irreversible damage.
The All-Important Spot Test
Not sure what kind of finish you have? Don’t guess. A quick spot test in a hidden area—think the underside of the table or the back of a leg—is your best defense against making things worse.
Here’s a simple way to figure out what you’re working with:
- Shellac: Put a drop of denatured alcohol on your test spot. If the finish gets sticky or starts to dissolve, you have shellac.
- Lacquer: Dab a tiny bit of lacquer thinner on the spot. Lacquer will soften up and feel tacky.
- Polyurethane/Varnish: These modern finishes are built to last. Neither alcohol nor lacquer thinner will do much to them.
This little bit of knowledge is everything. For example, a lacquer finish can sometimes be repaired just by spraying it with more lacquer thinner. This re-melts the top layers of the finish, allowing trapped moisture to escape. Knowing that shellac dissolves in alcohol is key to picking the right method for that finish, too.
Key Takeaway: A 30-second spot test can save you from hours of costly repairs. Always test in an inconspicuous area before touching the visible water stain.
Getting the finish right is the first and most critical step. It directly impacts your next move, including what tools and products you’ll need. For more on that, check out our guide on how to choose cleaning products for every surface in your home.
Aftercare and Preventing Future Water Spots
You did it—the water spot is gone! But before you celebrate, there are a couple of quick finishing touches to make sure the repair blends in perfectly and your hard work is protected.
First, you'll want to gently wipe away any leftover residue from the treatment. A clean, slightly damp cloth will do the trick, but make sure to follow it up immediately with a dry one. The last thing you want is to introduce new moisture right after getting rid of a water stain.
Now, it’s time to bring back that beautiful, uniform shine. Depending on your furniture’s finish, you can buff in a matching furniture polish, apply a hard paste wax for a tough protective layer, or nourish the wood with a conditioning oil. Just apply a thin, even coat, and always work in the direction of the wood grain.
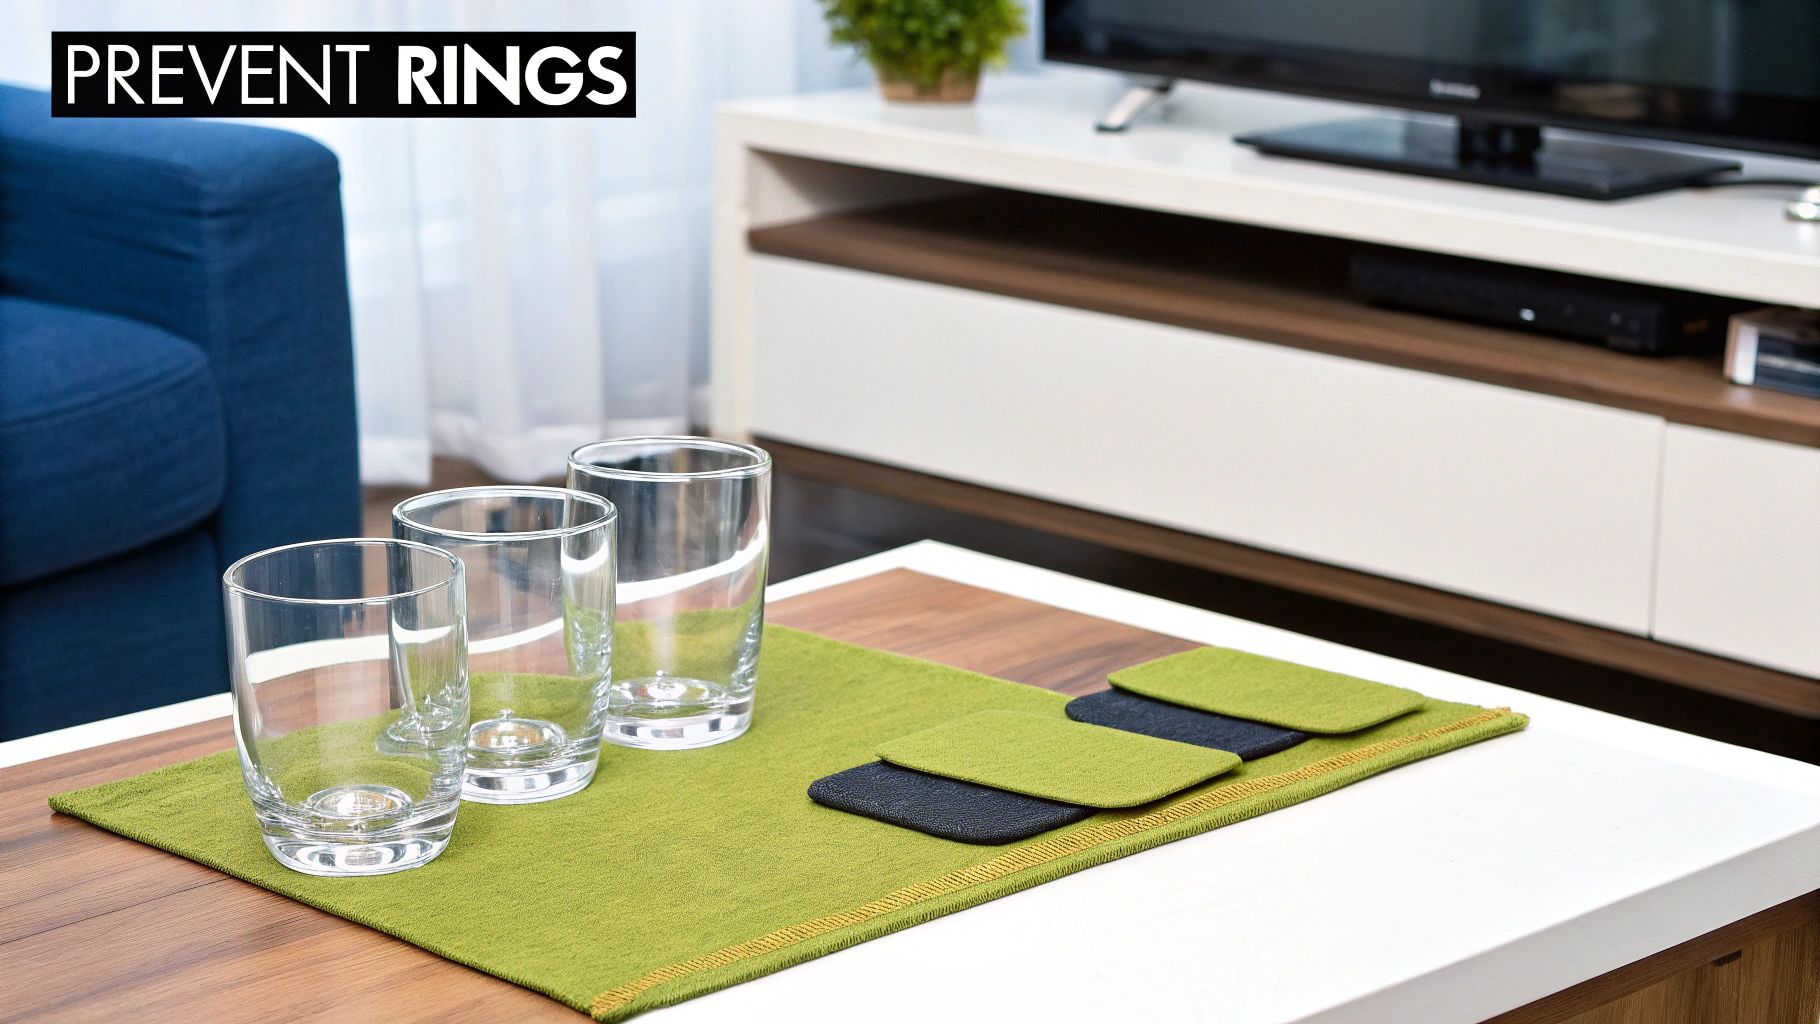
The Best Offense is a Good Defense
Of course, the real secret to keeping wood furniture pristine is preventing those pesky rings from ever appearing again. A few simple habits are your best defense.
Key Takeaway: Consistent prevention is always easier than repeated repairs. Simple daily habits are the most effective way to keep your wood furniture looking its best for years to come.
Getting into a solid maintenance rhythm is a game-changer. For example, incorporating some expert tips on how to clean wood cabinets can protect all the wood surfaces in your home, not just the tabletops.
When you build these small tasks into a regular schedule, like the one found in a good house cleaning checklist, furniture care just becomes second nature.
Common Questions About Removing Water Stains
Even with the best advice, you're bound to have a few questions pop up. Getting the right answers can mean the difference between a flawless repair and a costly mistake, especially when you're figuring out how to get water spots out of wood for good.
One of the first things people ask about is vinegar. While a mix of vinegar and olive oil is a classic home remedy, its acidity is a real gamble. It can easily dull or even strip delicate finishes like shellac, so tread very carefully and always test it on a hidden spot first.
How Long to Leave Mayonnaise On
When you're using the mayonnaise trick for those cloudy white rings, patience is everything. For a fresh, light stain, letting it sit for one to two hours might do the job.
But for a more stubborn, set-in spot, don’t be afraid to leave it on overnight. The longer the oils have to work their way into the finish and push out that trapped moisture, the better. Just be sure to wipe it completely clean and buff the area afterward.
Expert Insight: If a water spot shows zero improvement after you've tried a couple of the gentle methods, it's time to stop. Forcing the issue with more aggressive techniques without knowing the exact finish is how most irreversible damage happens.
Sometimes, a stain just isn't going to budge with DIY methods. If you've tried gentle heat and an oily solution on a white spot with no luck, or if a dark spot is resisting a mild abrasive paste, take a step back. Your best bet is to call a professional furniture restorer. They have the tools and expertise to assess the damage properly and fix it without harming your beloved piece.
For stubborn messes that go beyond simple water spots, the team at Custom Maids is here to help restore your home’s sparkle. Learn more about our professional cleaning services.