Tackling dust in your home requires a two-front attack: you need to be consistent with removal and proactive with prevention. The best approach I've found is combining regular cleaning using a HEPA filter vacuum and microfiber cloths with smart strategies to cut down on dust sources in the first place, like managing humidity and decluttering.
Why Your Home Is So Dusty and What to Do About It

Do you ever feel like you're fighting a losing battle with dust? You wipe down every surface, only to see a fresh layer settle in just a few days. It's a frustrating cycle, but it happens because dust is far more complex than just a bit of dirt. It’s a mix of tiny particles coming from both inside and outside your home.
Understanding what you're really up against is the first step to creating a cleaning strategy that actually works. Household dust is a unique cocktail, and its ingredients might surprise you.
Uncovering the Sources of Dust
Believe it or not, most of the dust in your home is created right where you live. The main culprits are often organic materials from our everyday lives.
- Shed Skin Cells: It's a bit grim, but humans and pets are constantly shedding microscopic skin flakes. These are a primary food source for dust mites.
- Pet Dander and Fur: Our furry friends contribute dander (tiny flecks of skin) and hair that easily become airborne and settle on everything.
- Fabric Fibers: That cozy blanket, your favorite sweater, the living room carpet, and upholstered furniture all shed tiny fibers that add to the dust pile.
- Food Debris: Microscopic crumbs and particles from cooking and eating will inevitably find their way into the air and onto surfaces.
Key Insight: A huge portion of household dust is simply a byproduct of living. This means that if you only focus on what blows in from outside, you're missing a massive part of the problem.
External Factors That Increase Dust
Your home isn't a perfectly sealed bubble; the outside world is always finding its way in. Leaky windows, drafty doors, and even just the bottoms of your shoes bring in a whole host of external particles. These invaders can seriously add to your dusting workload, especially depending on where you live.
On a global scale, outdoor conditions play a massive role. The World Meteorological Organization (WMO) points out that large-scale events like sand and dust storms impact over 330 million people by releasing an estimated 2 billion tons of dust into the atmosphere each year. These tiny particles can travel for thousands of kilometers, infiltrate homes, and add to indoor dust and health issues. You can dive deeper into how these global weather patterns affect home environments by reading the full UN report.
Building Your Ultimate Dust-Busting Toolkit
To really win the war on dust, you need more than just elbow grease—you need the right tools for the job. I’ve seen it countless times: someone grabs an old feather duster, gives things a quick swipe, and thinks the work is done. All they've really done is launch dust particles into the air, only to watch them settle right back where they started.
The key is to work smarter, not harder. A proper toolkit is designed to trap and remove dust for good, not just move it around.
The absolute cornerstone of any serious dust-fighting arsenal is a high-quality vacuum cleaner. But let’s be clear, not all vacuums are created equal. Your most powerful ally will be a model equipped with a HEPA (High-Efficiency Particulate Air) filter. Standard vacuums can be the worst offenders, sucking up dust and then spitting the smallest, most irritating particles—like pollen, pet dander, and dust mite fragments—right back into the air.
A certified HEPA filter is engineered to capture a staggering 99.97% of particles as small as 0.3 microns. That’s the real difference between just shuffling dust around and truly removing it from your home.
Beyond the Vacuum
While a great vacuum handles the floors and big jobs, the real detail work requires a more delicate touch. This is where microfiber cloths become your best friend. Honestly, they are a complete game-changer for dusting surfaces.
Unlike old cotton rags that just shove dust from one spot to another, microfiber cloths have a natural static charge that acts like a magnet, actively attracting and holding onto dust particles. They literally grab the dust and don't let go until you wash them.
- Dry Dusting: This is perfect for your routine wipe-downs of electronics, shelves, and picture frames where dust is light.
- Wet Dusting: For more stubborn, sticky layers of grime on baseboards or window sills, use a slightly dampened microfiber cloth. The moisture helps lift and trap even more particles without sending them airborne.
Assembling Your Complete Kit
With your vacuum and microfiber cloths ready, a few more items will round out your kit and prepare you for any dusting challenge that comes your way. For keeping floors consistently clean, an automated solution like the iRobot Roomba Combo robot vacuum and mop can be a huge help, tackling daily buildup before it gets out of hand.
Here’s a quick rundown of the essentials you'll want to have on hand:
- Vacuum with a HEPA Filter: This is non-negotiable for trapping allergens and fine dust.
- Microfiber Cloths: Get a healthy stack of these for all your surface dusting needs.
- Extendable Duster: A must-have for reaching ceiling fans, the tops of high shelves, and those pesky cobwebs in the corners.
- Crevice and Brush Attachments: These little tools are critical for getting into tight spots like vents, keyboards, and upholstery seams.
Getting your toolkit together is the first real step toward a cleaner, healthier home. If you want a more exhaustive list of supplies the pros rely on, take a look at our guide on creating a basic cleaning supplies checklist to make sure you’re fully equipped.
Mastering the Top-Down Dusting Method
Have you ever spent ages cleaning a room, only to spot a fresh layer of dust on your furniture just minutes later? It’s a frustrating cycle, and it usually means you’re accidentally working against gravity. The secret that cleaning pros swear by is simple: the top-down dusting method.
This isn’t some complicated trick. It just means you start cleaning at the highest points in a room and work your way down. All the dust you knock loose falls onto surfaces you haven't cleaned yet, so you can trap it all in one final swoop. It's a small change in approach that stops you from cleaning the same spot twice.
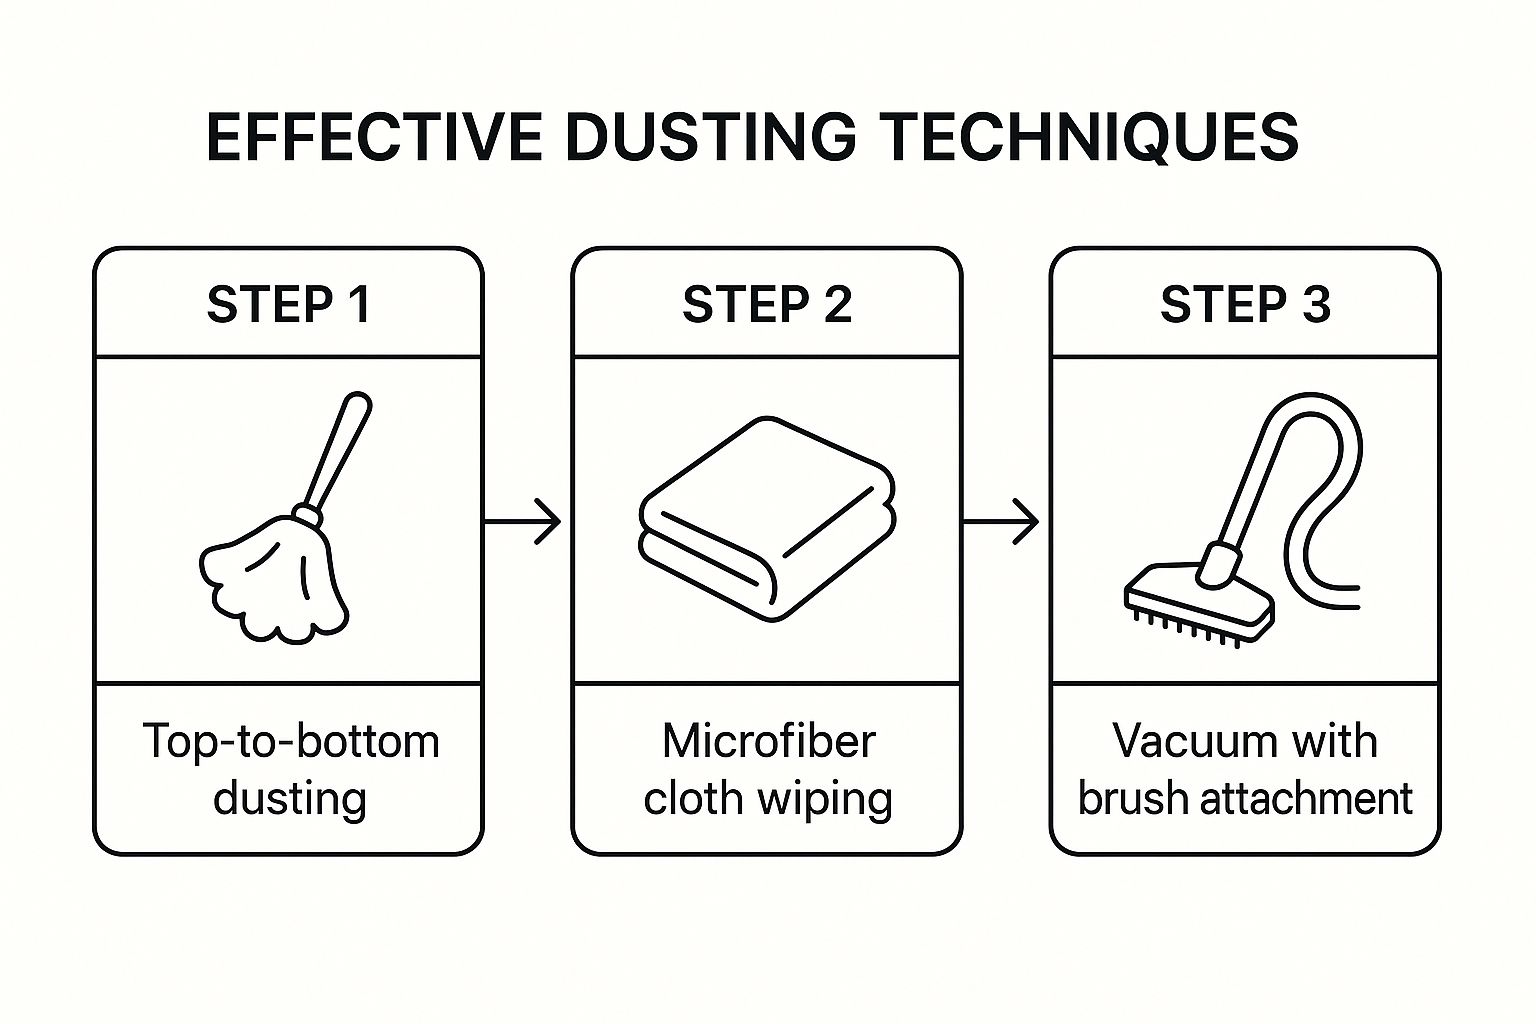
This image breaks down the simple, logical flow.

As you can see, you dislodge dust from up high, wipe down everything in the middle, and then vacuum it all off the floor. It’s a smart way to contain the mess and get the job done right the first time.
Putting the Method Into Practice
To get started, just look up. What’s the highest point in the room? Ceiling fans and light fixtures are a great place to begin. Grab an extendable duster and give those a good wipe to knock down all the loose dust clinging to the blades and shades.
From there, scan the upper walls and corners for cobwebs. Next, hit the tops of your tallest furniture—think bookshelves, entertainment centers, and wardrobes. This first pass clears out all those high-up, often-forgotten dust traps.
Key Takeaway: The top-down method isn't just a clever tip; it's a strategy built on basic physics. By working with gravity instead of against it, you save a ton of time and guarantee no dust gets left behind.
Tackling Mid-Level Surfaces and Tricky Spots
Once you've cleared the high ground, it's time to focus on everything at eye level and below. This is where you’ll find some of the worst dust culprits, like window treatments. There are some fantastic quick hacks for cleaning blinds that can make a huge difference in how much dust builds up.
Using a microfiber cloth, work your way through the room:
- Window Treatments & Sills: Dust your curtains, valances, or blinds first.
- Wall Decor: Gently wipe down picture frames, mirrors, and any hanging art.
- Furniture Surfaces: Clean off coffee tables, nightstands, desks, and dressers.
- Electronics: Pay close attention to electronics, which attract dust with static electricity. A dry microfiber cloth is perfect for screens, while a vacuum’s brush attachment works wonders on vents and keyboards.
After you’ve hit all these spots, a final wipe-down of the baseboards prepares you for the last step. This systematic flow is key. To get more ideas on creating an efficient routine, check out our guide on how to clean a house like a pro.
Your Weekly Dusting Checklist By Room
To stay on top of dust, it helps to have a simple plan. This checklist breaks down the most important areas to hit each week, plus a few spots to tackle every month to keep dust from building back up.
| Room/Area | High-Priority Surfaces (Weekly) | Often-Missed Spots (Bi-Weekly/Monthly) |
|---|---|---|
| Living Room | TV screen, coffee table, shelves, end tables | Ceiling fan blades, tops of picture frames, lamp shades, speaker vents |
| Bedrooms | Nightstands, dressers, headboard | Window sills, tops of door frames, closet shelving, light fixtures |
| Kitchen | Countertops, top of the refrigerator | Cabinet tops, light fixtures over island/table, range hood, small appliances |
| Office | Desk, monitor, keyboard, bookshelves | Computer vents, tops of books, printer, window blinds |
Having this checklist handy turns a big chore into a manageable routine, ensuring no dust bunnies are left behind.
The Final—and Most Crucial—Step
Okay, you’ve methodically pushed every speck of dust downward. Now it’s time to get it out of your house for good. This is where your HEPA-filter vacuum becomes the star of the show.
Start by vacuuming any upholstered furniture where dust has likely settled. After that, vacuum the entire floor thoroughly. Don’t forget to use the crevice tool to get into the tight corners and along the baseboards where dust loves to hide. This final, deep vacuum is what makes the whole top-down method work—it’s the cleanup crew that gathers everything you've dislodged, leaving your room truly clean.
Proactive Strategies for Long-Term Dust Reduction

While mastering your dusting technique is a great start, the real secret to a dust-free home is playing offense, not defense. Shifting your focus to proactive, long-term strategies can slash the amount of dust that builds up, saving you tons of cleaning time. It’s all about stopping dust before it even gets a chance to settle.
Think about it this way: every single item in your home is a potential landing pad for dust. The more clutter you have, the more surfaces you’ve given dust to call home. This is where strategic decluttering becomes one of your most powerful dust-busting tools.
Adopt a Minimalist Mindset for Less Dust
You don’t have to become a full-blown minimalist and get rid of everything you own, but being intentional about what you keep on display makes a world of difference. Every knick-knack, pile of old magazines, and decorative object is just another magnet for dust and one more thing you have to move and clean.
A simple way to start is by tackling one room at a time. Go through and pick out items you no longer love or use. Whether you store them in closed containers, donate them, or find them a new home, you're immediately cutting down the surface area available for dust to land on.
Key Takeaway: Decluttering isn’t just about making your space look tidier; it’s a seriously practical cleaning strategy. Fewer items mean fewer places for dust to hide and, most importantly, less time you have to spend dusting.
Seal Your Home from Outside Intruders
A surprising amount of the dust in your home doesn't even come from inside. It’s a mix of pollen, dirt, and pollutants that sneak in from the great outdoors. Your home's entry points are the main culprits.
Take a good look at your windows and doors. Can you feel any drafts or see any gaps? A little bit of weatherstripping or caulk can go a long way in sealing up these cracks. This simple weekend project not only keeps dust out but can also make your home more energy-efficient. And don't forget the less obvious entry points, like vents for your dryer or kitchen fan.
Upgrade Your HVAC Filter and Manage Humidity
Your home’s heating, ventilation, and air conditioning (HVAC) system is constantly circulating air—and all the dust that comes with it. Those standard, cheap fiberglass filters that come with most systems? They do very little besides protecting the unit itself from large debris.
-
Invest in a Better Filter: Upgrading to a higher-quality, pleated filter with a higher MERV (Minimum Efficiency Reporting Value) rating is one of the single most effective things you can do. A filter with a MERV rating between 8 and 13 is the sweet spot for most homes, as it’s capable of trapping pet dander, pollen, and dust mite debris without choking your system's airflow. Remember to check and change these filters every one to three months to keep them working effectively.
-
Control the Humidity: Managing your home’s humidity also plays a huge part in dust control. Aim for an indoor humidity level between 30% and 50%. Dust mites, a major allergen found in dust, thrive in high humidity, so a dehumidifier can make your home far less inviting for them. On the flip side, when the air is too dry, dust particles float around more easily. A humidifier can help them settle so you can actually clean them up.
By taking control of the air circulating through your house, you’re actively filtering out dust before it ever lands on your furniture. This kind of proactive maintenance makes your regular cleaning routine so much easier and is a true cornerstone of any long-term dust elimination plan.
Clearing the Air for a Healthier Home
The most frustrating dust is often the stuff you can't even see. While wiping down surfaces is a must, the real game-changer is tackling the invisible, airborne particles floating around your home. It’s all about improving the quality of the air you and your family breathe every day.
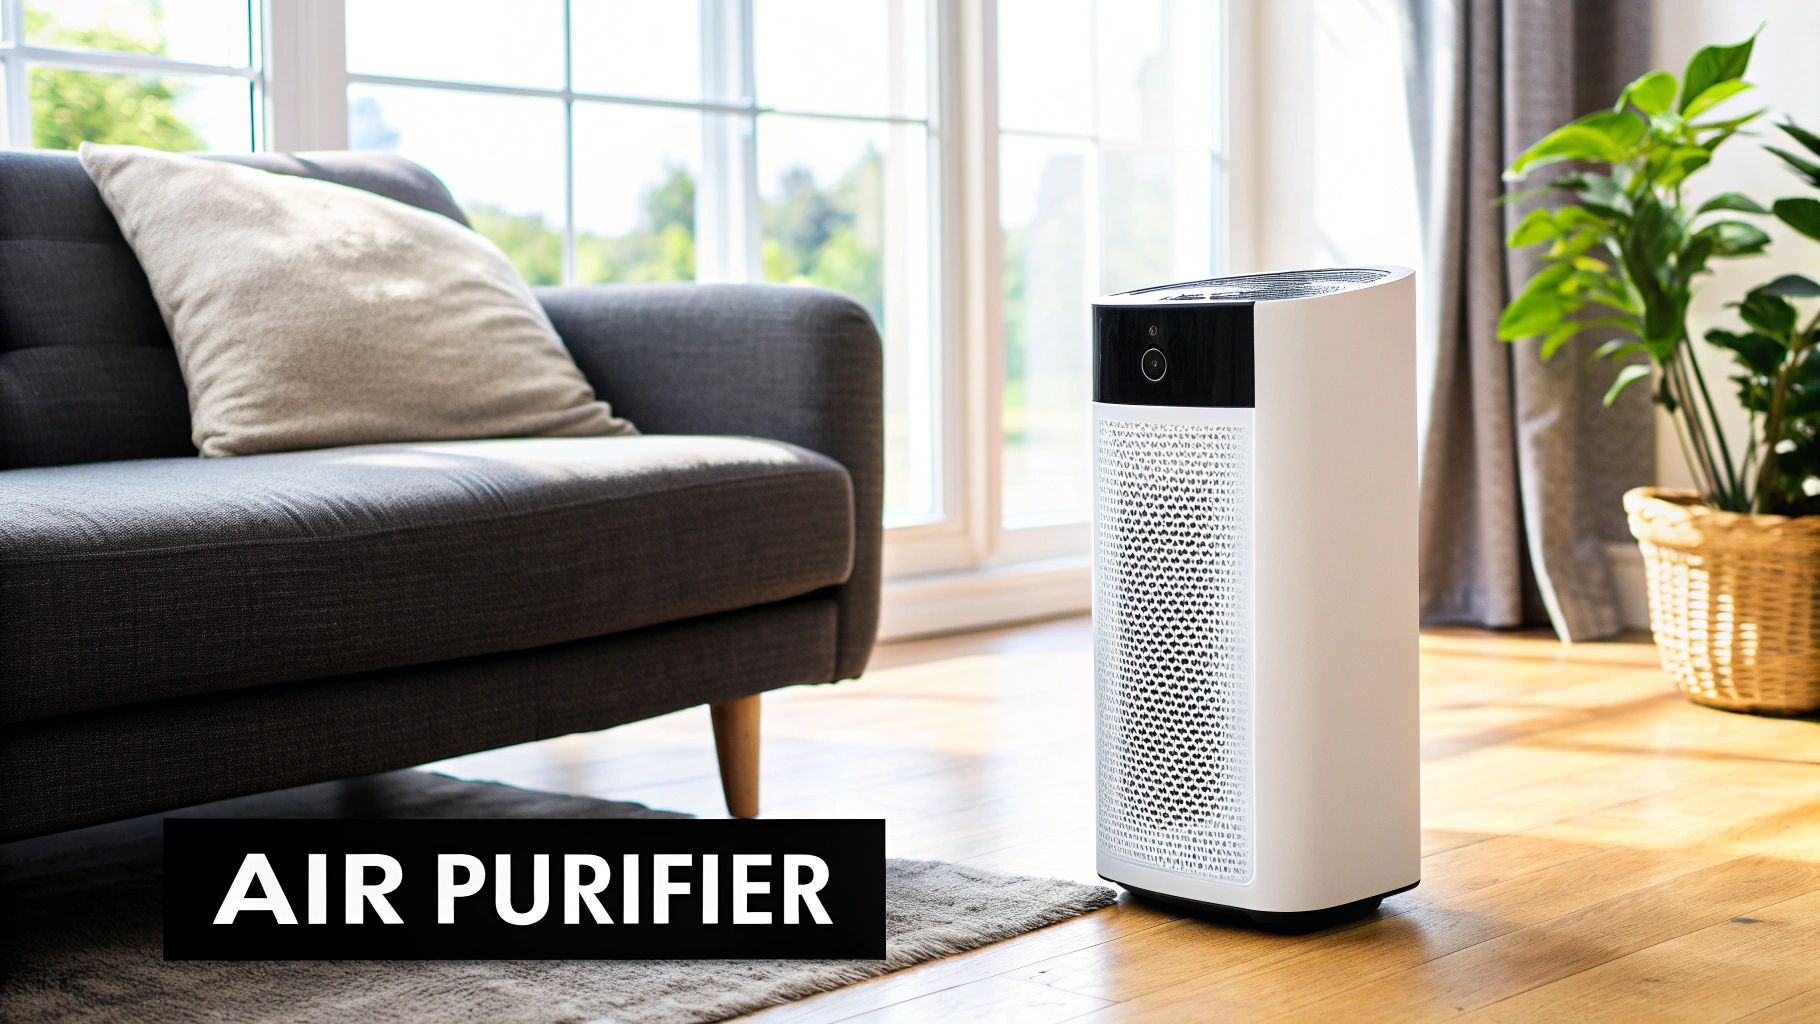
This is where a good air purifier comes in. These devices are workhorses, pulling in the air from a room, trapping nasty pollutants in their filters, and then pushing clean, fresh air back out. For the best dust-fighting results, you'll want to find a unit with a true HEPA filter.
Demystifying HEPA Filtration
HEPA stands for High-Efficiency Particulate Air, and it's not just some marketing buzzword—it's a real, measurable standard. A genuine HEPA filter is certified to capture an incredible 99.97% of airborne particles as small as 0.3 microns.
Just think about all the tiny irritants that make up household dust. A HEPA filter traps almost all of them:
- Pesky pet dander
- Pollen and mold spores
- Dust mite debris
- Smoke particles
When you run a HEPA purifier, you're not just circulating air; you're actively yanking these microscopic troublemakers out of your living space. This is especially critical for anyone dealing with allergies or respiratory issues. If that sounds like you, our guide on cleaning for allergies has even more targeted strategies.
Key Takeaway: Think of an air purifier with a HEPA filter as a microscopic net that's constantly catching airborne dust before it ever has a chance to settle on your furniture or get into your lungs.
Picking the right one isn't as complicated as it sounds. Just think about the room you'll use it in most—usually a bedroom or living room—and check the square footage. Look for a purifier with a Clean Air Delivery Rate (CADR) that matches your room size. A higher CADR just means it can clean the air in a larger space more quickly.
Natural Ways to Improve Air Quality
Beyond technology, you can also lean on nature and a few smart habits to clear the air. Strategic ventilation is one of the easiest and most effective things you can do. Simply opening your windows lets fresh air circulate and push out all that stale, dusty indoor air.
But timing is everything. Try to open them during off-peak hours when traffic and outdoor pollen counts are lower, like early in the morning.
Adding a few specific houseplants can give you a little boost, too. Plants like Spider Plants, Snake Plants, and Peace Lilies are famous for their natural air-purifying talents. While they won't work as hard as a mechanical purifier, they absolutely contribute to a healthier indoor ecosystem.
In the end, a combination of tactics is your best bet. A quality air purifier, smart ventilation, and some well-placed greenery create a powerful system for keeping your home’s air fresh and clean. Optimizing your home's air can make a huge difference in cutting down dust and allergens. For even more ideas, check out these excellent tips for improving indoor air quality.
Common Questions About Winning the War on Dust

Even after you've armed yourself with the best strategies and tools, a few specific questions always seem to pop up when you're deep in the trenches of dust removal. Let's tackle some of the most common ones to clear up any lingering confusion and help you perfect your approach.
How Often Should I Actually Be Dusting?
This is the million-dollar question, and the honest answer is: it depends. There’s no magic number that fits every household. A bustling home with several pets, family members with allergies, or one located near a busy road will naturally gather more dust than a quiet, single-person apartment.
A great starting point for most homes is a thorough dusting once a week. This regular maintenance is what stops dust from building up to the point where it feels overwhelming. In fact, studies show that homes cleaned well at least weekly can see a reduction in dust mass on surfaces by up to 50% compared to those cleaned less often. This is a game-changer for respiratory health, especially for little ones who spend so much time playing on the floor. You can dig into the data yourself and learn more about how household dust impacts families.
You might need to adjust that schedule based on your specific situation:
- Homes with Pets or Allergies: Bumping your dusting up to every 3-4 days can make a huge difference in keeping dander and allergens in check.
- Drier or Dustier Climates: You may find that dusting twice a week is necessary to keep surfaces from looking fuzzy.
Ultimately, your home and your health will tell you what they need. If you spot dust settling just a day or two after cleaning, or if your allergies start flaring up, it's a clear sign to dust more often.
Do Air Purifiers Replace Manual Dusting?
This is a really common misconception. While a quality air purifier with a HEPA filter is a fantastic ally for snatching dust out of the air, it simply can’t replace good old-fashioned manual cleaning.
Think of it this way: an air purifier is like a goalie, catching particles that are actively floating around. But it can’t do a thing about the dust that has already scored a goal by settling on your coffee table, bookshelves, and floors. The two methods are a team—one handles the airborne culprits, and the other tackles what’s already landed.
Key Insight: Dusting removes the settled dust, while an air purifier removes the airborne dust. Using both gives you a powerful one-two punch for a truly cleaner home, but one cannot effectively replace the other.
What Are the Biggest Dusting Mistakes?
Even with the best of intentions, a few common mistakes can completely undo all your hard work. The biggest one I see is dusting after vacuuming. This just kicks all the dust from your shelves and tables onto your freshly cleaned floors. Always work from the top down.
Another classic mistake is using a dry cotton rag or one of those old-school feather dusters. These tools are notorious for just pushing dust around or, worse, flinging it straight into the air. Do yourself a favor and stick with a microfiber cloth—it’s designed to trap and hold onto dust particles, not just relocate them.
Feeling like the dust is winning the war? The expert team at Custom Maids has been helping homeowners across Mid-Michigan keep their spaces spotless since 1982. Let us handle the details so you can enjoy a cleaner, healthier home without the hassle. Visit us at https://custom-maids.co to schedule your free consultation today.

