
If you want to learn how to clean a bathroom like a pro, it boils down to one simple strategy: gather your supplies, clear all surfaces, and work from top to bottom. It’s the same approach professionals use to avoid re-cleaning spots, guaranteeing every corner from the light fixture to the floor gets the attention it deserves.
Your Smart Bathroom Cleaning Game Plan
Before a single drop of cleaner hits the porcelain, the real work begins. A truly great clean isn't about scrubbing harder; it's about cleaning smarter. Taking just five minutes to prep can easily save you 30 minutes of backtracking and frustration later on.
First things first, clear the stage. Get everything off the countertops, out of the shower, and off the floor. We're talking shampoo bottles, towels, bathmats, the trash can—all of it. This quick declutter gives you wide-open access to every surface, so you're not just wiping around things.
The Professional Cleaning Method
The secret weapon used by every professional cleaner is the "top-to-bottom, dry-to-wet" method. The logic is simple but incredibly effective: you start with dry tasks like dusting and sweeping before you introduce any liquid cleaners.
-
Tackle Dry Messes First: Start by dusting light fixtures, vents, and the tops of cabinets. Gravity is your friend here, letting dust settle on surfaces you haven't cleaned yet. After that, give the floor a quick sweep or vacuum to grab all the loose hair and debris.
-
Then, Work From Top to Bottom: Once you start spraying and wiping, begin with the highest surfaces like mirrors and countertops. Then, work your way down to the sink, the shower, the toilet, and finally, the floor. This flow ensures any drips or dislodged grime lands on an area you still need to clean.
By following this sequence, you create a workflow that stops you from doing the same job twice. You’ll never have to wipe down a clean floor just because you sprayed the mirror after mopping.
Building Your Essential Toolkit
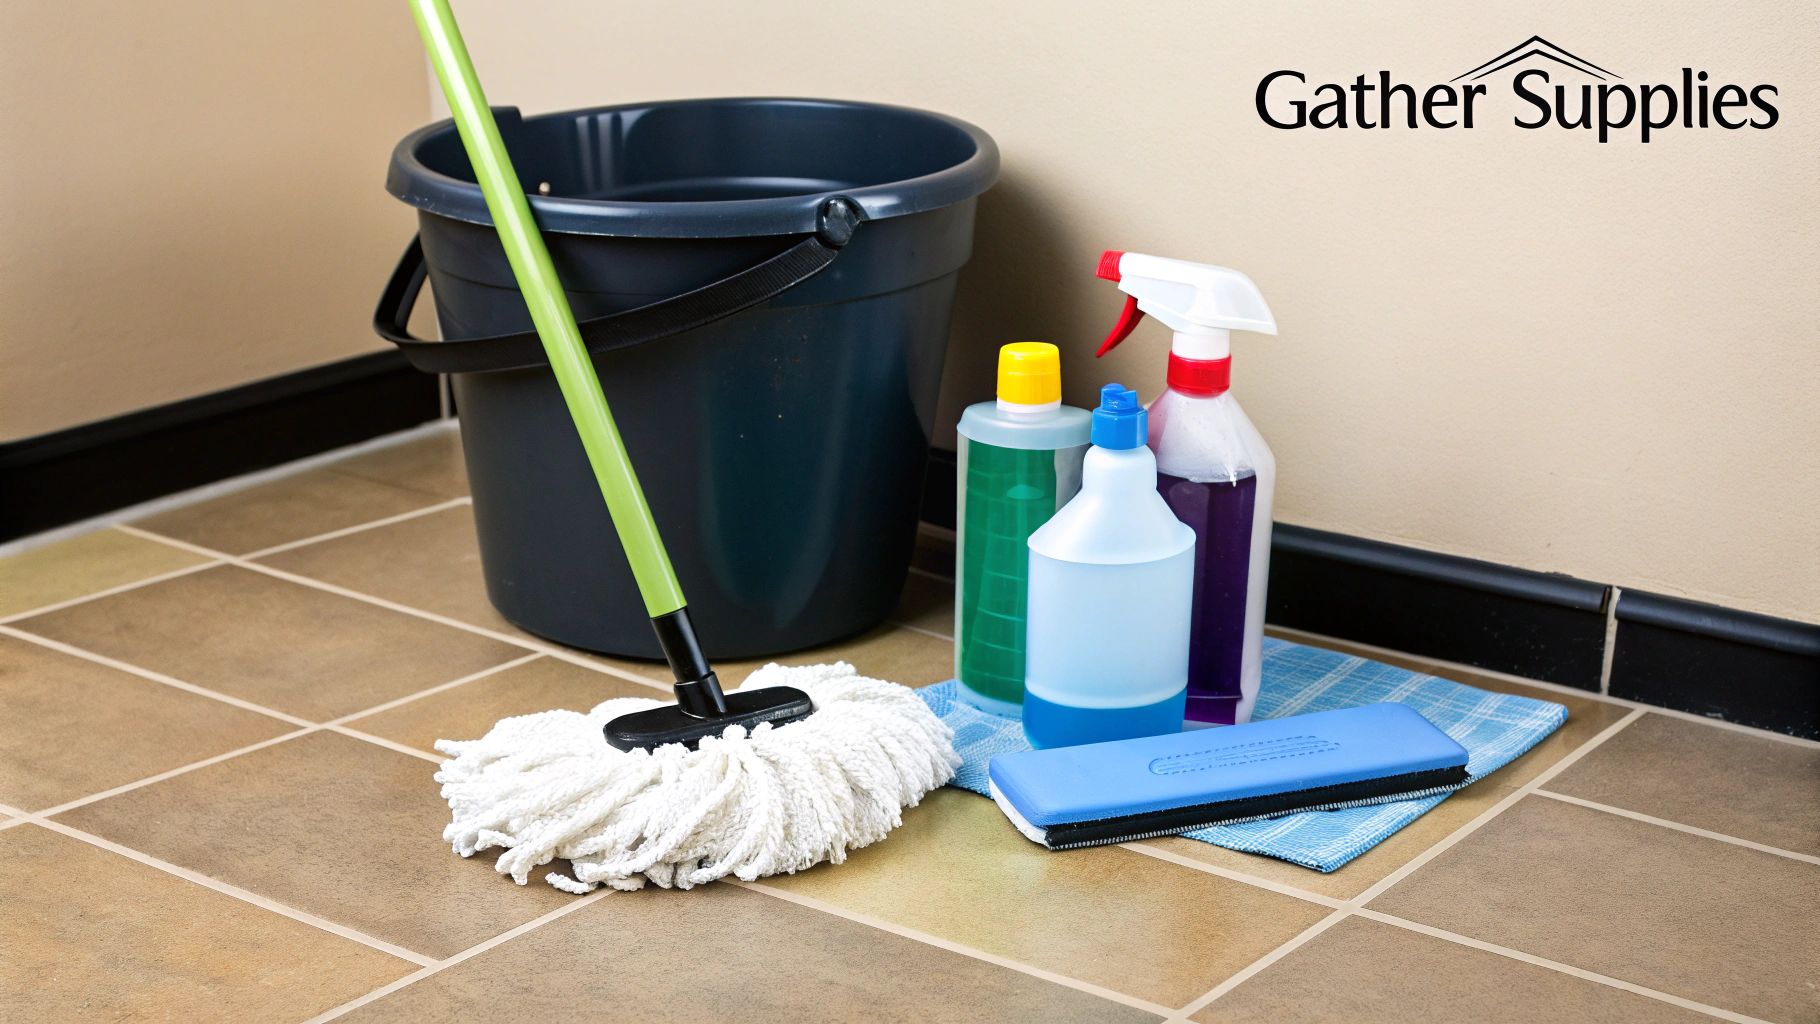
Having all your supplies in one place—like in a caddy or bucket—is a game-changer. No more running back and forth for a forgotten brush or spray bottle. Here's a quick checklist to get you started.
Your Essential Bathroom Cleaning Toolkit
A well-stocked cleaning caddy is your best friend for an efficient bathroom blitz. Here’s everything you need to get the job done right, all in one place.
| Category | Essential Items | Pro-Tip |
|---|---|---|
| Cleaners | All-purpose cleaner, glass cleaner, tub & tile cleaner, toilet bowl cleaner, disinfecting wipes | A paste of baking soda and water works wonders on stubborn soap scum without harsh chemicals. |
| Tools | Microfiber cloths (for different surfaces), scrub brush, toilet brush, squeegee, small detail brush (like an old toothbrush) | Color-code your microfiber cloths—blue for glass, yellow for surfaces, red for the toilet—to avoid cross-contamination. |
| Protection | Rubber gloves, bucket or caddy | Always wear gloves. It protects your skin from cleaners and, let's be honest, the general grime. |
With these items ready to go, you'll slice through your cleaning routine without any interruptions.
A Quick Word on Safety
Finally, a quick safety check is non-negotiable before you begin. Bathrooms are often small, enclosed spaces, which makes proper ventilation an absolute must.
Crack open a window or flip on the exhaust fan, especially if you're using products with bleach or other strong chemicals. And please, always wear rubber gloves. This simple habit protects your skin and makes the whole experience a lot more pleasant. A safe clean is an effective clean.
Conquering the Toughest Areas: The Toilet and Shower
Let’s be honest, the toilet and shower are the heavy hitters of bathroom grime. They're the areas that demand the most attention and, if neglected, can quickly become breeding grounds for bacteria and mildew. But with the right approach, you can restore them to a sparkling clean state without spending hours scrubbing.
Tackling the Toilet Thoroughly
A quick swish with a brush is fine for daily maintenance, but a proper deep clean requires going beyond the bowl. Germs love to hide in places you might not think to look. The goal is to address the entire fixture, from the tank right down to the base.
Start by generously applying a quality toilet bowl cleaner under the rim. You want it to drip down and coat the entire inside of the bowl. While that cleaner works its magic, you can focus on the exterior.
Grab a disinfecting spray or wipes and hit every single outside surface. This includes:
- The Handle and Tank: These high-touch areas are often forgotten. Wipe down the flushing handle, the lid, and all sides of the tank.
- The Seat and Lid: Clean both the top and bottom of the seat and the lid, paying close attention to the hinges where grime loves to collect. An old toothbrush is perfect for scrubbing these tight spots.
- The Base and Floor: Don't forget where the toilet meets the floor. Dust, hair, and other debris pile up here, so give it a thorough wipe.
Now, head back to the bowl. Use your toilet brush to scrub the interior vigorously, making sure you get way up under the rim where the cleaner was first applied. Flush the toilet to rinse everything away.
Pro-Tip for Stubborn Stains: If you have tough mineral rings or stains that just won't budge, a pumice stone can be a lifesaver. After letting the bowl cleaner sit, gently scrub the stain with a wet pumice stone. The porous stone will wear away the deposit without scratching the porcelain.
Restoring Your Shower and Tub
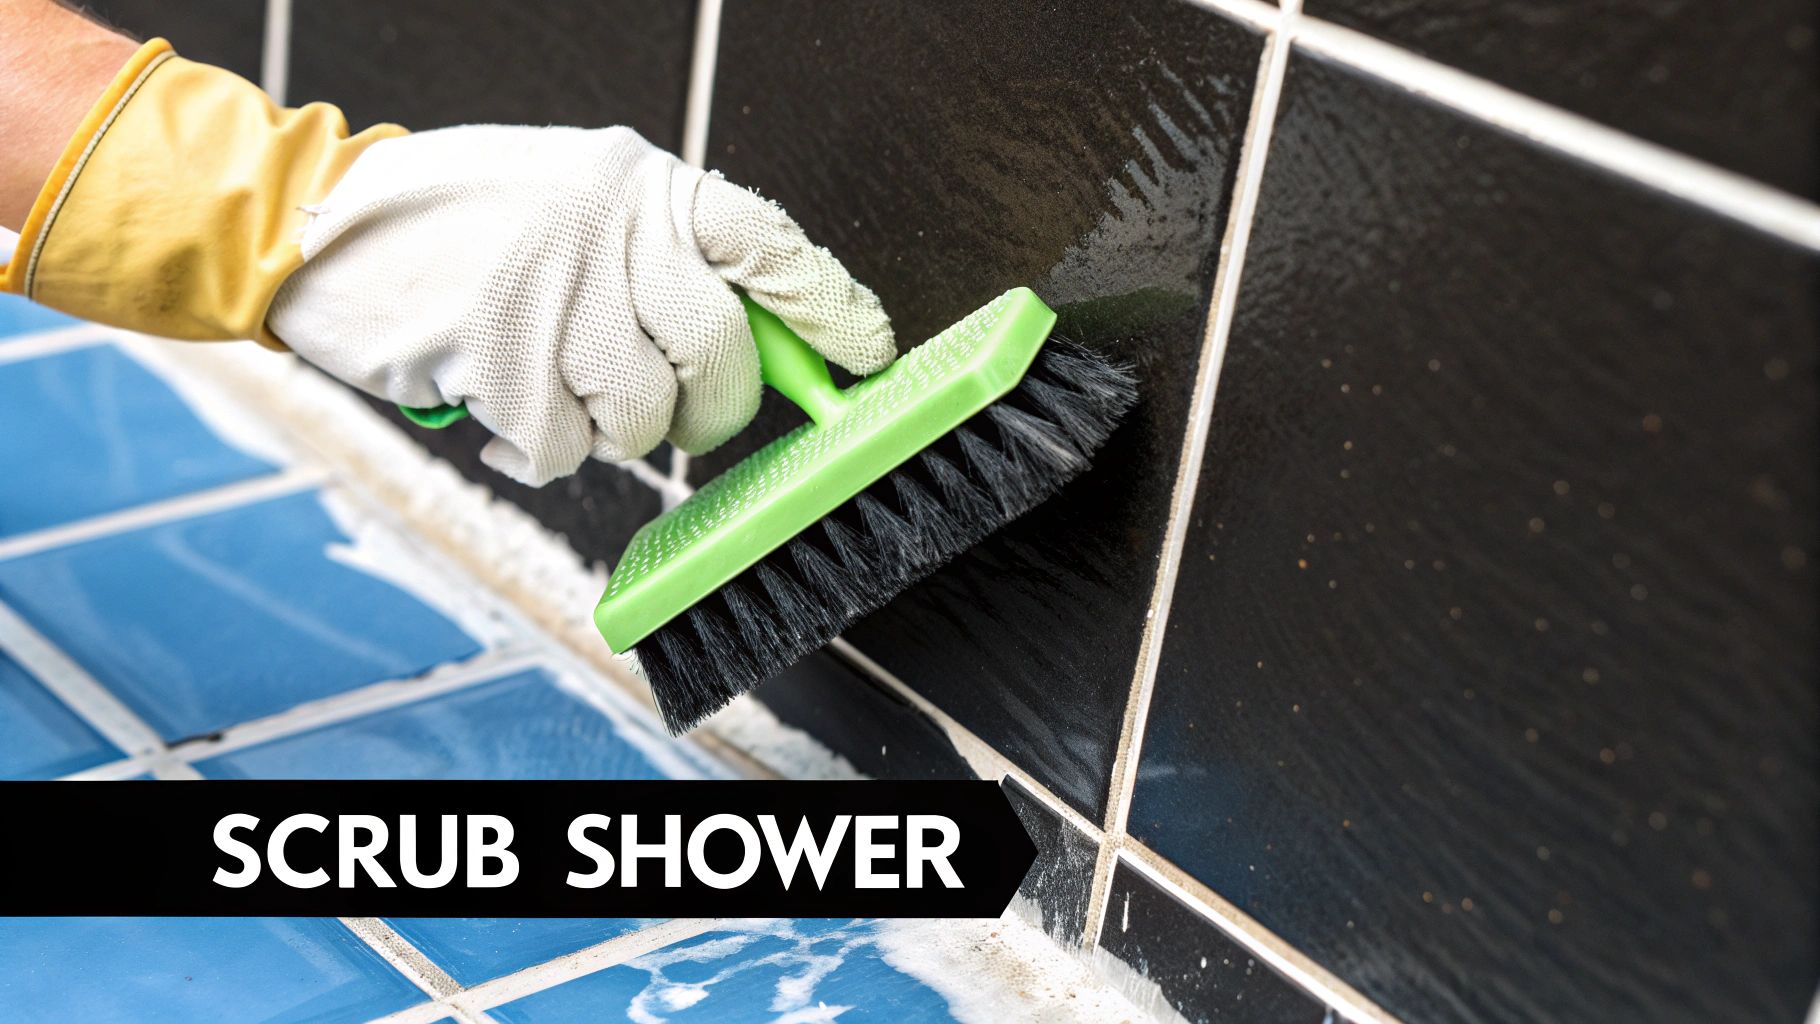
The shower is a constant battle against soap scum, hard water spots, and mildew. Because you’re dealing with different surfaces like tile, grout, and glass, you need a few different techniques to get them clean without causing damage.
First, clear everything out. Remove all the shampoo bottles, soap bars, and loofahs. Giving yourself an empty space makes the job much faster and more effective. It’s also the perfect time to toss any nearly empty bottles.
Cleaning Tile, Grout, and Fixtures
For tile walls and tubs, a good non-abrasive tub and tile cleaner is your best friend. Spray down all surfaces, including the fixtures, and let the cleaner sit for at least 10-15 minutes. This dwell time is crucial—it allows the chemicals to break down the soap scum and grime, which means a lot less scrubbing for you.
While the spray works, you can mix a paste of baking soda and water to tackle any stained grout lines. Apply the paste with a small brush (an old toothbrush is great for this) and scrub gently.
After the cleaner has had time to sit, use a non-scratch scrub sponge or brush to wipe down all the surfaces. You'll be amazed at how easily the soap scum lifts away. For a deeper dive into this topic, you can check out our guide on how to remove soap scum from a shower. Finally, rinse everything thoroughly with hot water, starting from the top and working your way down.
Making Glass Doors Crystal Clear
Glass shower doors are notorious for collecting hard water spots and soap scum, which can make the whole bathroom look dingy. A simple solution of equal parts white vinegar and water in a spray bottle works wonders here.
Spray the glass doors generously and let the solution sit for about 15 minutes. The acid in the vinegar will dissolve the mineral deposits. Then, wipe it all down with a microfiber cloth and follow up with a squeegee for a perfect, streak-free finish. This simple routine can keep your glass looking brand new.
The demand for effective cleaning products is always growing, reflecting a strong consumer focus on hygiene. In fact, the global bathroom cleaners market was valued at around $24.5 billion in 2021 and is expected to keep growing. Learn more about the bathroom cleaner market trends on cognitivemarketresearch.com.
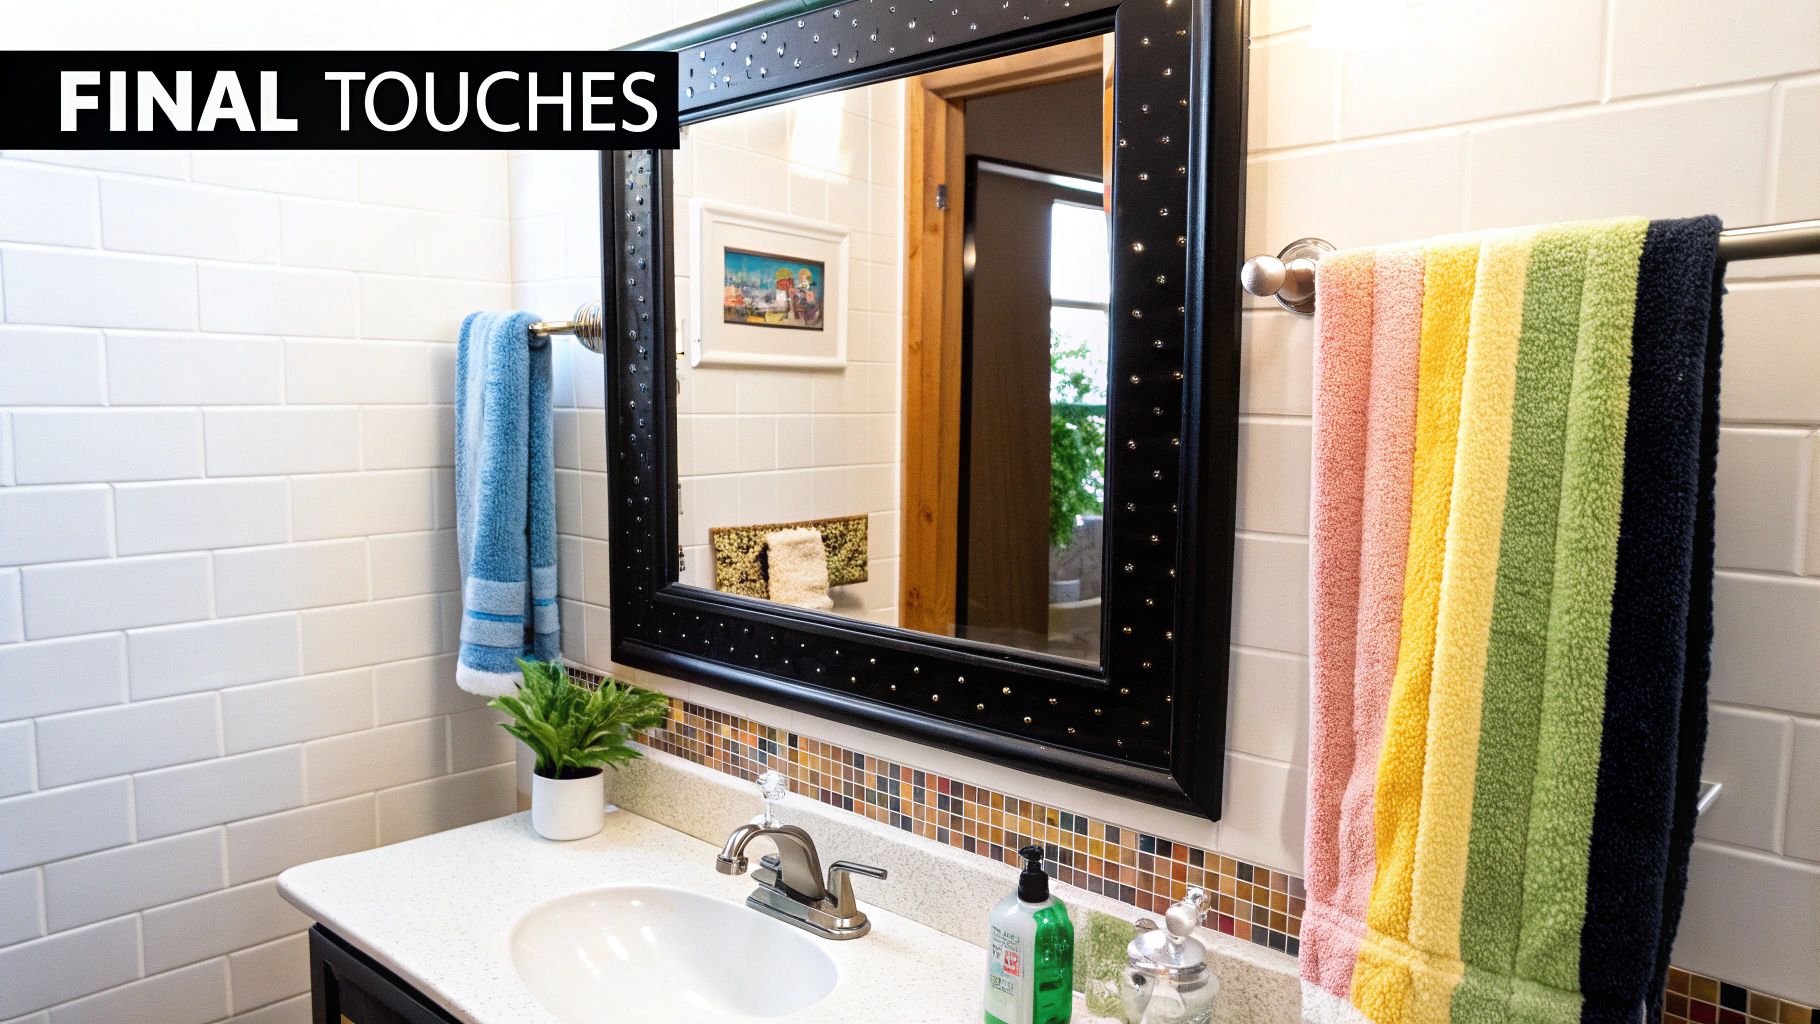
Making Sinks, Counters, and Mirrors Shine
After you've handled the tough spots, shifting your focus to the sink, counters, and mirror gives you that instant "wow" factor. These are the areas people notice first, and getting them to sparkle really takes the room from just clean to genuinely pristine.
Let's be real—the bathroom sink area is a battlefield for daily grime. Toothpaste splatters, soap scum, and water spots seem to appear out of nowhere. It's no wonder residential bathroom cleaning services have seen an 8% to 10% annual growth rate worldwide. Busy lifestyles make it tough to keep up!
Restoring Your Sink and Faucet
First things first, spray down the entire sink basin and faucet with your all-purpose cleaner. Let it sit for a few minutes. This little bit of patience allows the cleaner to start breaking down all that built-up gunk, which means less scrubbing for you.
While it's soaking, grab an old toothbrush—it's perfect for this job. Get in there and scrub around the base of the faucet and the drain, which are notorious for collecting grime. Don't forget the faucet handles!
Once you’ve tackled the tricky spots, wipe the whole basin down with a microfiber cloth. If you’re dealing with stubborn buildup in the drain or a slow-draining sink, you might need a stronger approach. Our guide on how to unclog a sink without chemicals has some great, non-toxic tips.
Here's a pro tip: to get chrome or stainless steel fixtures looking brand new, buff them with a clean, dry microfiber cloth after you've cleaned them. It only takes a second, but this one step gets rid of any water spots and leaves a brilliant, streak-free finish that looks amazing.
Cleaning Countertops Safely
How you clean your countertops depends entirely on what they're made of. Using the wrong product can cause permanent damage, so it's critical to know your material.
Here’s a quick rundown for the most common types:
- Granite and Marble: Stay away from acidic cleaners like vinegar or lemon juice. They can etch the surface. Stick with a pH-neutral cleaner or just warm water with a couple of drops of dish soap.
- Laminate: These are pretty tough and can handle most all-purpose cleaners. The only thing to avoid is abrasive scouring pads that might scratch the finish.
- Quartz: Just like natural stone, quartz does best with mild soap and water. Harsh chemicals can dull its shine over time.
Spray your cleaner on the counter and wipe it down with a fresh microfiber cloth, making sure to get behind the faucet and around your soap dispenser.
Achieving a Streak-Free Mirror
The final touch is a crystal-clear mirror. The secret isn't just in the cleaner; it's all about the technique.
Skip the paper towels—they often leave behind lint. Instead, use a flat-weave microfiber cloth. Lightly mist the mirror with glass cleaner and wipe in a "Z" pattern, starting from the top and working your way down. Then, grab a second, completely dry microfiber cloth and buff away any leftover streaks. This two-cloth method is a total game-changer for a flawless reflection.
The Final Step: Cleaning Your Bathroom Floor
You’ve wiped, sprayed, and scrubbed every other surface, so now it’s time for the final act that pulls the whole room together. The floor is the last piece of the puzzle for a reason—it catches all the dust, hair, and drips from your other cleaning. Hitting it last guarantees a true top-to-bottom clean.
The first move is always a dry one. Before any mop or wet cloth touches the surface, you need to get rid of all that loose debris. Grab your vacuum with a brush attachment or a good broom and give the floor a thorough sweep.
Make sure to focus on the corners, along the baseboards, and especially around the base of the toilet. These spots are absolute magnets for dust and hair.
Choosing the Right Cleaning Method
Once the floor is clear, it's mopping time. But a one-size-fits-all approach just doesn't work here. Using the wrong product can cause lasting damage, so the right technique and solution depend entirely on your flooring material.
- Ceramic or Porcelain Tile: These floors are tough and can handle most commercial cleaners. For a fantastic clean that disinfects and brightens grout lines, I love a mix of warm water, a teaspoon of powdered Tide, and just a splash of bleach.
- Vinyl or Linoleum: You usually don't need anything fancy here. A simple mix of warm water and a few drops of dish soap is often all it takes. Just be sure to avoid abrasive scrubbers that could scratch the surface.
- Laminate: Stick with a cleaner made specifically for laminate and use a damp—not soaking wet—mop. Too much water can seep into the seams and cause the planks to swell up.
No matter what type of floor you have, always start mopping in the farthest corner and work your way back toward the door. This little trick keeps you from stepping on your freshly cleaned floor and leaving behind footprints, which means a perfect, streak-free finish when it dries.
The most common mopping mistake I see is using way too much water. A sopping wet mop doesn't clean better; it just leaves behind a sticky, soapy residue and can seriously damage certain floors. Always wring your mop out thoroughly for a much cleaner result.
Finally, just let the floor air dry completely before you walk on it or put back your bathmats and trash can. This final step not only leaves your bathroom sparkling but also makes sure it smells fresh and is truly clean from top to bottom.
Keeping Your Bathroom Sparkling with a Simple Schedule
A deep clean feels amazing, but let's be honest, who has time for that every week? The real secret to a bathroom that's always fresh is all about consistency. Instead of facing a huge cleaning marathon, breaking it down into a simple maintenance schedule turns a massive chore into a few manageable, five-minute habits.
This approach stops grime in its tracks, which means your next deep clean will be a breeze. The idea is to create a rhythm with daily, weekly, and monthly routines. Think of it this way: daily tasks are quick tidies, weekly jobs handle the basics, and monthly to-dos tackle the deeper stuff. Once you get this rhythm down, your bathroom will always be guest-ready without you having to sacrifice an entire Saturday.
Your Daily Reset Routine
These are the tiny actions that take less than five minutes but make a huge difference over time. They keep small messes from snowballing into bigger problems.
- Squeegee Shower Walls: After you shower, a quick 30-second pass with a squeegee is all it takes to get rid of water droplets. This is your best defense against soap scum and hard water stains.
- Wipe Down Counters: Grab a disinfecting wipe or a cloth with your favorite all-purpose cleaner for a quick wipe of the sink and countertop. It gets rid of fresh toothpaste splatters and water spots before they have a chance to dry and harden.
- Hang Towels to Dry: Simply spreading towels out on a rack helps them dry much faster, which is key to preventing that musty smell from taking over.
This small daily investment truly pays off by preventing major buildup down the road.
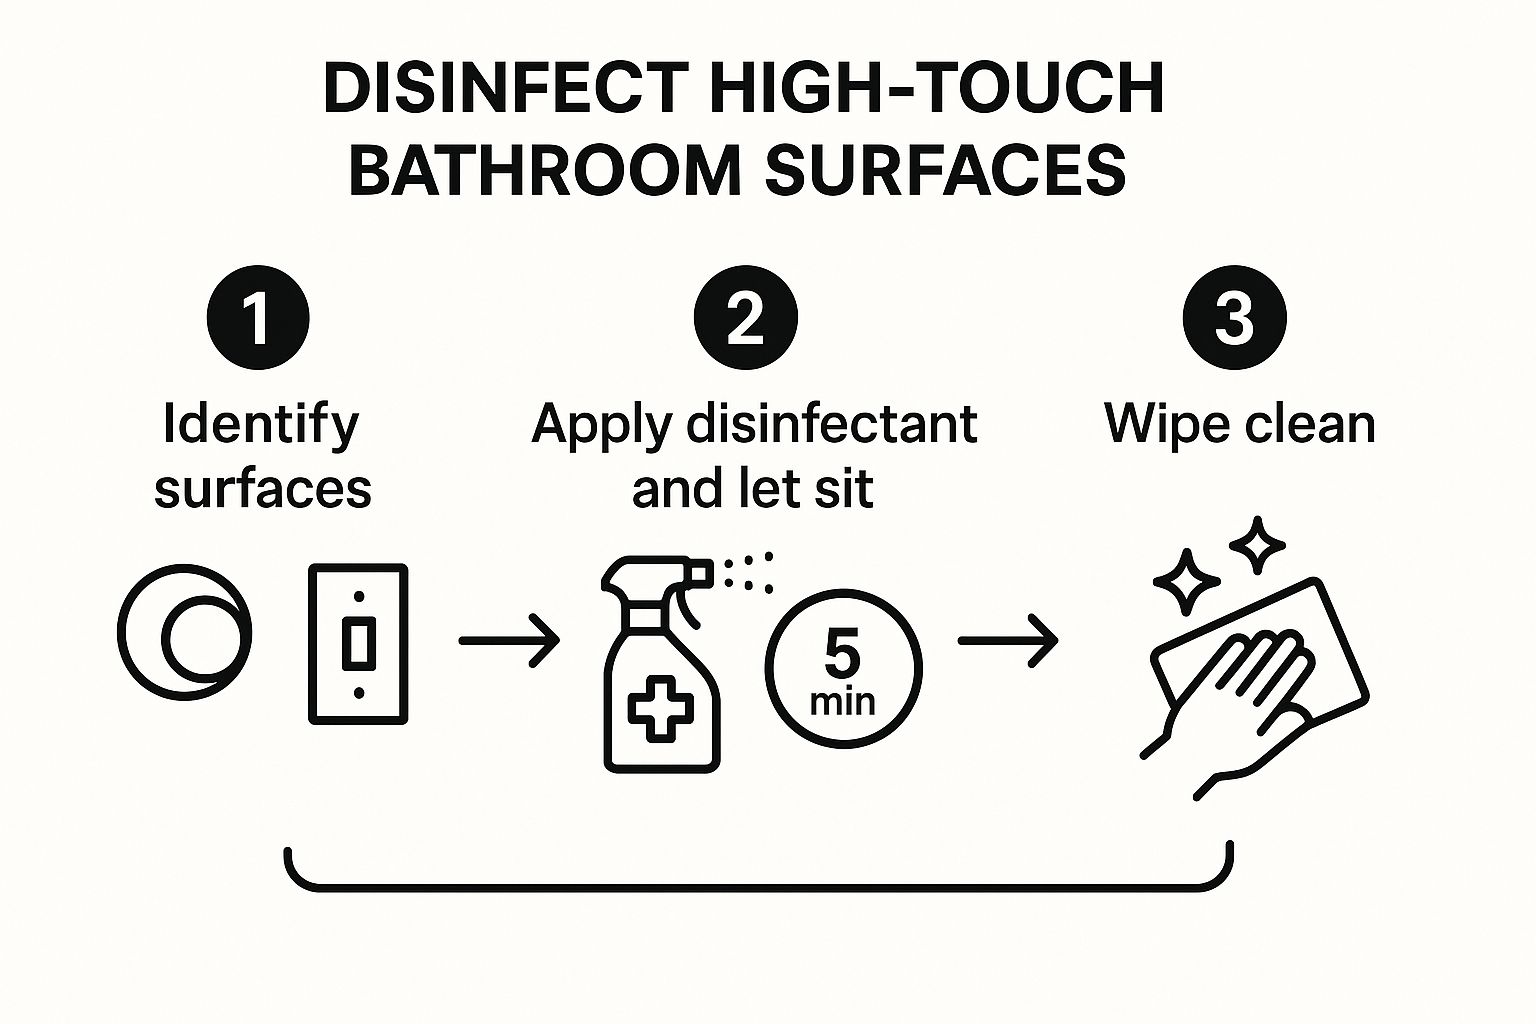
This visual breaks down a simple, effective process for disinfecting those high-touch surfaces you wipe down daily. Notice that the most critical step is letting the disinfectant sit for a moment—what we in the business call "dwell time"—to actually kill the germs.
The Weekly Refresh Plan
Just set aside 15-20 minutes once a week to hit the more significant areas. This is when you'll give a little more love to the surfaces that need more than just a quick daily wipe.
Your weekly checklist should include giving the toilet a good scrub, mopping the floor, and cleaning the mirror. You can also quickly scrub the sink basin and shine up the faucet. This structured approach is so effective that it's helped create a massive industry; the global bathroom cleaning service market was valued at around $25.72 billion in 2025, with more people looking for efficient ways to keep their homes clean.
For a detailed walkthrough on setting up a system that works for your life, check out our complete guide on https://custom-maids.co/blogs/news/how-to-create-cleaning-schedule.
Monthly Maintenance Deep Dive
Monthly tasks are for the things that don't need constant attention but are vital for a truly deep clean. These jobs keep your bathroom not just looking good, but functioning well, too.
A great monthly habit is to wash your shower curtain and liner. You can often just toss them in the washing machine with a few old towels, which help scrub them clean. It's a simple step that prevents mildew from growing and keeps the whole shower feeling fresh.
Other monthly jobs include wiping down the exhaust fan cover and giving the bathmat a good wash. After all, a sparkling bathroom isn't just about clean surfaces; it's about fresh textiles, too. You can find some great methods for keeping your towels fresh and learn how to remove musty smells from towels for good.
By sticking to this schedule, cleaning becomes less of a project and more of a simple routine.
Common Bathroom Cleaning Questions Answered
Even with the best plan, cleaning challenges are bound to pop up. Knowing how to clean a bathroom often means having quick answers for those stubborn problems. Here, we'll tackle some of the most common questions we get, helping you handle tricky spots with confidence.
Think of this as your go-to guide for everything from a realistic cleaning schedule to tackling persistent mold. These expert tips will help you refine your routine and get that truly spotless finish you're after.
How Often Should I Deep Clean My Bathroom?
Honestly, the ideal frequency for a full deep clean is about every 2 to 4 weeks. This really depends on how much traffic your bathroom sees. A busy family bathroom is going to need a lot more attention than a guest bathroom that's barely used.
The trick to making this less of a chore is weekly maintenance. A quick scrub of the toilet and a wipe-down of the counters each week can make a huge difference, stretching the time between those heavy-duty deep cleans. This consistent effort keeps grime from building up, which makes the bigger job much faster when the time comes.
What Is the Best Way to Remove Mold and Mildew?
For tough mold and mildew, especially the stuff that gets into grout or caulk, a solution of one part bleach to two parts water is incredibly effective. It's absolutely critical to make sure you have good ventilation, so open a window or get the exhaust fan running.
Apply the solution and let it sit for 10-15 minutes to kill the spores. After that, give it a good scrub with a stiff brush and rinse everything thoroughly. If you'd rather go the natural route, a thick paste made from vinegar and baking soda can also work, though you might need to put in a bit more elbow grease.
A common mistake I see is using one cleaner for every single surface. An all-purpose cleaner is fine for some things, but acidic cleaners like vinegar can permanently etch natural stone like marble. Always use the right product for the surface you're cleaning.
How Do I Get Rid of Hard Water Stains on Faucets?
Hard water stains on chrome fixtures are so frustrating, but vinegar is your best friend here. Just soak a paper towel in plain white vinegar and wrap it tightly around the stained part of the faucet.
Let it sit for about 20-30 minutes. This gives the acetic acid time to break down all those mineral deposits. Once you unwrap it, gently scrub the area with a soft cloth or an old toothbrush, rinse with water, and buff it dry with a clean microfiber cloth. You'll be amazed at the brilliant, spot-free shine.
Feeling overwhelmed by bathroom cleaning? Let the professionals at Custom Maids handle it for you. We've been delivering meticulous, reliable cleaning services to Mid-Michigan since 1982. Schedule your free consultation today!